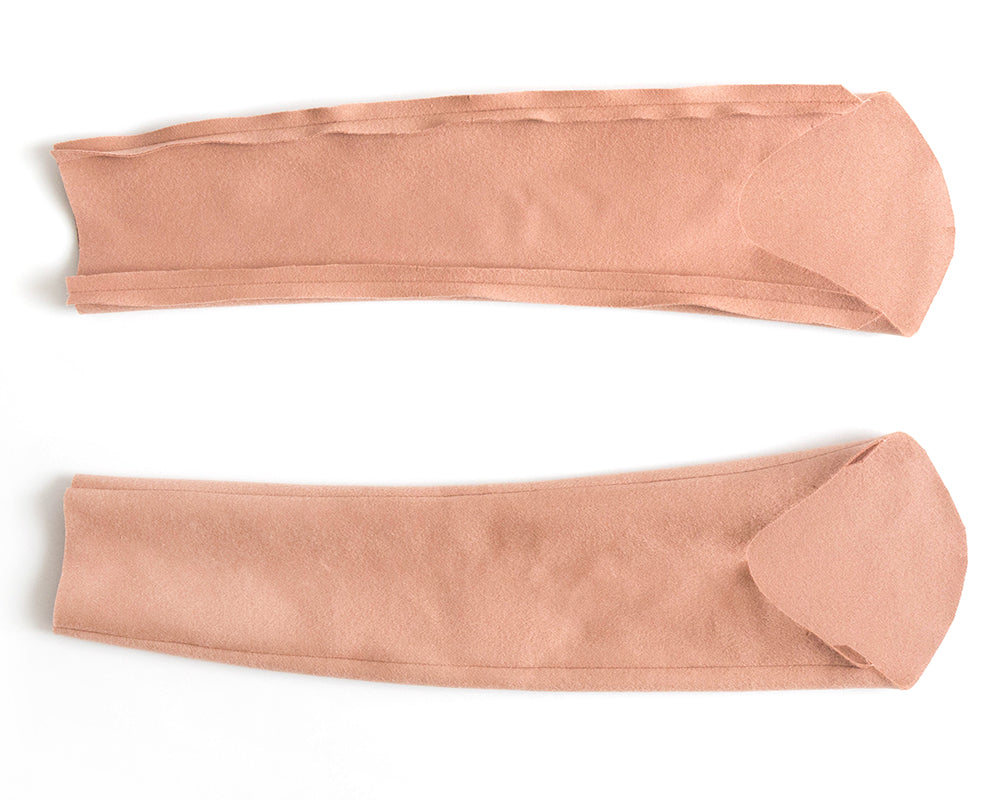
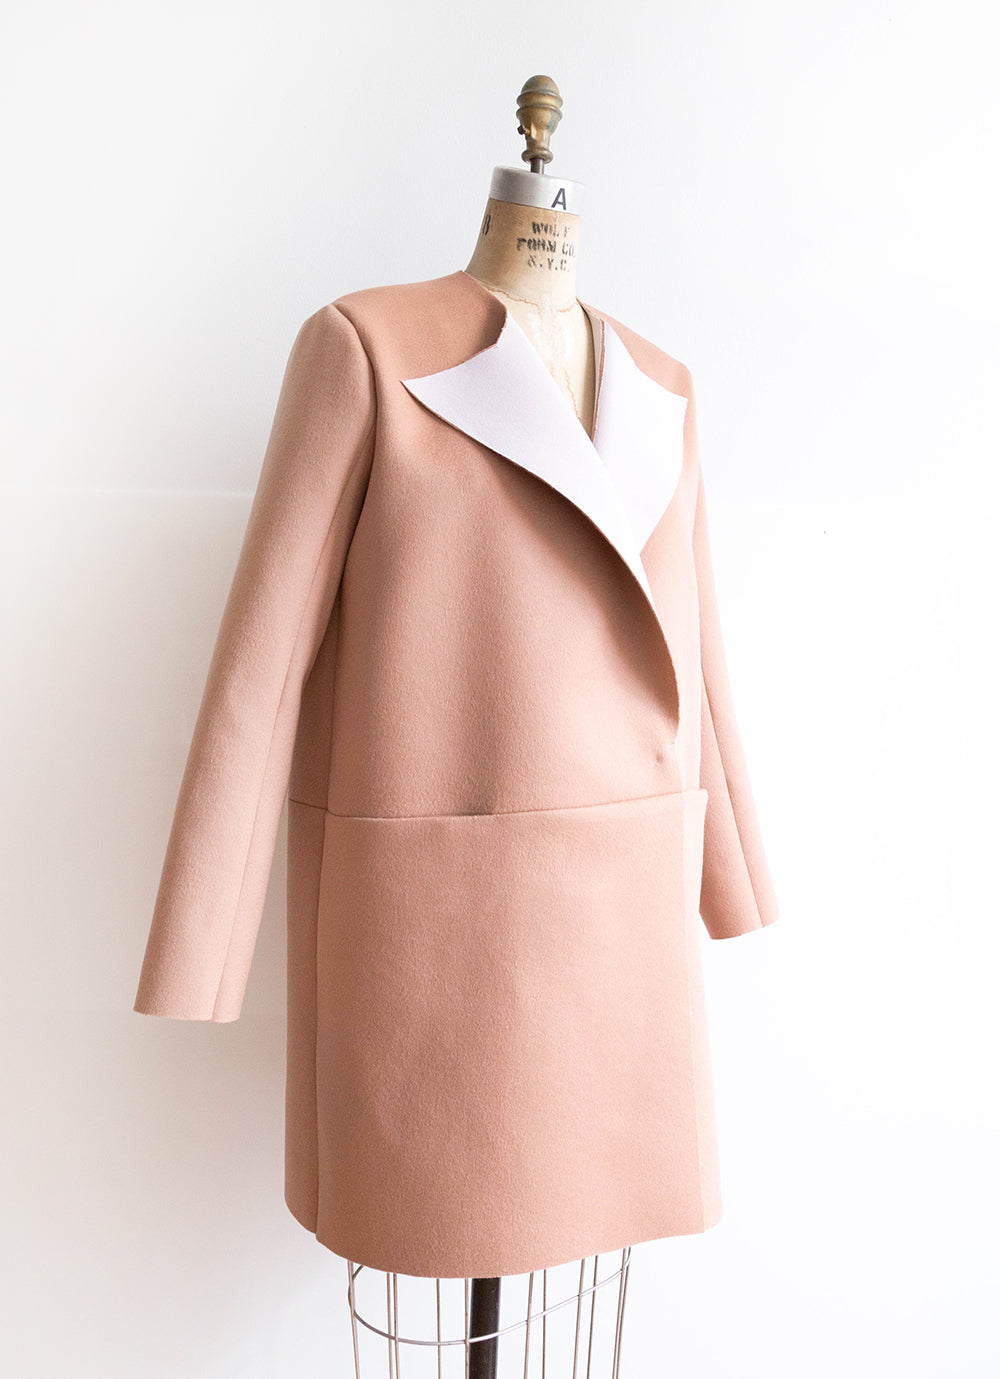
Today in the Yates Sew-Along we'll be assembling and setting our sleeves. Setting sleeves is one step that I always find easier to show in illustrations rather than photos so you might want to keep your booklet handy if you're anything like me. 
Begin by pinning the upper and under sleeves together along one seam line matching the edges and notches. The right sides of the fabric facing will be each other. Stitch along the seam line of the sleeve.

You can see at the top edge of the sleeve that you’ll be sewing through the point of the under sleeve. I always find it easiest to start at this end with the under sleeve facing up under your machine.


Press the seam allowances open.


Align the other sleeve seam again matching edges and notches and stitch together.

Press the seam allowance open, you’ll need a sleeve roll for this step. If you don’t have a sleeve roll a rolled up towel can work alright.

Once both seams are sewn and pressed open, turn your sleeve right side out to prepare for the next step.

Run two lines of basting stitches starting at the front notch, up around the top of the sleeve and down to the double notch on the other side. You’ll want your basting lines at 3/8″ and 5/8″ this way your stitching line falls between them. Make sure to leave thread tails as you’ll need those in a few steps.

Lay your jacket out with the wrong side facing out and your sleeve with the right side facing out. The sleeve is curved so you’ll want to double check your notches to make sure that you’re not setting it backwards. When laid out like the above image the single notch of your sleeve should be nearest to the jacket.

Place the sleeve inside the jacket as shown above.

Pin the sleeve in place matching the side seam with the underarm notch, the front and back notches with the corresponding notch, and the top notch of the sleeve with the shoulder seam. Pull on the thread tails to gather the sleeve cap fabric between the notches.

Sew around the armhole with your 1/2″ seam allowance. Double check that there are no puckers and once satisfied with your stitching, remove the basting stitches. Repeat for the other sleeve.

Your sleeves are now set! Next up we’ll assemble and attach the collar. If you have any questions let me know in the comments below!


