Today we’ll be assembling the lining. If you missed any of our previous Yates Sew-Along posts you can find them here, otherwise let’s dive in!

To begin, align the center back seam of your back pieces with the right sides of the fabric facing each other. Stitch along the seam line from top to bottom.

Press your seam allowances open.

With the right side facing up, bring both pleat notches in to the center back seam to create your pleat. Pin in place.

Stitch the pleat in place within the ½” seam allowance so that your stitching doesn’t show when we attach the back neck facing.

This is what your pleat will look like from the wrong side.

Now we’ll sew the back neck facing to the back lining. I start by pinning the center of the facing to the center of the lining.

Next I like to pin the edges, that way you can be sure everything is properly aligned.

Now pin between the centers and edges. Keep in mind that you’re attaching a convex and concave curve together so the cut lines of the two pieces will not match up. Don’t worry about that and make sure you’re aligning the stitching lines of each piece. Those will align without trouble. If you need more help understanding convex and concave curves, see our post on the topic here.

Once you have the facing and lining pinned, stitch around the seam line. Grade and clip the seam allowance of the lining, leaving the seam allowance of the facing as is.

Press the lining and seam allowances down towards the hem of the lining. Edgestitch the lining in place as shown above.

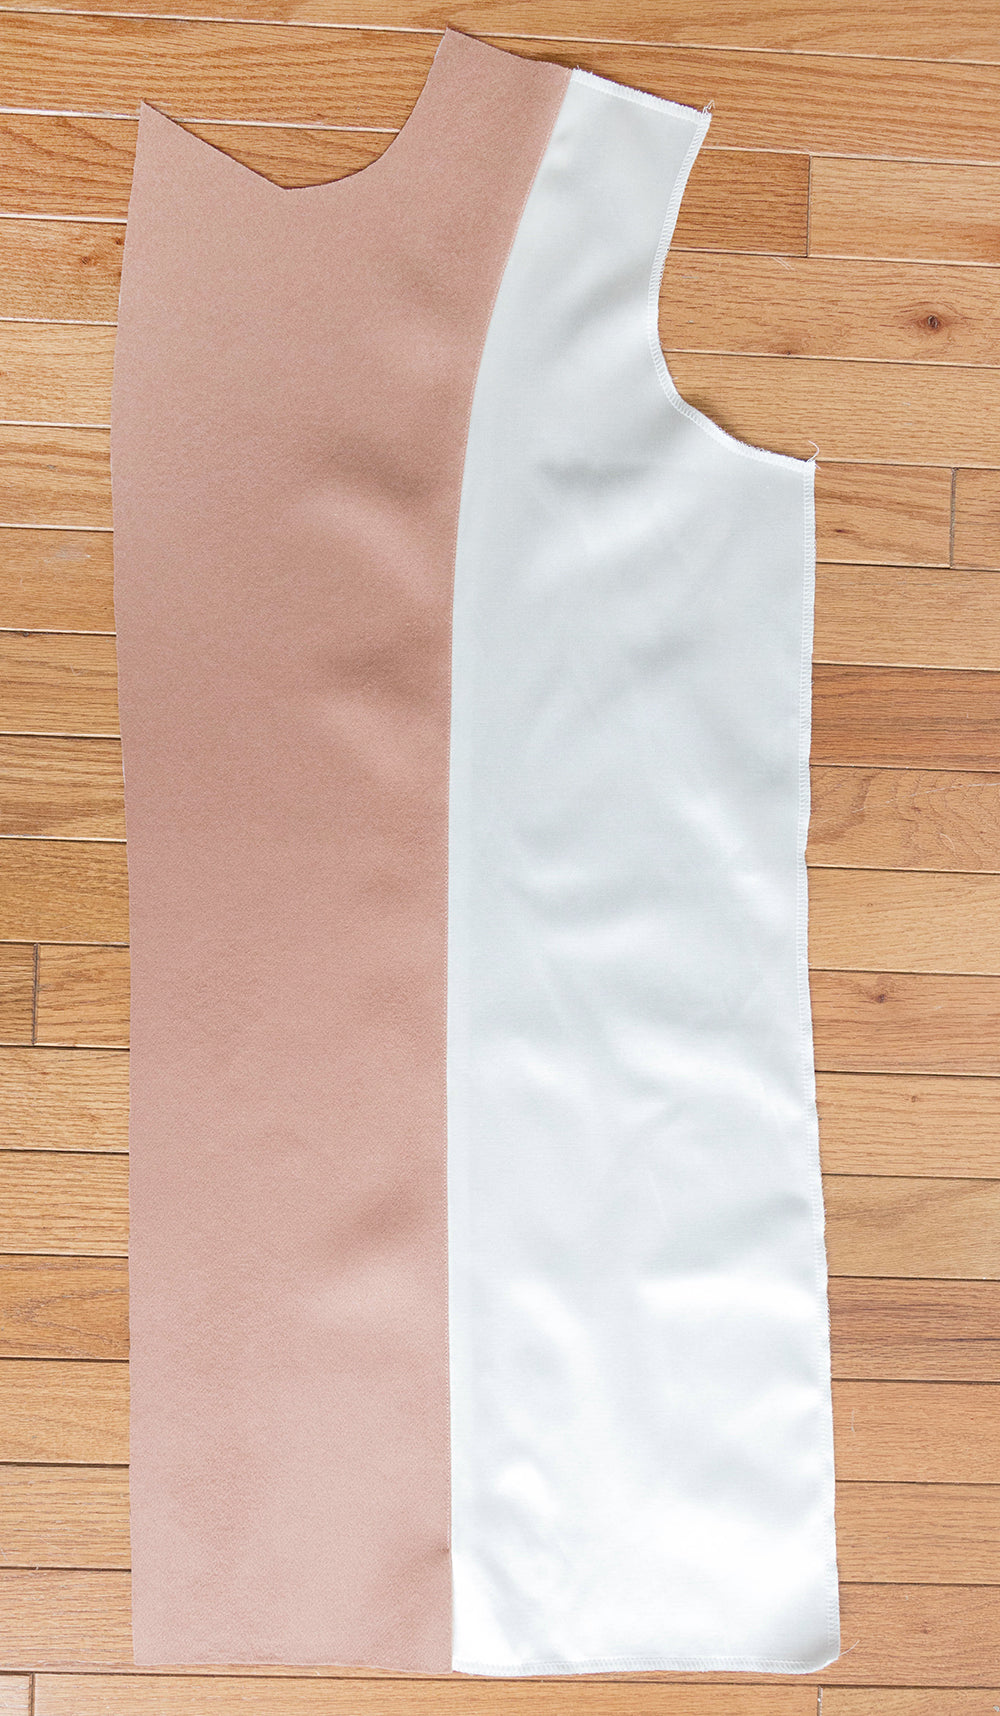
Now we’ll assemble the fronts of our lining one side at a time. Start by locating a front lining and front facing piece, as shown above.

Align the center seam of the two pieces, easing between the two notches where the pieces bend. Again this is a convex and concave curve joining so you’ll want to employ the same technique as shown in the back neck facing. You’ll also notice one blue pin above at the lower notch of the pieces. That marks where you’ll stop stitching. Once everything is pinned, stitch from shoulder down to the pin placed at the notch.

The area below the notch will remain un-sewn as shown above.

Press your seam allowances open.


Edgestitch along the seam line to on the self side of the seam through both the main piece and the seam allowance. That will keep your seam allowance flat and anchored as you wear your coat. Repeat these steps for the other side of the front lining.

We’ll now attach our fronts and back at the side and shoulder seams. Starting with one side pin the side and shoulder seams, matching the intersection of the facing and lining along the shoulder. Stitch these seams.

Press both seam allowances open as shown above. Repeat for the other side of the lining.

You now have a lining that looks like this!

We’ll now need to assemble and set the sleeves. To do this, follow the same instructions as you did for the outer coat sleeves, but using the lining pieces instead. You can find that detailed post here: Yates Sew-Along: Sewing the Sleeves.

That’s it for the lining! Next up we’ll be assembling and attaching the facings. If you have any questions just let us know in the comments below!


