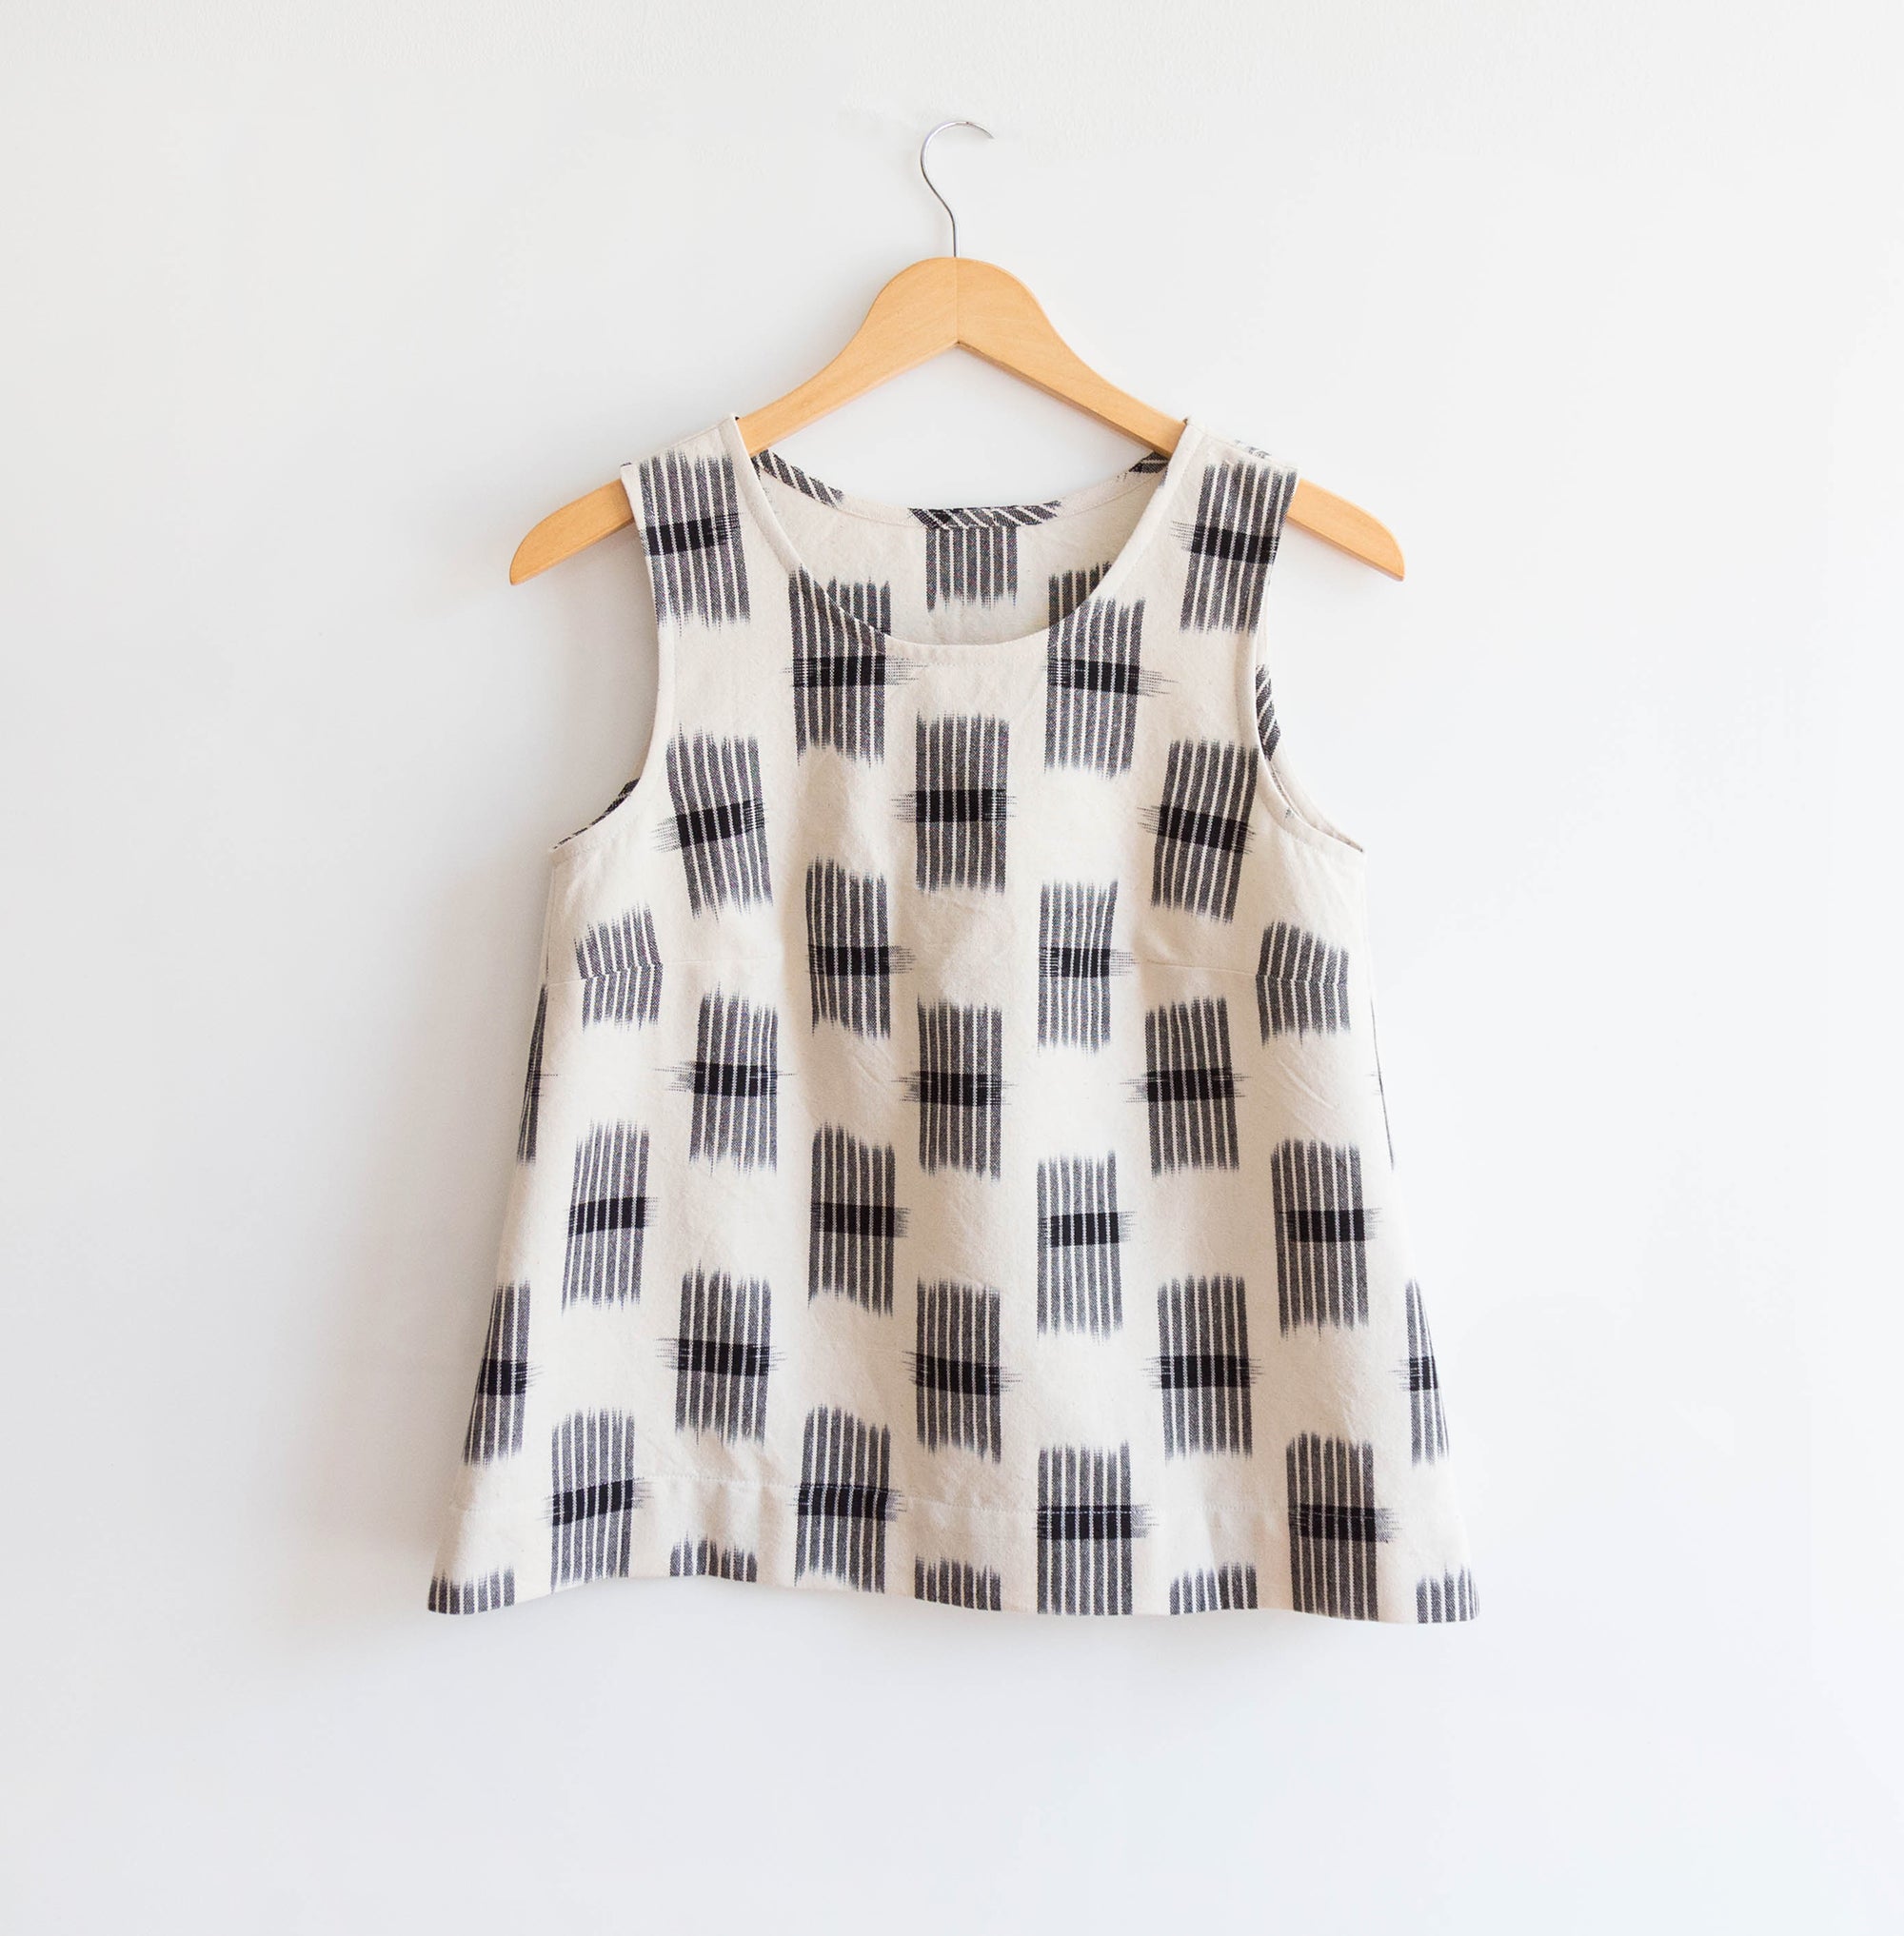
Variation 02: Split Hem Willow
We’re deep in the heat and humidity of summer here so the only things I want to make are quick, easy garments that will keep me cool when I step outside. Our Willow Tank is perfect for that, and you all have been making SO MANY of them, I’m a little blown away. A few weeks ago I was browsing Instagram and came across an amazing split hem Willow tank which I thought would make a fun and easy tutorial for you all. I like the idea of a simple change to a simple silhouette.
I’m here today to show you how to make your own split-hem Willow! As for the original split hem Willow Instagram post – I can’t figure out where I saw it (I’m starting to think it was in a story?) to give credit for the idea, so if it was you please let me know!
We’re going to begin with the front of the shirt. Start by sewing the darts as you would if you were making the regular Willow Tank.
Fold the lower ½″ seam allowance up to the wrong side of the top and press.
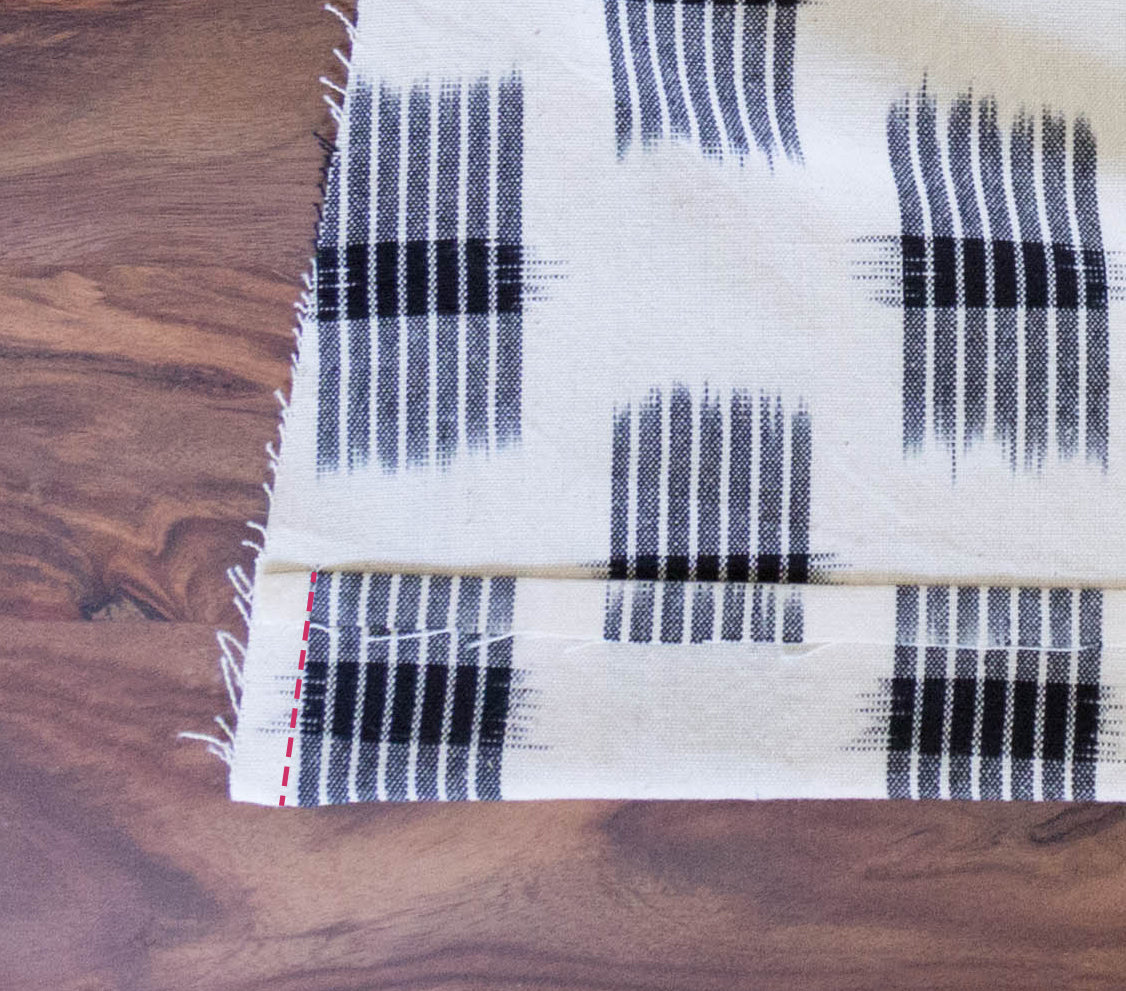
Turn the tank so that the right side is facing up. Fold the 2″ hem allowance up to the front of the shirt. Don’t press yet!
Stitch along the ½″ seam allowance on both sides of the tank.
Trim the corners to reduce bulk.
Fold the hem to the wrong side and press. Clip into the seam allowance to, but not through, the side seam stitching line. Stitch along the loose edge to secure the hem in place.
Repeat these steps for the back of the tank.
Continue following the pattern instructions for assembly of the garment. For the side seams you’ll be stitching from the clipped point up to the underarm.
And that’s all there is to it! A very easy variation to give your tank a little something extra. This would also work well with our cropped Willow variation if you’re into a double variation! Have you made any variations to your Willow Tank or Dress? Is there a tutorial you’d love to see for a Willow variation? Let us know in the comments below!