French All Your Seams

After posting my navy lace scout tee I got a few questions asking how I french seamed my armholes. It can seem a little confusing at first but, as with apparently all of my tutorials, I promise it really is very easy. I'm first going to do a run through of the french seam and then will show you how to apply it to the armhole.
Just a few notes before we begin... 1. french seams are usually best used on light to medium weight fabric. 2. French seams require you to split your seam allowance in two parts. This tutorial is done using a 1/2" seam allowance, but if you are working with a 5/8" seam allowance, sew the first seam at 3/8" and the second at 1/4". I've tried to notate where this applies. With that, lets get to it! Click through to view the tutorial.
French Seams on Straight Seams

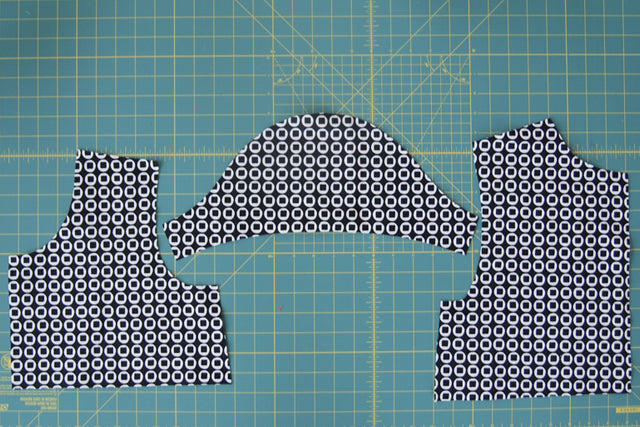
Step 1 | Cut your pieces from your fabric. I only made a half top for this so photographing would be easier, but yours will look normal of course.

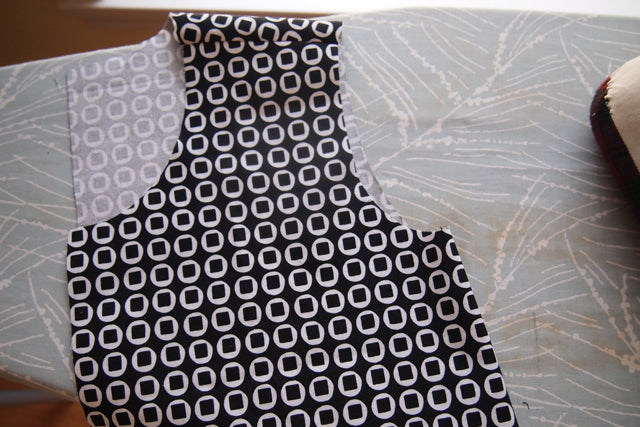
Step 2 | Sew the sides and shoulder seams with the wrong sides of the fabric together at 1/4" (or 3/8" if you have a 5/8" seam allowance) and press the seam open. I like to do all of the seams at once instead of completing one seam at a time because you are much less likely to end up with one seam backwards.

Step 3 | Grade your seam allowance down to 1/8".


Step 4 | Fold and press along the seam so that the right sides are together and stitch at 1/4".

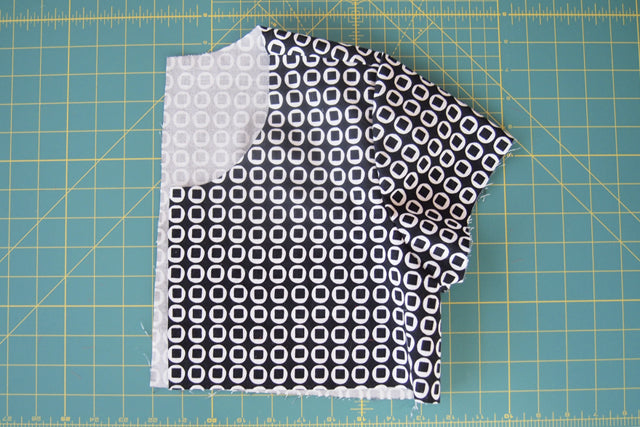
Step 5 | Press both the side seams and shoulder seams towards the back of the garment and this part of the process is over!
French Seaming Armholes

Step 6 | First we will assemble the sleeves, this part is a bit repetitive. Sew the underarm seams with the wrong sides of the fabric together at 1/4″ (or 3/8″ if you have a 5/8″ seam allowance).


Step 7 | Press the seam open and grade the seam allowance down to 1/8".

Step 8 | Fold and press along the seam so that the right sides are together and stitch at 1/4". Press seam towards back of sleeve.

Step 9 | Sew a line of gathering threads from the front notch to the back notches.


Step 10 | Pin your sleeve and armhole together with wrong sides facing. Begin by matching the underarm seams and notches.


Step 11 | Pull on your gathering stitches to ease the sleeve cap into the armhole. Stitch around the seam at 1/4" (or 3/8" if you're working with a 5/8" seam allowance). After sewing this seam, check for any tucks and remove them if you have any.


Step 12 | Press the seam open and grade the seam allowance down to 1/8″. This will be most easily accomplished by cramming a ham or sleeve roll inside your shirt and pressing the seam around that.


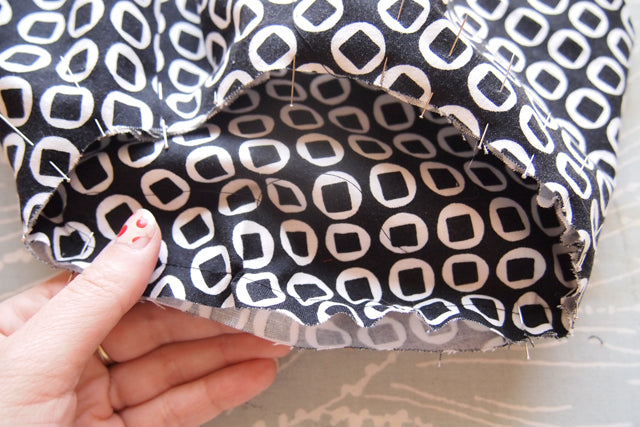
Step 13 | Fold and press along the seam so that the right sides are together and stitch at 1/4″. Check for any tucks and correct those if you have any. You should now have a french seamed armhole like the one below, congrats!


And that's that! As always if you have any questions leave me a note below and I'll leave you a reply; I try to respond to all comments. Hope you find this tutorial useful!
