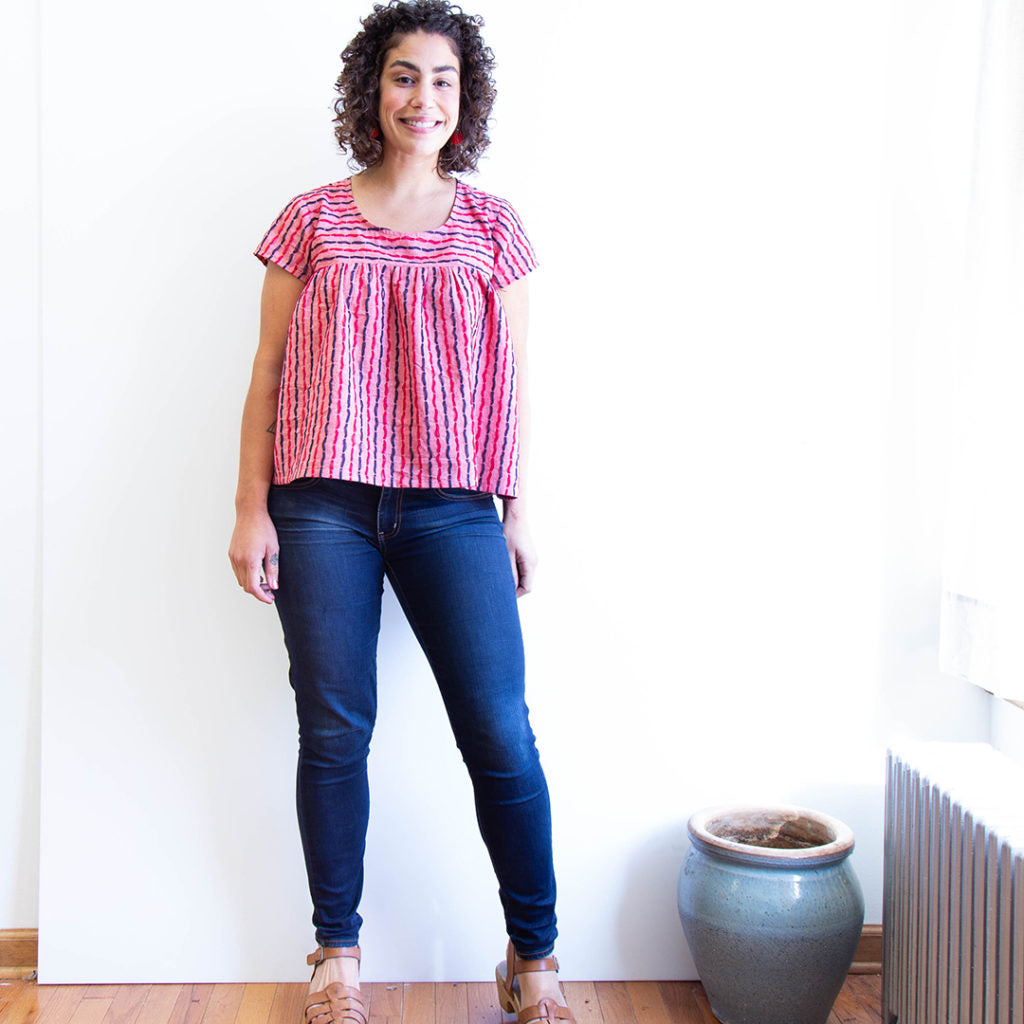
Our Scout Tee September series continues today with another Scout Tee pattern modification. By creating a front yoke piece, we were able to build upon our favorite element of the Scout - the flattering neckline. The resulting garment ends up being slightly more voluminous than the original, but the proportions of the yoke paired with the loose gathers impart a playful, yet balanced, amount of flounce. Even though I came up with this idea, I remained surprised by how much I loved the final tee. I typically avoid ruffles or gathers, and I was a little apprehensive about this variation. I loved it so much I wore it home after finishing it. Then, I came back to work the next day wearing it again! I plan on wearing this primarily with jeans, but I'm also considering making a matching pair of Lakeside Pajama shorts to pair with the top for a cute sleepwear set.

What we love most about this variation, is the seemingly endless amount of creative potential it has. You can play around with fabric placement like we did here, use contrasting fabric, experiment with color-blocking, add piping, and more. We think this would make a lovely dress or beach cover up, and you can also use the steps shown below to add a back yoke as well. Here are all of the details you need to make this version:

Begin by tracing your front pattern piece out in full onto a separate piece of paper.

Trace a slightly curved line that is above your bust, but begins and ends underneath the armsyce. To determine where this line should be, you can hold your pattern piece up to your body and roughly sketch this out. You'll want to make sure your shoulder and side seams are in place. Smooth out the line you draw so that it's proportional. If you previously made a muslin, you can put the muslin on a dress form, or your body, to sketch the line. After doing this, transfer the markings to your pattern piece.

Cut along the curved line you drew in the previous step. Add 1/2" (1.27 cm) seam allowance to the bottom hem of the front yoke piece and 1/2" (1.27 cm) seam allowance to the top of the bottom portion of your bodice front. Set aside your front yoke piece for now.

Draw in your center front line. Measure across the top curve of your bodice front from the center front to the side seam. Divide this number by 4. Starting at the center front and working towards the side seam, use the previously solved for number, to draw 4 evenly spaced lines. The lines will be drawn parallel to the center front line. Repeat from the center front in the opposite direction. In our case we measured outwards from the center front line 2.75" (6.99 cm) and then drew a line parallel to our center front line. We repeated this until we reached the side seam, and then did the same for the opposite side.

You'll be cutting through the lines you drew in the previous step to evenly spread your pattern piece. Before doing this you'll need to determine how much to spread your pieces. The following formula will give you a loose amount of gathers. If you would like a fuller bodice piece you can multiply by a larger amount.
Bodice Curve Measurement x (0.5) / 8 = the amount you will separate each piece by
For example our bodice curve measurement was 22" (55.98 cm). When input into the formula our resulting number was 1.375" (3.50 cm). We cut along the 8 previously drawn lines, and then spread the pieces by 1.375" (3.50 cm) before taping them down in place.

Retrace your new bodice front piece.

Baste two lines of stitching 1/4″ (0.635 cm) and 3/8″ (0.95 cm) from the top edge of your bottom bodice front.

Gather the bodice front so that it matches the width of your front yoke. With right sides facing, and the top edge of the front bodice aligned with the bottom edge of the front yoke, sew the bodice front to the front yoke using 1/2″ (1.27 cm) seam allowance. Finish seam allowance as desired and press down.

Treat this piece as your new front piece and proceed to sew your Scout Tee according to the pattern instructions! Have any questions? We'll be happy to answer them in the comments section below!