Portside Dopp Kit: Assembling the Lining
Shop this post

Portside Travel Set
Today we'll be assembling the Portside Dopp Kit lining, this should all seem a bit familiar from the previous assembly steps, but you'll breeze through it because no zippers!

To begin, fold and press under the seam allowance under along the zipper edges of both top lining pieces (piece 14). If you adjusted this amount based on the width of your zipper teeth you'll need to keep that in mind here.
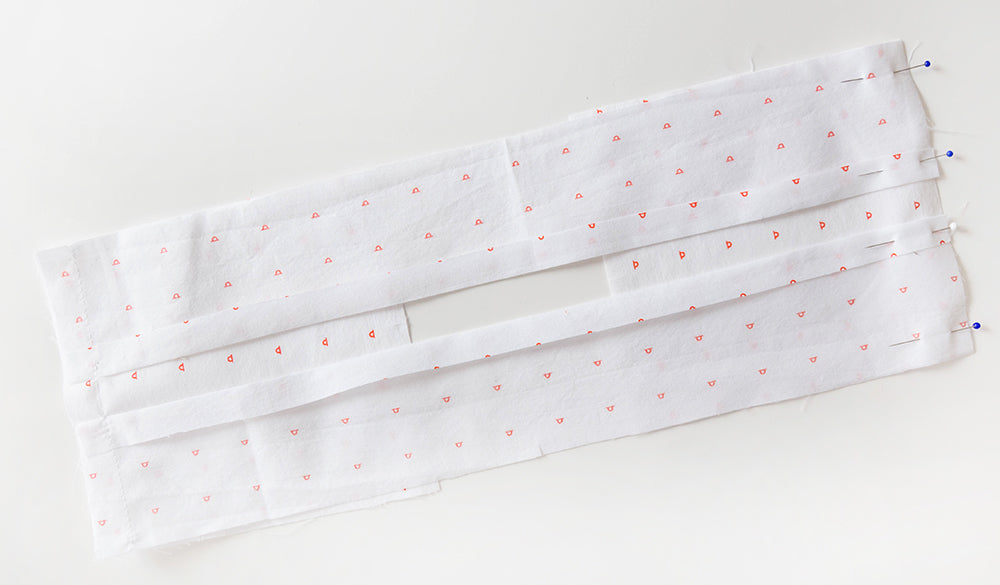
With right sides facing, pin the lining ends to the top pieces as shown. Sew along the ½″ seam line.

Press the seam allowances down towards the bottom of the bag. Your piece will look like the image above.
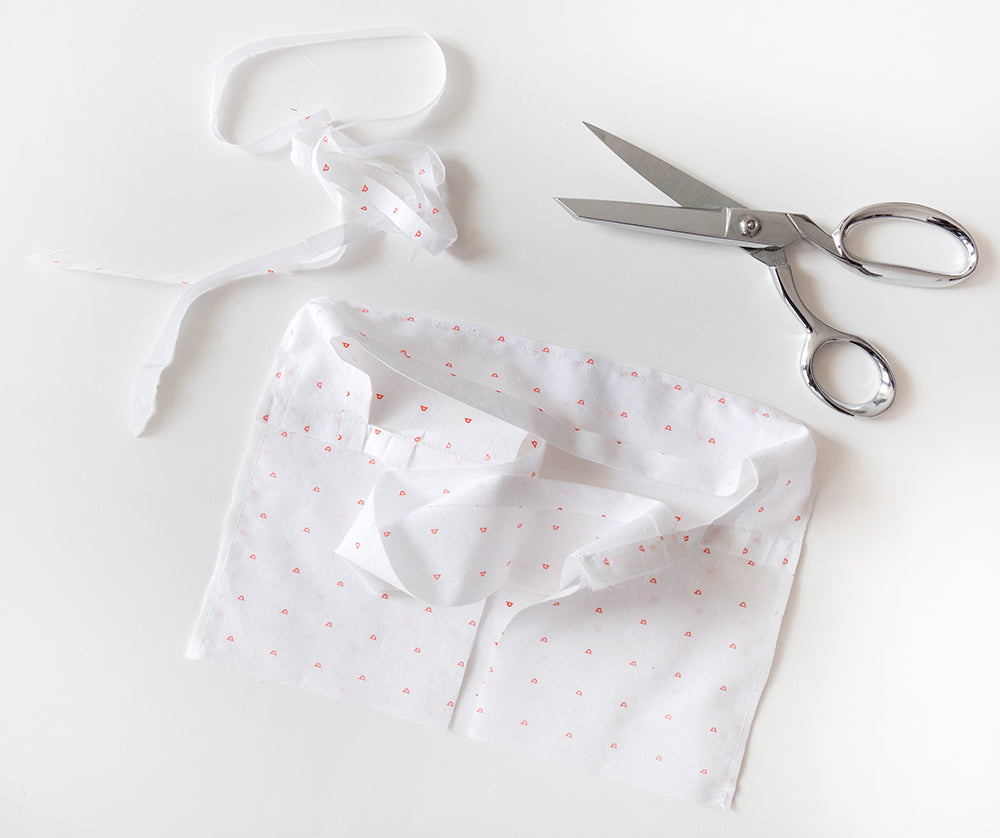
Using the same technique we used to assemble the body, attach the front and back panels to the side panel. We graded our seam allowances down to 1/8″ instead of clipping the curve to show you another way to achieve the same end, but you can do whichever you feel more comfortable. To learn more about this method for getting smooth curves, check out this post.

Once our front and back panels were attached we topstitched along the panel seams to match the stitching we did on the outside of the bag. This is completely optional and doesn't affect the function of the bag at all.

Attach the bottom using the same method as for the shell and you're finished! Our next step will be attaching the lining to the bag, then we're nearly finished!

Featured Products: