How To Sew and Turn Spaghetti Straps

When you ask sewists what skills or particular techniques they dislike, you're likely to get varied responses. But if you specifically ask them about their experience making spaghetti straps, you're likely to hear shared stories of resigned frustration. Whether you're new to sewing, or someone with years of experience, it can be challenging to turn long, narrow, and delicate tubes of fabric right side out. Sometimes the fabric doesn't want to pull through, and other times fraying fabric cause your straps to pop open along their length bringing you right back to square one. It may seem impossible, but we promise it isn't. In today's tutorial we're showing you the stress free method we use to make spaghetti straps! Don't worry about purchasing any fancy tools - all you need is your fabric, thread, a hand sewing needle, and scissors or thread snips.

Begin by cutting bias strips that measure 1.25" (3.18 cm) wide. Sew individual bias strips together until you have the length you need for your straps. If it's your first time making bias strips, or if you need a refresher, check out our Bias Tape Tutorial. We're not going to be turning our strips into bias tape, but this tutorial walks you through the process of cutting and joining individual bias strips.

After cutting your bias strip to your desired length, fold the strip in half so that the right sides are facing and press. Sew the strip, with the right sides facing, using a 3/8" (0.95 cm) seam allowance. Sew until you are 1/4" (0.634 cm) away from the end of your strip, back tack, and leave your seam tails long.

Pull both of the thread tails through the eye of your needle, and tie a knot to secure the tails to your needle.  Insert your needle into the tube of your strap eye first. Begin to slide your needle down and into the tube. In doing so, the seam tails attached to the needle and fabric edge will cause the open edge of the fabric to turn in on itself.

You may need to fold in the raw edges of tube opening, or fold the seam allowance over, creating a guide for the remaining fabric to follow as you turn your strap right side out.

Continue to gently wiggle your needle further into the tube, sliding the outer layer of your tube in the opposite direction.


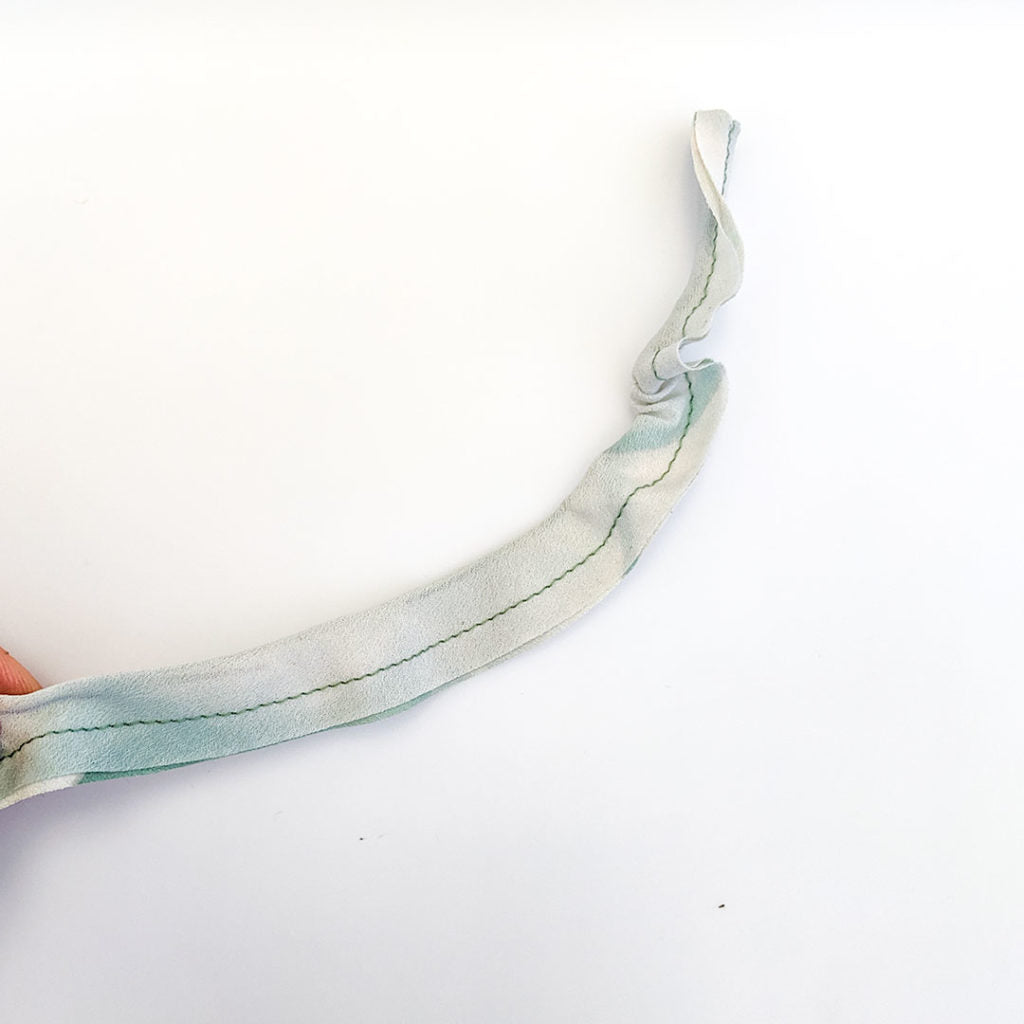
Eventually, your needle and 'right side out' strap will emerge from the end of your inside out tube. Continue to gently pull until the entire strap has been turned right side out. Trim your seam tails, and finish the strap ends as needed.

Pull each strand taut before pressing which will help the seam allowance lay properly inside of the tube. Then, repeat this process for any remaining straps. Hopefully you find this process of turning your straps as straightforward as we do! Do you have a different tool free method for turning straps? Let us know in the comments below!
