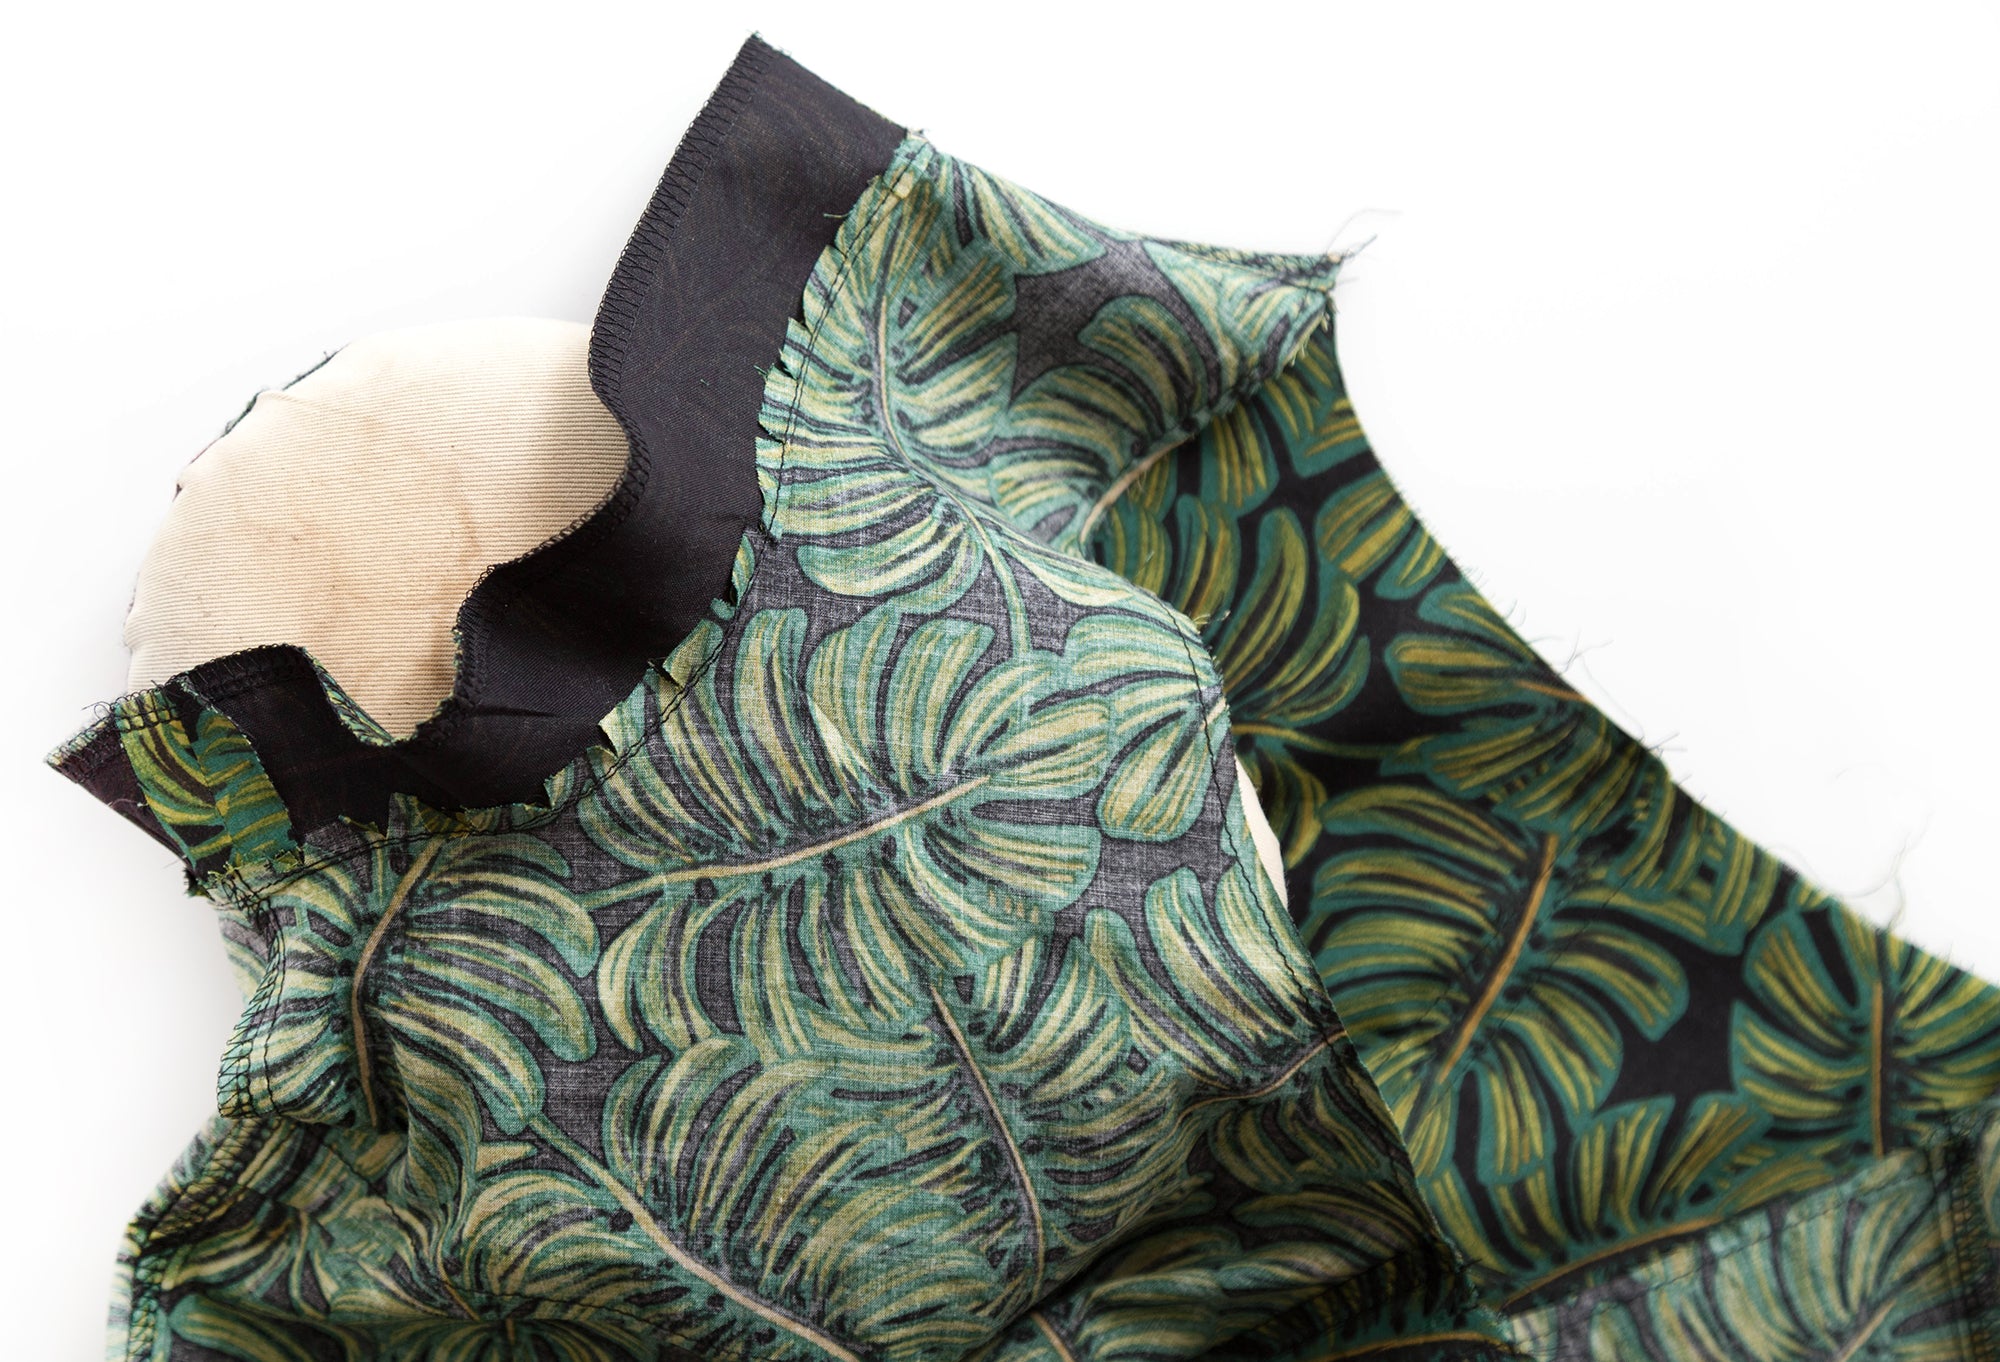
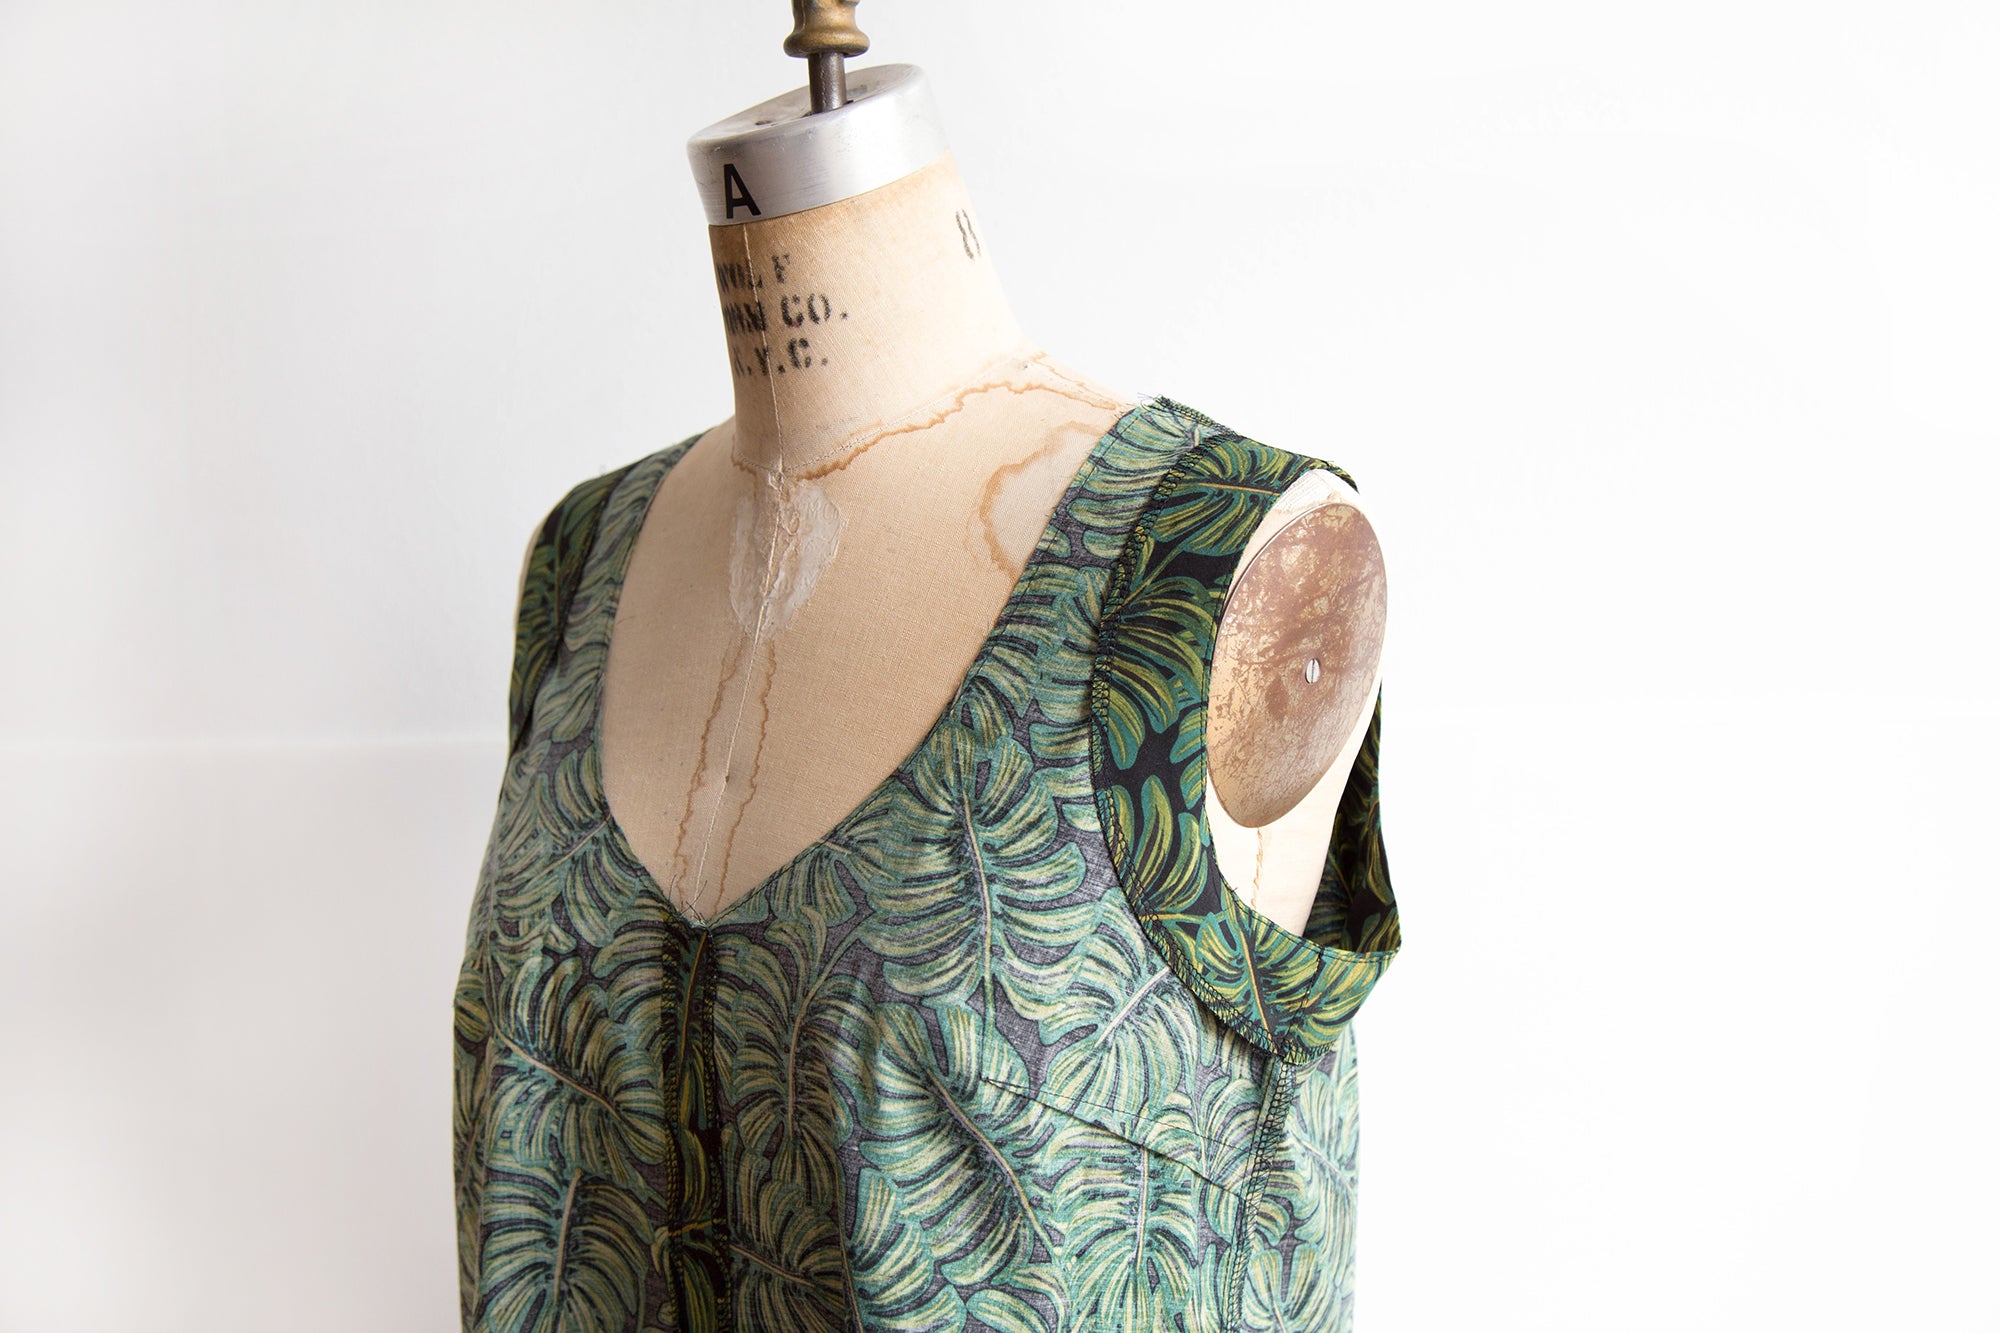
Hadley Sew-Along: View B Armhole Facings

Today I'll be showing you how to attach the armhole facings to your Hadley top. The great news about this step is once you've mastered it, the necklines are done the same way. Whoo!!

Hadley Sew-Along: View B Armhole Facings | Grainline Studio

To begin align the front and back facings along the shoulder seam and stitch that seam together. Press your seam allowance open.

Hadley Sew-Along: View B Armhole Facings | Grainline Studio

You don't need to finish the raw edge of the facings since they're interfaced but I like to serge around mine for an extra neat finish. If you're also serging around yours you'll want to do that at this step. Regarding this, I get a lot of questions about how to serge around a curved surface, since sergers really want to go straight. I've made the little video embedded below to show you how I do it.

As you can see I use my left hand as a pivot point for the fabric during the curved parts of the facing. Don't be afraid to use a little force, as you can see in the photos here even though it looks like I'm really manhandling the fabric it ends up completely flat when I'm done.

Hadley Sew-Along: View B Armhole Facings | Grainline Studio

Now sew the underarm seams together with right sides facing. Press the seam allowance open and your facings are ready to attach!

Hadley Sew-Along: View B Armhole Facings | Grainline Studio

Pin your facings to the armhole matching your seam lines and notches. Stitch around the armhole opening.

Hadley Sew-Along: View B Armhole Facings | Grainline Studio


You'll then grade the facing seam allowance and clip to, but not through, the stitching line on both layers of the seam allowance.

Hadley Sew-Along: View B Armhole Facings | Grainline Studio

Hadley Sew-Along: View B Armhole Facings | Grainline Studio

Press both the facing and the seam allowance out, away from the shirt. Understitch close to the seam line through the facing and both layers of the seam allowance. This will force the stitching line to roll to the inside of the garment giving you a super clean finish.

Hadley Sew-Along: View B Armhole Facings | Grainline Studio

Press the facing to the inside of the garment and tack the facing to the seam allowance at the shoulder and side seam to keep it in place.

Hadley Sew-Along: View B Armhole Facings | Grainline Studio

Repeat these steps for the other armhole and that's that, your armholes are complete! I'll meet you back here for some neckline finishing next, but as always if you have any questions just let me know in the comments below!

Hadley Sew-Along: View B Armhole Facings | Grainline Studio Hadley Sew-Along: View B Armhole Facings | Grainline Studio

Mentioned Products

  • Hadley Top 0 – 18
    Hadley Top | Grainline Studio