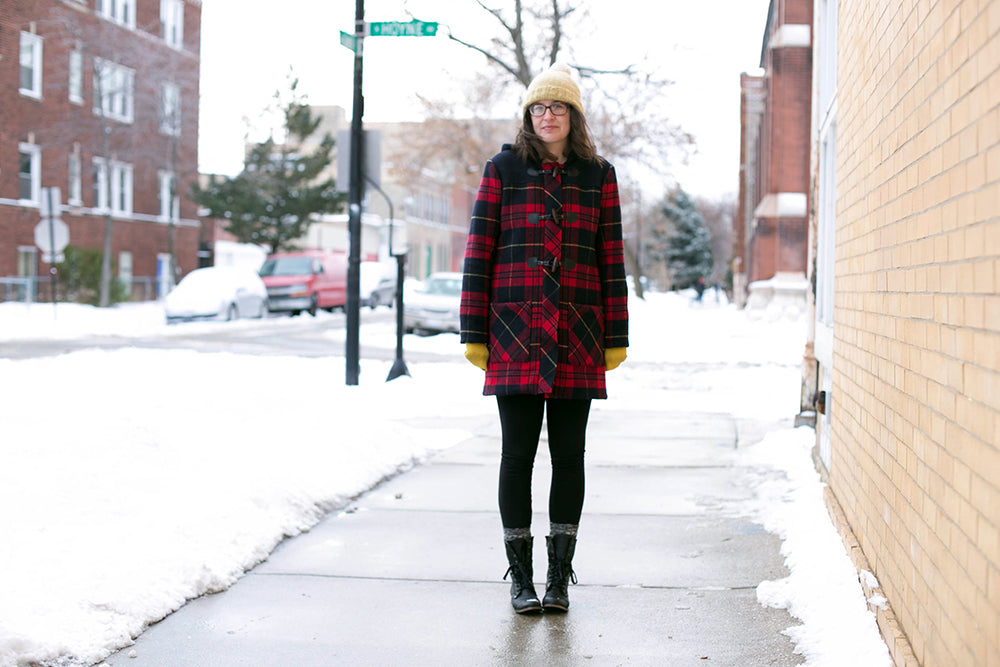
I know that sewing a full on winter coat can seem a bit intimidating but they really are a most rewarding project, and one of my favorite things to sew! In this post we are going to talk about choosing the right fabric as well as construction tips to get a professional and long lasting coat. The pattern used in this tutorial is my Cascade Coat pattern, paired with this unbelievably beautiful and warm Double-Faced coating. I'm also kind of freaking out about the toggle closures as well. So beautiful and actually made from quality materials. The colors really are a perfect match with this wool!

Selecting Your Wool
The first step on the road to your new winter coat is choosing your wool. This can be a bit of an intimidating process, there are so many types and weaves. Lets start out by talking a little bit about wool and the many properties that make it an ideal cold weather fabric
- Wool is a natural protein based fiber shorn from one of many types of sheep.
- Wool is an incredibly resilient fiber which means it has the ability to spring back after being crushed. In addition to resiliency cutting back on wrinkles, it also adds to the warmth and insulation wool is able to provide. Since the air pockets within each fiber of wool don't become crushed over time they are excellent for trapping body heat.
- Wool fibers have wicking properties that allow them to absorb moisture equal to around 1/3 of their weight, because of this wool will not only keep you warm, but also dry.
- Wool is more flame resistant than other fibers because of the higher temperature it takes to ignite it.

Britex has a pretty great selection of wool coating, from double face to melton to bouclé, but which one is right for your coat? Lets talk a little about each type.
- Boiled : this fabric has been knitted and then felted to create a dense fabric that falls somewhere between a knit and woven. It does not fray much.
- Melton : consists of short haired fibers which are tightly woven and then felted to create a dense, warm, stable fabric. Fraying on Melton is at a minimum.
- Tweed : a rough, textured wool mottled in color which can be woven with a plain weave or herringbone weave.
- Double Faced : double faced wool consists of two layers of wool linked together with a thread and then felted much like a Melton would be.
- Bouclé : loosely woven fabric made from a bouclé yarn which is usually 3-ply and has one thread looser than the others. This results in the nubby loops bouclé is famous for. Bouclé definitely needs to be lined and will fray badly when cut.
Keep in mind while selecting your fabric what sort of end result you're looking for. Do you want something warm and tailored? Try a Melton. A coat with a softer drape? Perhaps boiled wool for a warmer coat or a bouclé if less warmth is needed.
 Once you've selected your wool it's time to get to work! Below are a series of tips that I've found result in a more professional looking coat that lasts year after year and looks great the entire time.
Pre-Treating Your Wool

There are a lot of methods out there for pre-treating your wool fabrics. Some people like to toss them in the dryer on air dry with a damp towel and some people like to get the yardage dry cleaned as they would treat their finished coat. What I do is give the wool a nice press with a steam filled iron. I've never personally found any shrinkage to happen when dry cleaning any finished wool garments I've made but if you feel more comfortable, the above two methods are options.
Interfacing Application

I really can't underestimate the importance of proper fusible application. Wool is an amazing fabric, it molds itself and can transform shapes under heat and stress which can enable some really wonderful tailoring at times, but that also means that wool can stretch when you don't want it to at points of great stress. Typically on all of your garments you will be fusing your facings, but with a wool coat we're going to add a few extra places. You will want to fuse the front and back shoulder areas of your coat extending down along to the armholes. These parts of your garment are under constant stress and also get a great deal more body heat than the rest of your garment and by fusing them you are ensuring they don't stretch out of shape and hold up over time.

The hem is another place you'll want to make sure is fused, again, preventing any unwanted stretch and it also helps keep a sharp press along the bottom of your coat.


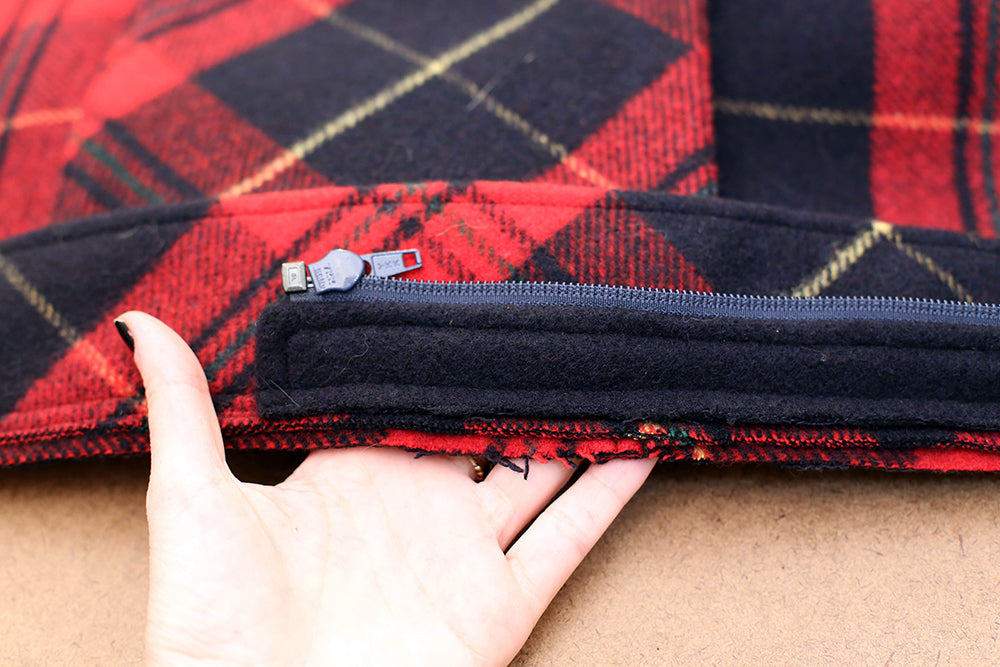
If you're adding pockets to your coat, place a square of fusible on the back of the garment slightly larger than the pocket you're sewing on. This way when you're waiting out at the bus stop in the freezing cold you can jam your hands into your pockets without worrying about stretching out the points where the pocket joins to the body of your coat.
Reducing Bulk Through Grading

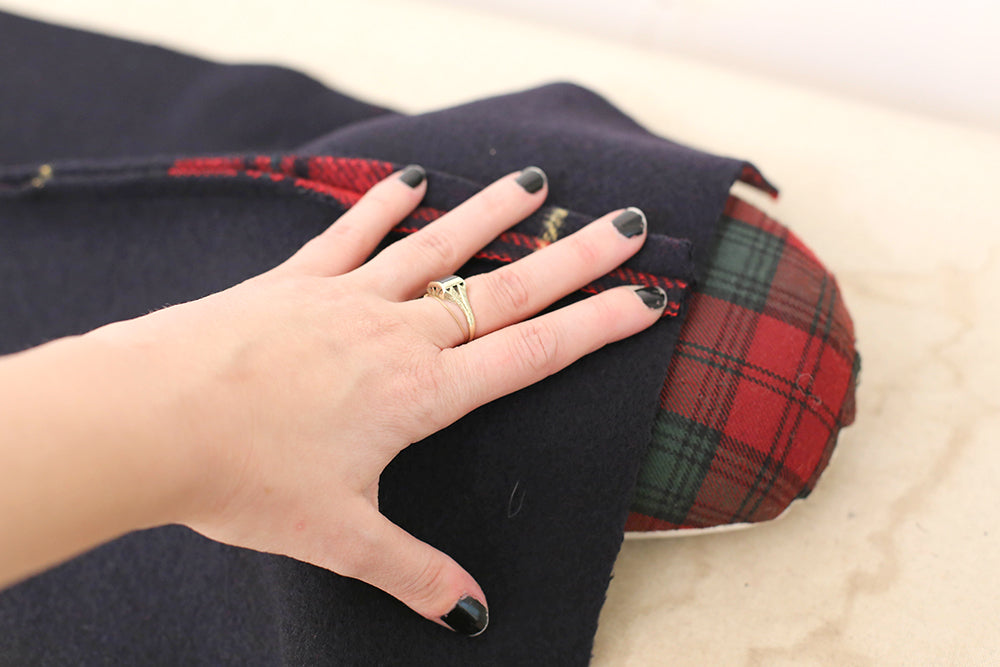
Things get bulky very quickly while making a wool coat and because of this it's a good idea to grade as many seams as possible. In something like the above photo, two seam allowances pressed to one side then topstitched, grading slightly reduces bulk and allows for a more beautiful seam line.


When working with a part of your coat where you have layers and layers of fabric such as the center front closure, grading becomes more than helpful, it becomes a necessity. Without grading the center front would be bulky and hard to turn to the inside of the coat.

If you're working with a double faced wool like I was you may want to consider separating the two layers for your facings. Since you want to interface your facings, they can get a bit bulky if left as the two layers.
Pressing Your Wool


When working with wool, the best way to press it is with a lower temperature (the wool setting on your iron) and lots of steam. Because of the properties we listed above wool responds remarkably well to a good steaming. What I like to do is press my wool seams on top of the wool side of my ham or sleeve roll and then after pressing the seam with ample steam, use my hand or a press cloth to press the seam till the heat and steam has dissipated. This allows the steam to really set the seam crisply.
Sewing with Wool

If your sewing machine comes equipped with a walking foot it could be your wool coat making best friend, especially if you're making a plaid one like this! A regular foot can have a hard time with the thickness involved in a project like this but with a walking foot you just glide on through. A sharp, heavy duty needle and a slightly longer than normal stitch length are also a great idea to get you through this much fabric.

I hope you feel a bit more confident with the idea of making your own wool winter coat, it really is a fun time and all your friends & family will be so impressed with your work too. Just take your time, breathe, and follow these tips and you'll have a quality garment to last the years over!


 Once you've selected your wool it's time to get to work! Below are a series of tips that I've found result in a more professional looking coat that lasts year after year and looks great the entire time.


