Getting Flat Bias Necklines
I often get questions asking how I get my bias faced necklines to lay flat, so I’m here today with a tutorial to help you do just that. It can be really frustrating to make a garment that looks so good only to have the neckline not lay right against the curves of the body, in fact, I’m pretty sure that was a telltale sign that I had made the garment I was wearing back in the day.
So first off, if you’re wondering what a bias faced neckline is, it’s where the neckline if finished with a strip of bias fabric that is turned to the inside and stitched in place. It’s how I finished the necklines of both the Tiny Pocket Tank and the Scout Woven Tee. It's really very easy, just a few extra steps and some pressing that are well worth it in the end. As usual with tutorials this is an image heavy post, so click the link below to view the entire tutorial.
A quick note...
This tutorial uses a 1" wide bias piece with 1/4" seam allowances to create a finished bias facing of 1/4".
Step 01 | Preparing Your Garment

Sew and finish the side and shoulder seams and any other seams that will intersect the neckline.
Step 02 | Making Your Bias Band

Most patterns will include a pattern piece for the bias strip you will need to finish your neckline. If so, cut this out of your desired fabric and join at the center back. If you don't have a pattern piece for whatever reason or you want to use ready made bias tape measure your neckline at the seam line and cut a bias piece about 1/8" shorter than your measurement.
Step 03 | Attaching the Bias Band


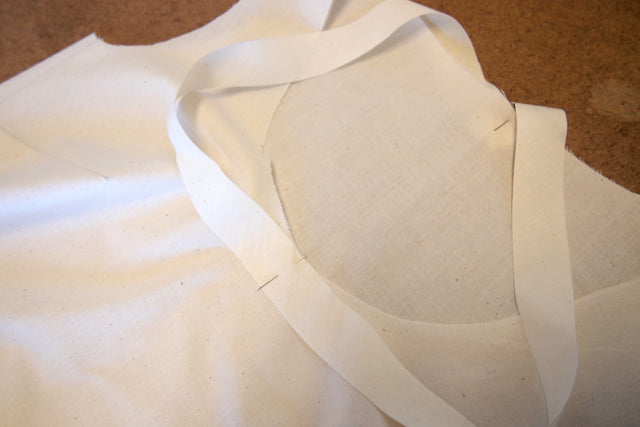
Pin your bias band to the neckline at the center front and center back. Then pin around the sides of the neckline evenly distributing any excess you might have. Stitch around the neckline.
Step 04| Clipping and Grading

Grade the seam allowance of the bias band to 1/8", then clip to, but not through, the seamline all the way around the neckline.
Step 05 | Understitching


Press the bias facing away from the garment so that it is now on top of the clipped and graded seam allowance.


Stitch through the seam allowance and bias facing about 1/8″ away from the seam line.
Understitching will help the seam roll neatly to the inside of the garment so that no seams or binding are visible on the front of your garment.
Step 06 | Finishing the Neckline

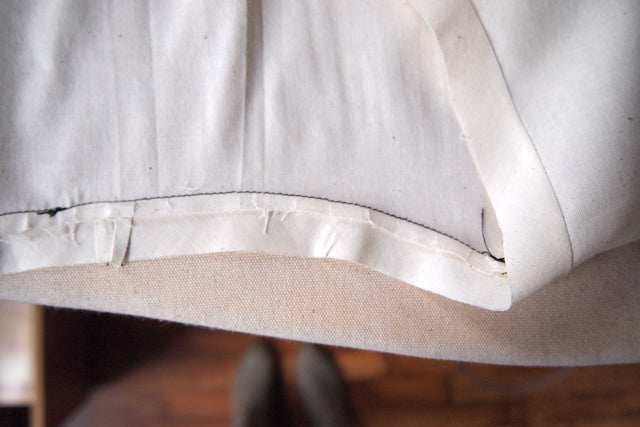
Press the bias facing to the inside of the garment rolling the seam to the inside as well.

Fold the 1/4" seam allowance under and press flat. I find it easiest to press the neckline on a ham during these steps since it echoes the finished curve of the neckline.
Pin the bias facing in place as you work around the neckline.


Stitch the binding down with a 1/4" seam allowance or as close to the folded edge as you feel comfortable.
Step 07 | Final Pressing

Give the neckline a final pressing all the way around to smooth out the neckline.
Step 08 | You're Done!


Pop on your garment and admire your beautiful neckline! You might want to do a better job clipping your threads than I did here though. Too bad I'm no good at Photoshop or I could retroactively fix that. Bummer. As usual, if you have any questions, comments or whatever leave a note below. This is of course one of many methods to finish a neckline with a bias facing, it just happens to be my preferred method. Hope you find it useful!
