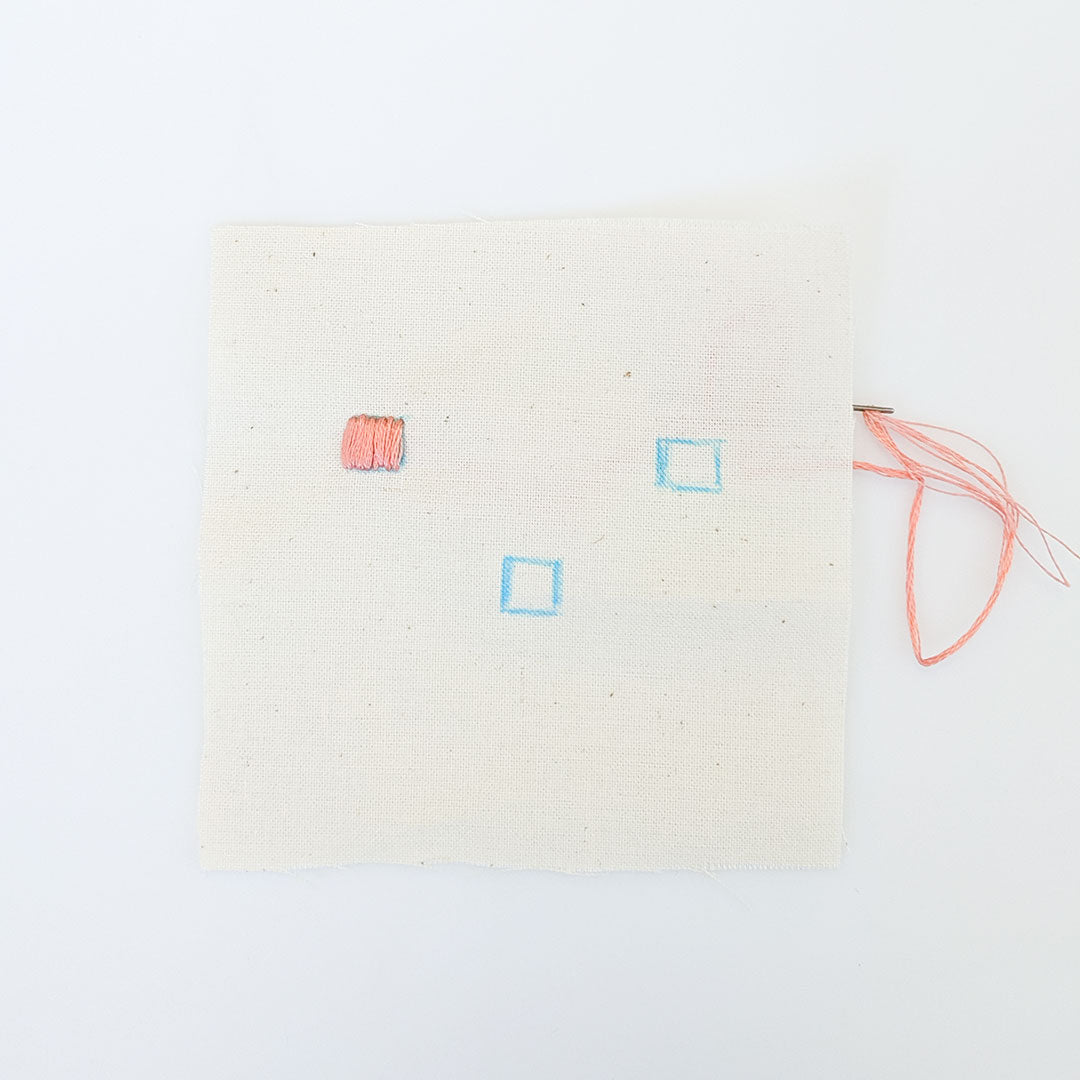
Five Basic Embroidery Stitches

Earlier this week we shared some embroidery inspiration in the form of these two embroidered Lark Tees. Today, we're circling back and breaking down five basic embroidery stitches with step by step instructions! Here are the five stitches you'll be learning today:

- Back Stitch: This stitch can be used for straight lines, curved lines, and is a great choice for outlining areas.
- Stem Stitch: This angled rope like stitch is perfect for flower stems, curved lines, straight lines, and outlining.
- Satin Stitch: The Satin Stitch as a filling stitch, use this to shade in solid areas.
- French Knot: Used as a decorative stitch, French Knots can be used for flowers, eyes, or other details.
- Chain Stitch: Another outline stitch that can be stitched straight or curved.
Back Stitch


Begin by bringing the needle up from the underside of the fabric. Take a small stitch backwards from the original stitch point.


Pull the thread taught. Then bring the needle up from the underside of the fabric above the original stitch point. Be sure to keep the stitch length uniform to the stitch you previously created.


Again, take a small stitch backwards and then pull the stitch taut. Ensure that the stitches are smooth, uniform, and aren't causing any pulling on your fabric. Repeat the previous two steps. Continue until your Back stitch chain is your desired length.
Stem Stitch


Begin by bringing your needle and thread up from the underside of the fabric. Take a stitch forward and begin pulling the thread to the underside of the fabric.


Before the thread and stitch are completely pulled tight, bring the needle and thread up from the underside of the fabric halfway between the original and subsequent stitch. Pull the thread taut.


Repeat the previous steps, and continue until your Stem stitch is your desired length.
Satin Stitch


Begin by outlining the shape you're planning to fill with a washable fabric marker or some other marking tool. We recommend testing the marking tool you plan on using on a scrap piece of fabric to ensure it can be removed without leaving any marks behind. Then bring your needle and thread up from the underside of the fabric at the edge of the shape you will be filling.


Stitch to the opposite edge of your shape. Pull your thread taut.

Repeat the previous steps being sure to keep your stitches very close together. This will create a consistent fill.
French Knot

If you need to make the video larger, hover your mouse over the bottom of the video screen and click on the four arrows pointing in opposite directions to play the video full screen.
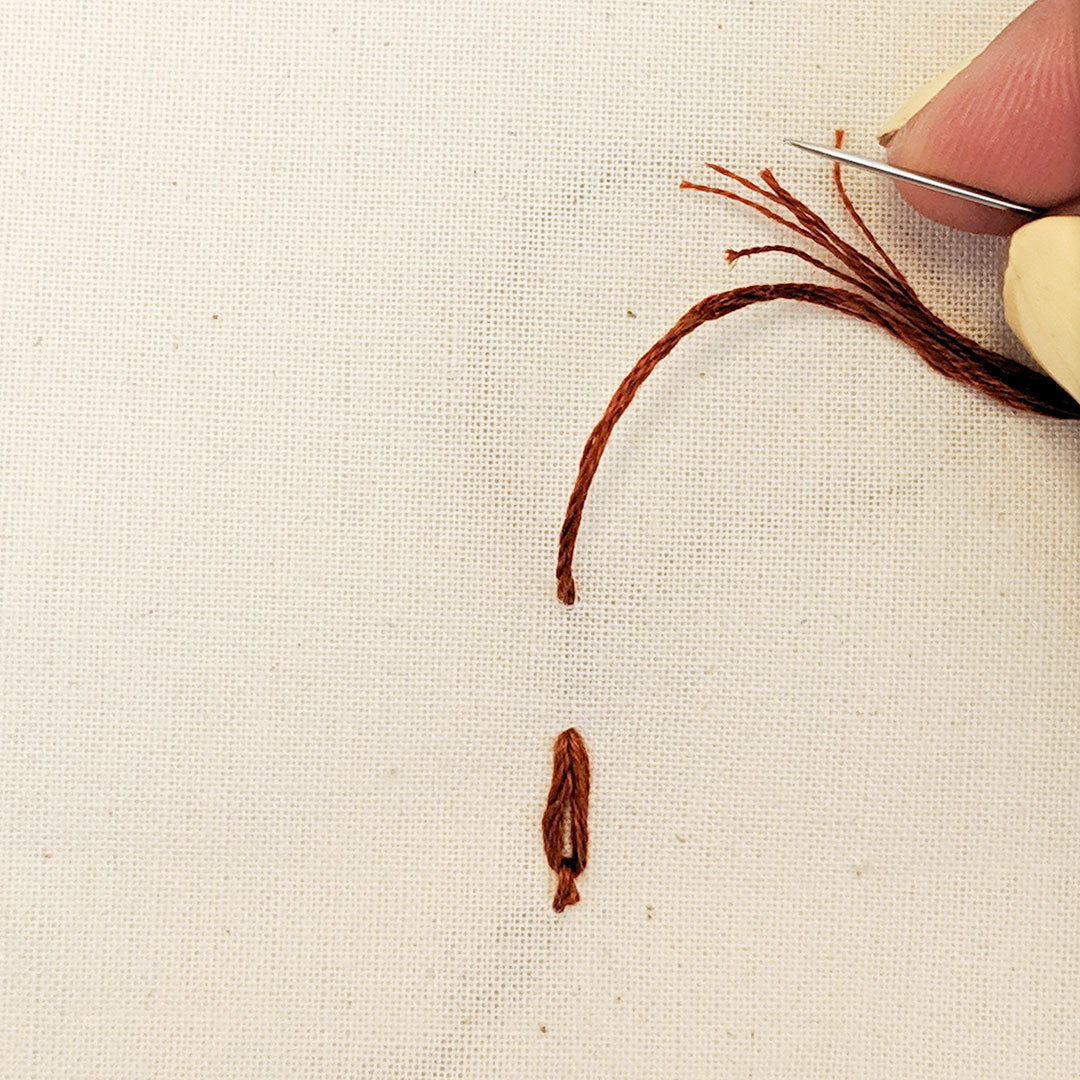
Chain Stitch


Begin by bringing your needle and thread up from the underside of your fabric. Take a small stitch forward and pull taut.


Take a stitch ahead of the stitch previously created. Then, loop the needle and thread underneath the previously created stitch.


Bring the needle and thread back towards the previous stitch and reinsert the needle through the same hole. You've created your first chain!


Repeat the previous steps to continue your Chain stitch until you achieve your desired length.
Do you have a favorite embroidery stitch? Let us know below!