Cascade Sew-Along: Making Your Own Toggle Closures
Shop this post

Cascade Duffle Coat
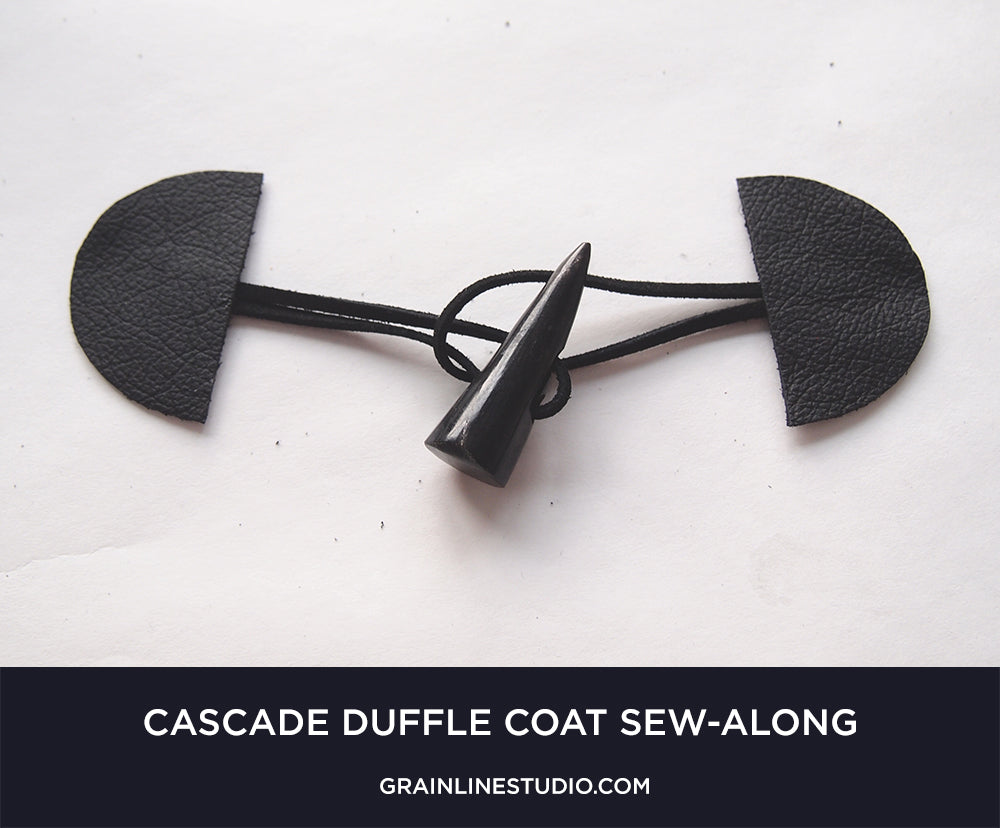
I know a lot of you are planning on making your own toggle closures so I thought I'd slip this post in before we attach the button bands so that you're all ready to go and can sew your toggles on straight after that step. If you need a supply list for making your own toggle closures, please check out this post on gathering your supplies.


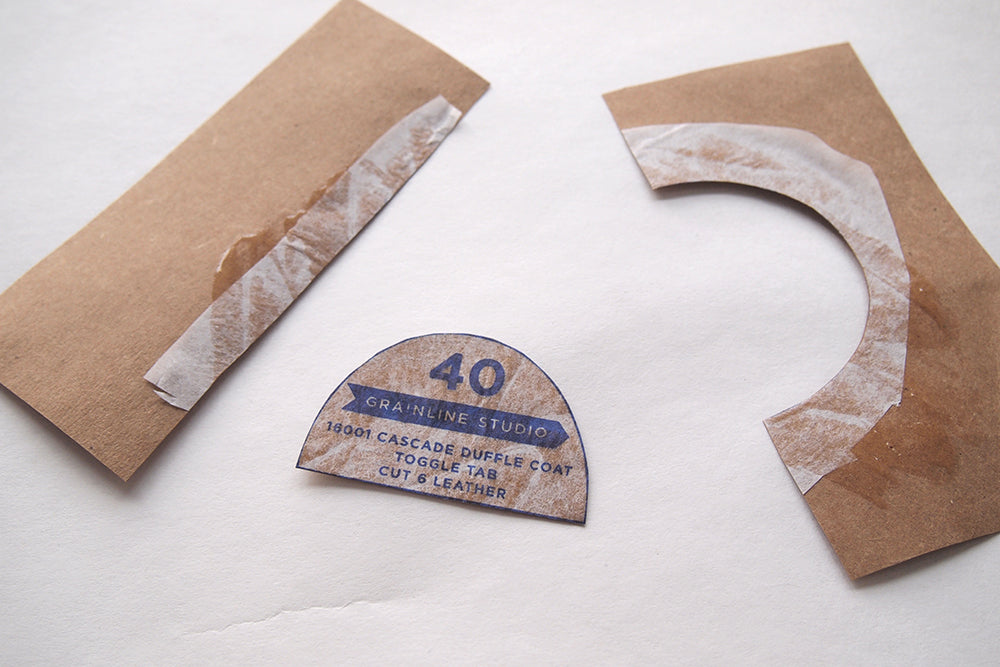
Before you start you're going to want to lay down some paper to work on top of. Believe me you do not want to super glue anything to your nice table. Okay. You can start by tracing your toggle pattern piece onto heavier paper or just glue it on like I did. This isn't a necessary step but I find it much easier to trace the toggles onto leather when they're on thicker paper than the tissue.


Trace your toggle onto the leather. You'll need three closures so cut 6 tab shapes out of the leather. I used a sharpie to trace mine on, then just made sure to cut away any markings.

You'll then need to cut your leather lace into the proper length for your closures. To some extent this will depend on the type of toggle button you're using, how far apart the holes are and how thick the button is, but for mine I found approximately 7" worked well. When marking how long to make your lacing you'll want both ends to fall towards the center of the toggle closure with the button hitting in the center of the front band.

For the toggle button side of the closure, thread the lacing through the buttons making sure that nothing is twisted.

Place a dab of your glue in the center of the toggle tab and stick your lacing down. You'll want to give it a good press to make sure it's held in place properly but don't use your finger! Take an old pencil or something you don't mind super gluing and use that to press it in place.

Repeat the same steps, minus threading the button, for the other side of the toggle closure. Make sure your toggles are completely dry before you attempt to attach them to the coat. I like to let mine dry overnight because better safe than stuck to your coat! Up next, attaching the front zippers, bands, and the beautiful toggle closures you just made. Stay tuned!

Featured Products: