Today we'll be assembling and attaching the hood. Start by grabbing your self hood pieces and set the hood lining and facings aside for a moment.


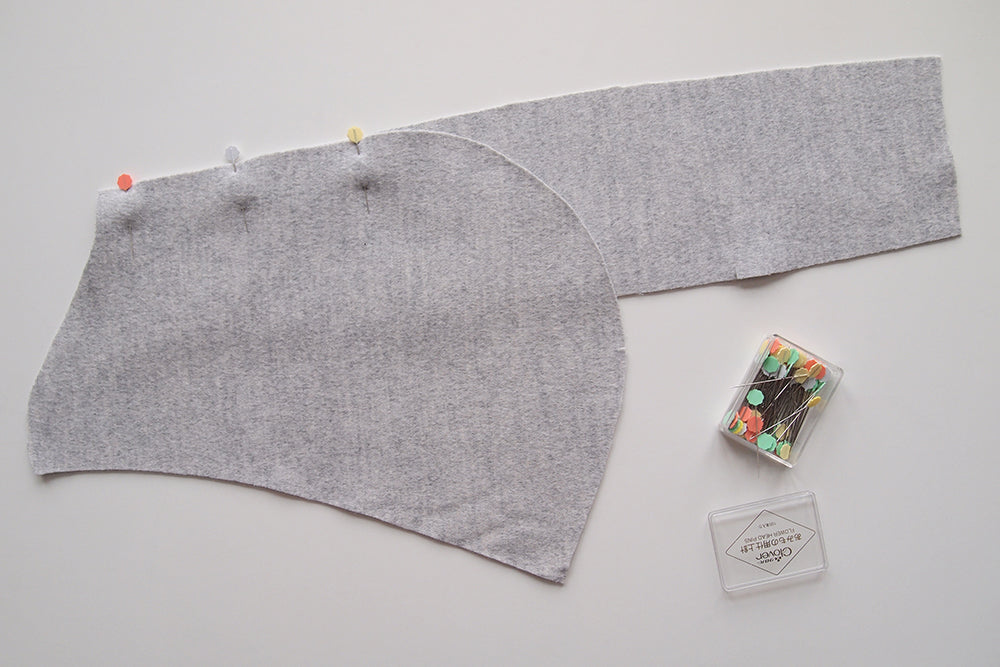
With right sides facing pin the center hood to one section of the side hood. Match edges and notches, then pin around the curved section.


Sew the two pieces together and notch along the curve of the hood.


Press your seam allowance open. Using a ham for this will help you smoothly press along the curved seam allowance of the hood.

Repeat these steps to attach the other side of the hood.

To assemble the hood lining, follow the above steps with the lining pieces.

For the hood facing, sew the two side facings to the center facings. Make sure to match your notches so the center panel isn't sewn in backwards. Press your seam allowances open and grade them in half.

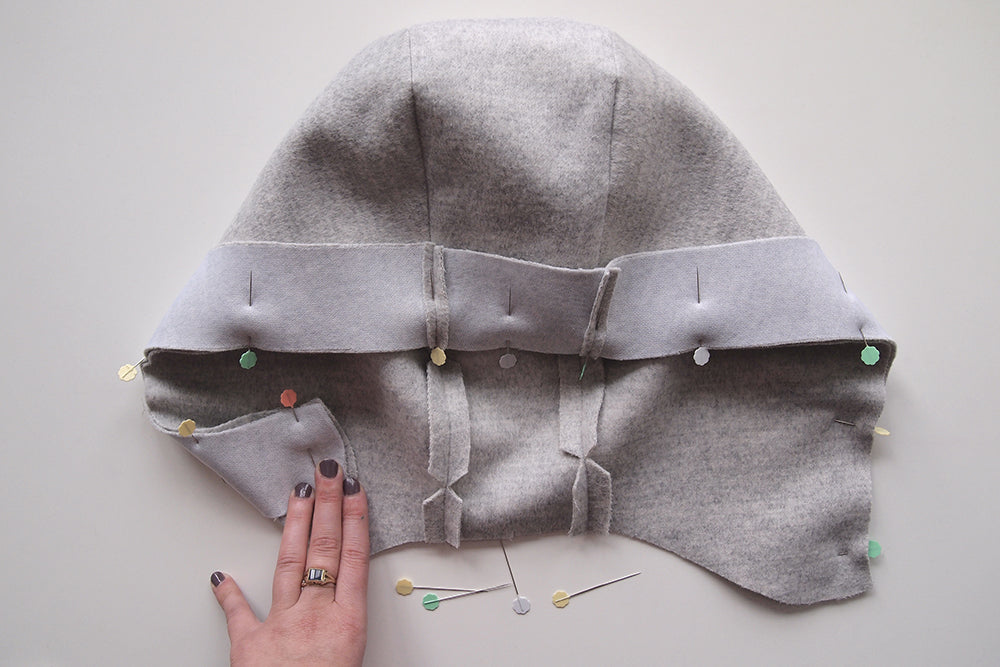
Pin your hood facing to the hood with right sides together. Make sure to match your edges and seam allowances, and sew the two layers together.

Grade the facing side of the seam allowance.

Press both the facing and the seam allowance away from the hood.


Understitch along the facing side of the seam.


Press the facing to the underside of the hood, be sure to roll the seam line slightly to the inside so that it doesn't show on the outside of the hood. The understitching you did in the previous step will help ensure this happens.


Align the raw edges of the hood lining and hood facing with right sides of the fabric facing each other. Match your seams and fabric edges. Stitch together.

Grade the seam allowance of the lining.
Flip the hood right side out and align the raw neckline edges of the hood and lining together. There will be a bit of overlap in the lining which forms a pleat at the edge of the lining, this allows for movement inside the hood and acts in the same fashion as the hem pleat of a lining. Fold the excess over as shown above and stitch the two layers together just inside the seam allowance.

You now have a completed hood which we will attach to the neckline in the next step.

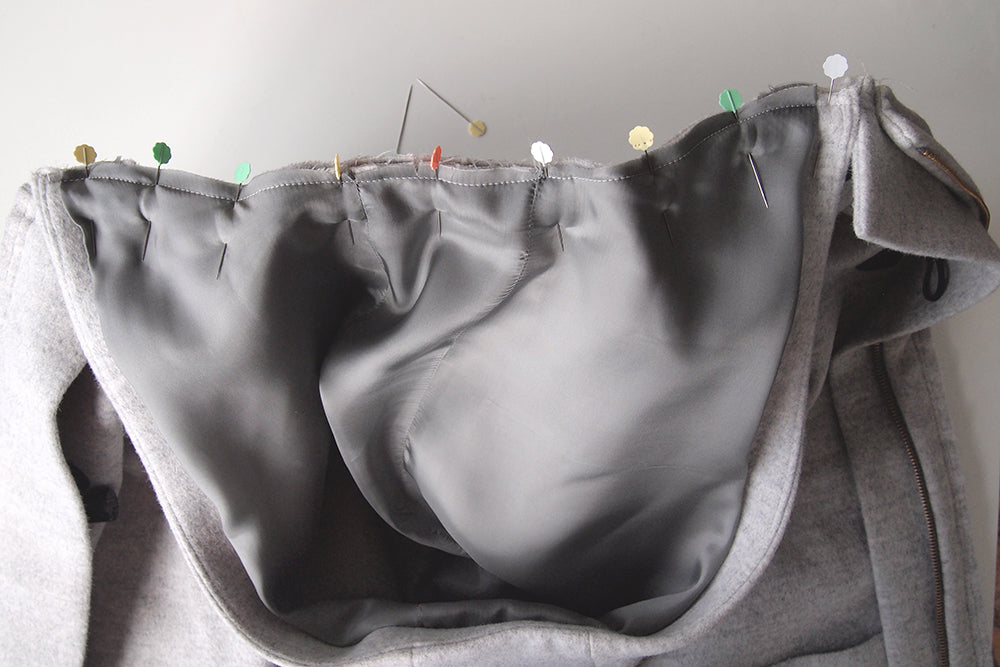
Lay the coat and hood out in the above formation. The right side of the coat should be facing up and the lining of the hood will also be facing up.

Match the center back notches and the fronts of the coat. If you read the post on attaching the collar, you'll want to align the front edge of the hood in the same fashion. The seam line of the collar should hit right at the corner of the seam allowance of the front of the coat as it does in the above photo.

Pin the rest of the hood in place and stitch through the hood and neckline to attach the hood to the coat. You don't need to clip or notch any seam allowances quite yet, we'll get to that when we attach the lining of the coat.

You'll now have your collar or hood attached and are ready for the next step of assembling the lining and facings. See you back here for that part next!


