Cascade Sew-Along: Cutting & Prepping Your Pieces
Shop this post

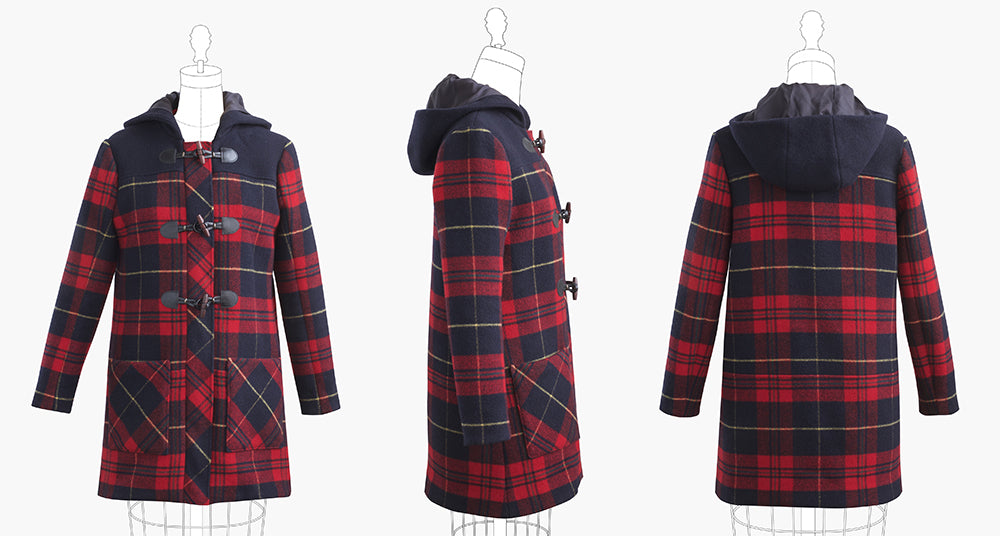
Cascade Duffle Coat

Today I'll be guiding you through selecting your size, cutting, and prepping your pieces to begin sewing. Lets start by getting out our pattern booklets and looking at the size chart and finished measurements.

I've highlighted my sizes in the photo above, 2 in the chest, 4 in the waist, and 4 at the hip (thanks yoga!). I could cut between the two sizes but since I wear a lot of oversized tops & bulky sweaters, I'm going to go straight 4.
You'll notice that the finished measurements include quite a bit of ease from the body measurements. You may have the urge to size down quite a bit, but remember, this is a winter coat that you may want to layer over a sweater. If you're going to make a muslin for this pattern, I recommend using a fabric with a similar weight to your final fabric if possible. An unlined muslin shell of the coat will feel much looser than the final thick, lined wool (or medium weight twill if you're going that route).
One thing you'll want to take into consideration is if you are interlining your coat with Thinsulate or something similar, you will want to go up a size because of the bulk involved. Trust me, I learned the hard way.

This coat has a lot of pattern pieces, 40 in total, but luckily you don't need all of them if you're only making 1 version of the Cascade.
- No matter whether you're making A or B you'll need all the pieces found in the section labeled Pattern Inventory Views A & B, which is pieces 1-14 and piece 40 if you're making your own toggles.
- For View A you'll additionally need the pieces in Pattern Inventory View A, pieces 15-25.
- For View B you'll additionally need the pieces in Pattern Inventory View B, pieces 26-39.
I find it helpful to cut all the pattern pieces out and then sort them into piles based on what fabric you're cutting them from. I would have a pile for self, a pile for lining, a pile for contrast (because I'll be using contrasting fabric on my zipper bands and hood lining), and a pile for interfacing. 4 total types of pieces. Some are cut from more than one fabric, in that case start them out with the pieces you'll be cutting first, then move them over to the next pile when you're finished.
I won't be showing you step by step how to lay out your fabric - since this is an advanced pattern you should be familiar with using a cutting layout diagram and I really want to spend more time on actually sewing the coat. If you have questions you can see this post on cutting from the Alder Sew-Along.

Cutting Your Self Fabric
Before you start cutting your fabric make sure that you've pre-treated it using the same method you plan on using to launder it with once it's finished. For cotton, you can toss it in the washer / dryer and be done with it. With wool, most likely you'll be dry cleaning the fabric. Some people like to put their wool in the dryer with damp towels but I've never done that so I can't recommend or not recommend that method.
Occasionally if I have a sort of questionable wool source I'll take the yardage in to get dry cleaned before I get started. This usually happens when I'm purchasing from a jobber who may not always list, or know, the complete content. Any dry cleaner will do this and if you think your dry cleaner might find it strange (mine likes to tease me about weird things I bring in sometimes) don't worry about it, just tell them it's a blanket. If I'm working with good quality wool and I'm confident I know the complete fiber content (usually 100% wool), I just give it a good steam press before cutting and get to it. I've personally never had any trouble with shrinkage from dry cleaning after the fact.

Matching Stripes, Plaids & Prints with a Two Piece Sleeve
If you're using a fabric that has a print, stripe, or plaid you'll most likely want to match your print across the pieces of the coat. I have a tutorial for plaid matching here (the same method applies for prints & stripes) but since this pattern has a two piece sleeve that slightly complicates things.
Everything is the same as the tutorial I linked to, except for the two piece sleeve. To mark that you're going to want to take the two pieces of sleeve and align them with each other along the side seams. From there you can mark a line across the underarm of the lower sleeve piece and transfer that to the upper sleeve. Since the side seams are matched up your print will match across the two pieces.
Cutting Your Lining
As for the lining, if you're using Bemberg you'll want to do a full press of the fabric prior to cutting because it does occasionally shrink with heat. I usually do a press with light steam on both sides of the fabric prior to cutting. If you're using cotton or flannel, again wash the fabric in the same way you intend on laundering the final garment.
While I love the Bemberg on the body and sleeves of my coats, I like to cut my zipper bands and hood lining out of a more decorative fabric. You can use flannel for the entire lining of the coat, I did this on the original grey version of this coat, but one thing I've found is that sometimes the friction between the flannel and the garment you're wearing underneath can result in the coat creeping up your leg a bit.
Cutting Your Fusible Interfacing
Since we're not using bonded fusible for this coat you'll want to make sure you pay attention to the grain line on your pattern pieces. In addition to fusing the standard pieces such as the facings and front bands, we're also going to fuse a few high stress places. The point of this is is to reinforce the fabric in the points that wear faster than other non-stress points of the coat. We'll be reinforcing the yokes and around the armholes as these places take a lot of stress from the arms moving as well as the area behind the pockets.

Prepping Your Pieces
The last thing we'll cover today is prepping the coat to begin sewing by fusing all interfacing. Make sure you use a press cloth between the iron and the fusible to keep your iron clean. Follow the instructions included with your fusible interfacing to adhere the interfacing to the self fabric. If you need further instruction on this please reference this post.
Next up: Assembling the Fronts, Backs, and Pockets & Attaching the Pockets to your coat

Featured Products: