Archer Sew Along: Making the Button Bands
Share
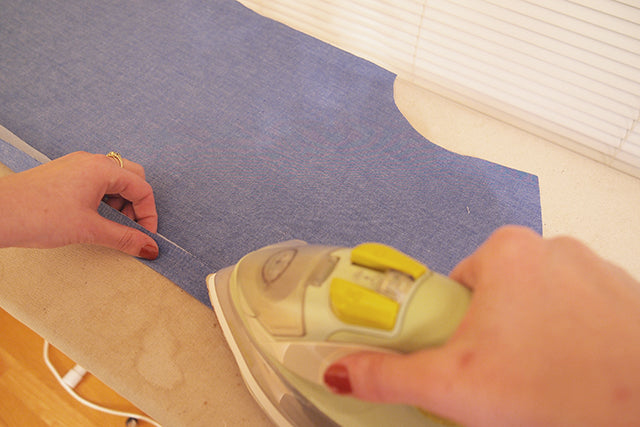
Today we're going to be making the button bands. Starting with the left front button band, which we interfaced yesterday, fold one inch of fabric from the CF edge over to the underside of the shirt.
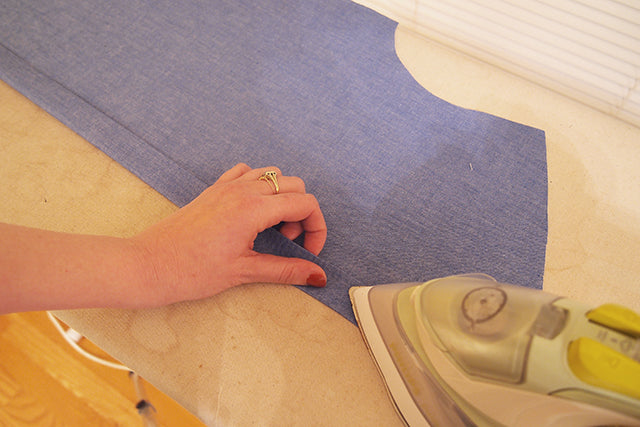
Fold that edge over again so all raw edges are concealed inside the button band.
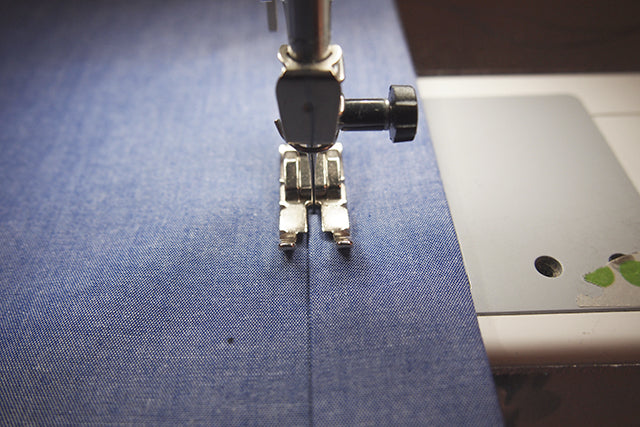
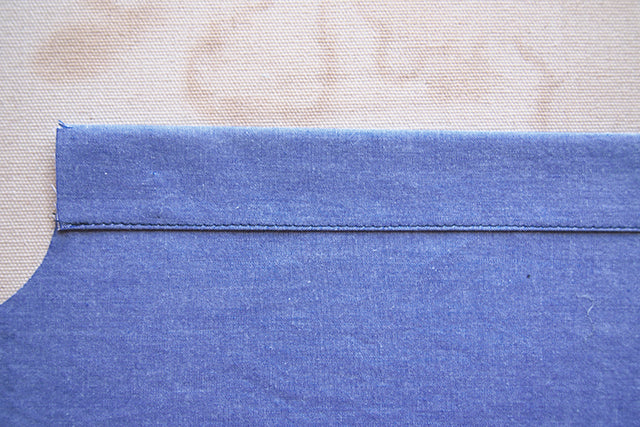
Stitch as close to the folded edge as possible. I usually do about 1/16" which is approximately where the inner edge of my foot starts. Set the left front aside.
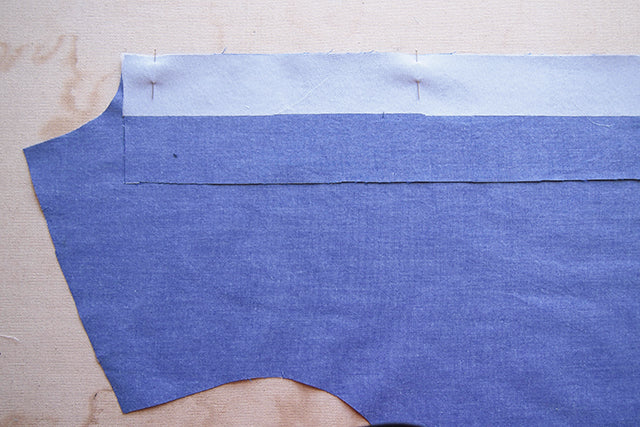
Now for the right front button band. Pin the button band to the right front with right sides facing and stitch along the 1/2" seam allowance.
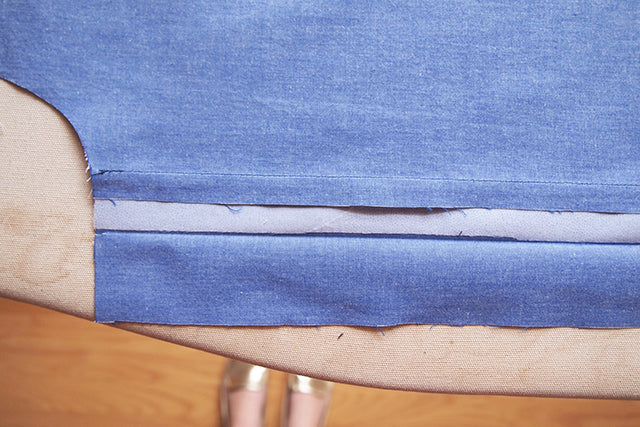
Grade the seam trimming the seam allowance of the button band and press the button band towards the CF. I like to press a crease in the center of the button band at this step as well.
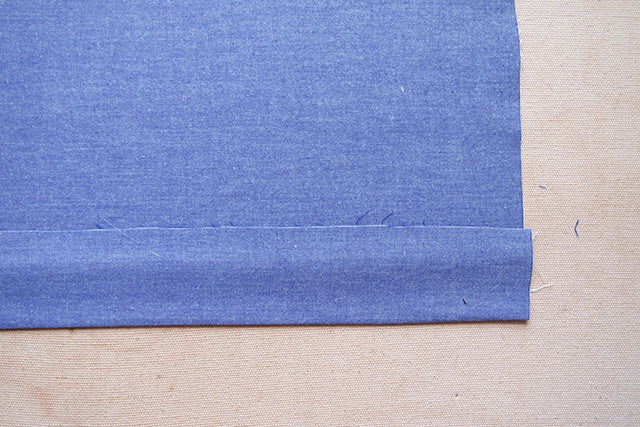
Fold the seam allowance under and press.
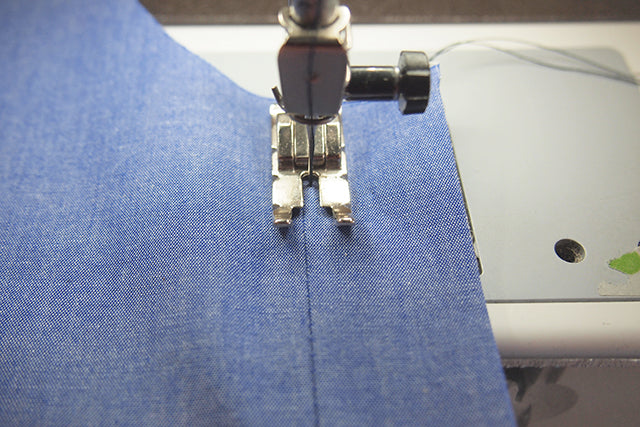
You're now going to stitch the seam in place while simultaneously topstitching along the front edge of the button band. Again I like to stitch 1/16" from the edge.
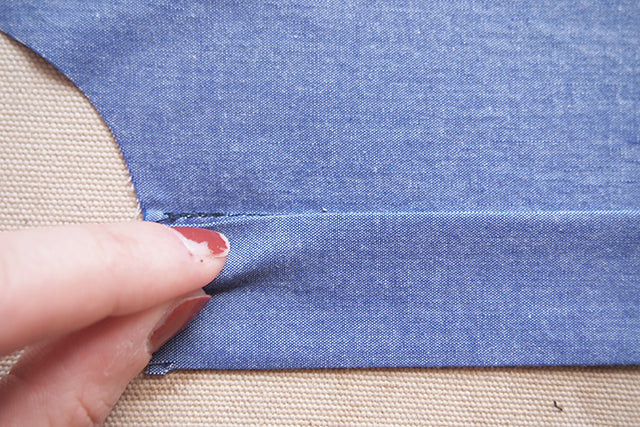
If you're worried about catching the back of the button band while topstitching with the right side of the garment facing up here's a little tip for you. When you fold under your seam allowance, make sure that the fabric overlaps the seam line. You don't have to overlap by much, mine usually only overlap about 1/16" (apparently that is the magic number of today's blog post) but that will be enough to ensure that you don't have any places where you don't catch.
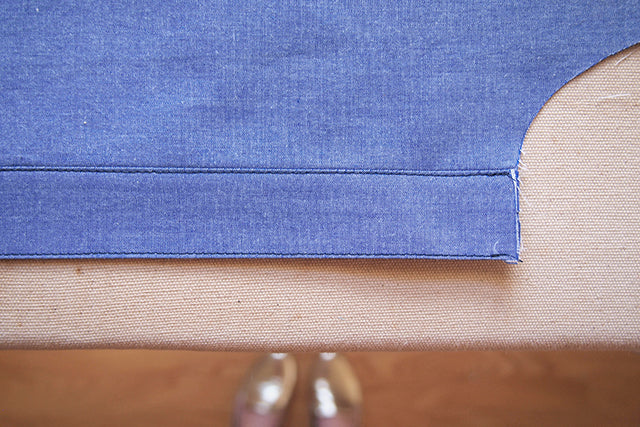
I also like to stitch along the other edge at the same distance because I think it looks nice and finished. I also love symmetry. It's really up to you on what type of look you like though. No special silk instructions today because all steps are the same for all fabrics!
