Archer Sew Along: Assembling the Pattern
Shop this post

Archer Button Up Shirt

Archer Button Up Shirt
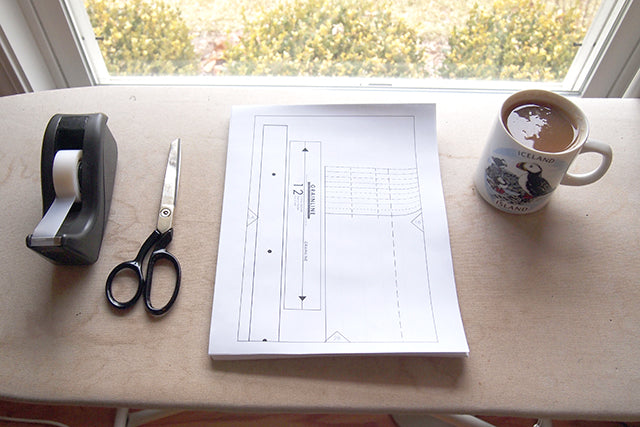
Are you guys all ready for this Archer Sew Along Adventure? Today we'll be assembling our patterns, selecting our sizes, and adjusting for length, width, and cutting between sizes if, like me, you fall into a few different size groups. For starters, gather your supplies for assembling the pattern. If you don't have the pattern yet you can get it here. You'll need the following...
- tape
- paper scissors
- your printed Archer pattern
- caffeine (I'd like to recommend chai with honey and almond milk)


Trim the edges needed, align the numbered diamonds, and tape that pattern together!

Another thing I like to do while taping the pattern is to separate pattern pieces as they become complete to make it easier to fit on my table. Just a little tip.

Now it's time to select our size and make any adjustments needed. Find your measurements on the chart included on the pattern. If you're like me you'll be blending between sizes. I'm going to be going with a 2 on top despite my bust measurement because of my shoulders and a 4 on the bottom.

In addition to blending between two sizes, I'm going to lengthen my shirt by 2" so I can demonstrate how it's done. Shortening is done by the same method. Start by cutting the Center Front (henceforth abbreviated as CF) pattern piece down the "Lengthen or Shorten Here" line. Tape a piece of paper to the top half of the CF pattern and extend the CF edge of the piece. This is to make sure when you attach the bottom half of the pattern piece after extending you're still doing everything on grain.

Decide how much you want to lengthen or shorten the pattern by and draw a line parallel to the cut line at that distance.

Tape the bottom half of the CF piece along the new line you drew paying attention to make sure the two pattern pieces are still on grain and properly aligned.

Now blend between sizes if need be by aligning your ruler so that you get a smooth line between the two sizes. Draw the new edge and cut your piece out following the line you just drew. Repeat for the Center Back (henceforth abbreviated as CB) as well.


Make sure you notch your pattern so that you don't forget to transfer these marks to your fabric. You probably have a favorite method of doing this already so I'd recommend doing what you're used to. I use a pattern notcher to clip into the pattern piece. You can achieve the same thing by taking a littleV out with your scissors.


Since I'm cutting a smaller size in the bust of my shirt I'll need to cut the size 2 sleeve, unfortunately I have longer arms than the size 2 so I'll be adding 1/2" to the sleeve to make up for that. You're going to follow the same steps as for the CF and CB but since there is no straight edge on the sleeve you're going to want to take care to maintain a straight grainline.

If you added length to your CF and CB pieces you're going to need to do the same for your Right Front button band and Left Front interfacing. Don’t worry about the button guide, that won’t be affected, I promise.

Cut out the rest of your pieces and relax! Next up we'll be cutting out our shirts so make sure you've got your fabric pre-washed and ready to roll! If you have any questions you can comment below or post to the Archer Flickr Group.
Featured Products: