Archer + Alder Variation
Today I have for you the long awaited Archer + Alder variation! I was hoping to get some photos of it on but the weather here in Chicago has not been cooperating at all so here we have it on a form in the studio. Modeled photos to come but for now, click below to see view the tutorial! Please note, all of the photos in this tutorial can be clicked on for a larger view if needed.
The first thing we need to do is to blend a middle point between the armholes since the Alder is drafted as a sleeveless top and the Archer is drafted to sit slightly off the shoulder. We're going to start with the yokes. Begin by drawing a center line, then trace the yokes off on top of each other keeping the bottom edges of the two yokes aligned.
From there decide how much further out from the edge of the Alder you'd like your shoulder seam to sit. For my version I extended the top edge of the yoke out 1" blending down to an extension of 1/2" at the bottom.
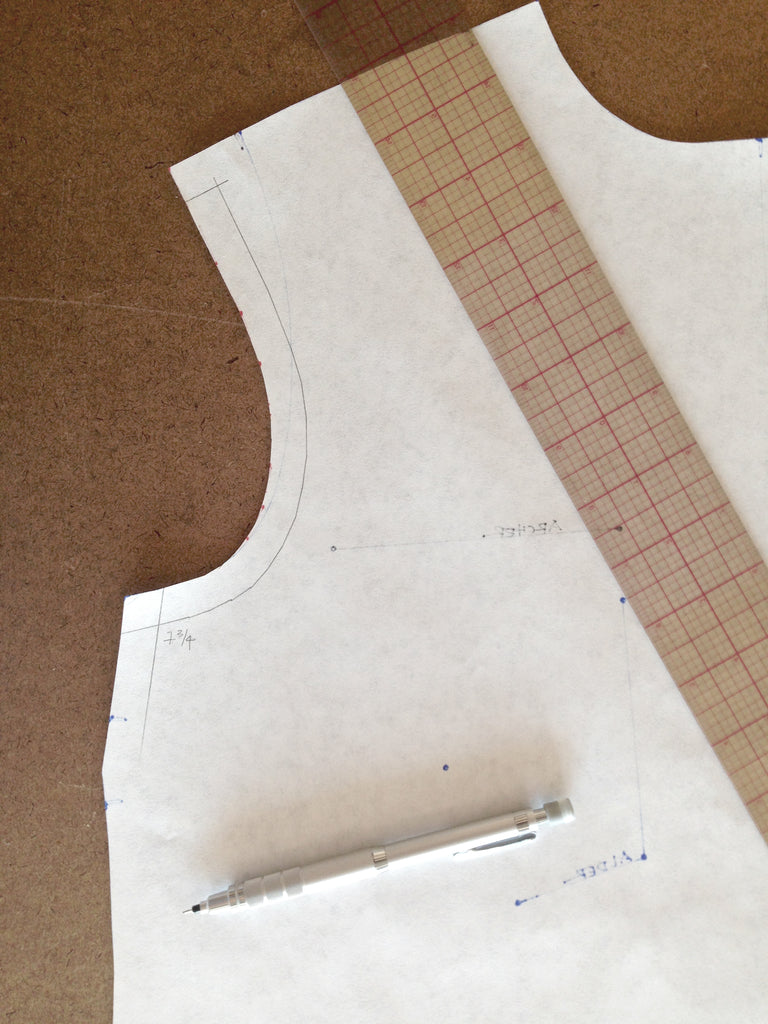
Next trace the fronts of the two patterns off in the same manner as the yoke. You'll want the shoulder/yoke edge to be brought out the same amount as you did at that point on the yoke. Again, I used 1" for this measurement. Blend the armhole down to nothing at the bottom of the Alder armhole.
Again repeat these steps for the back of the dress. I started at 1/2" along the yoke seam down to nothing at the bottom of the Alder armhole.
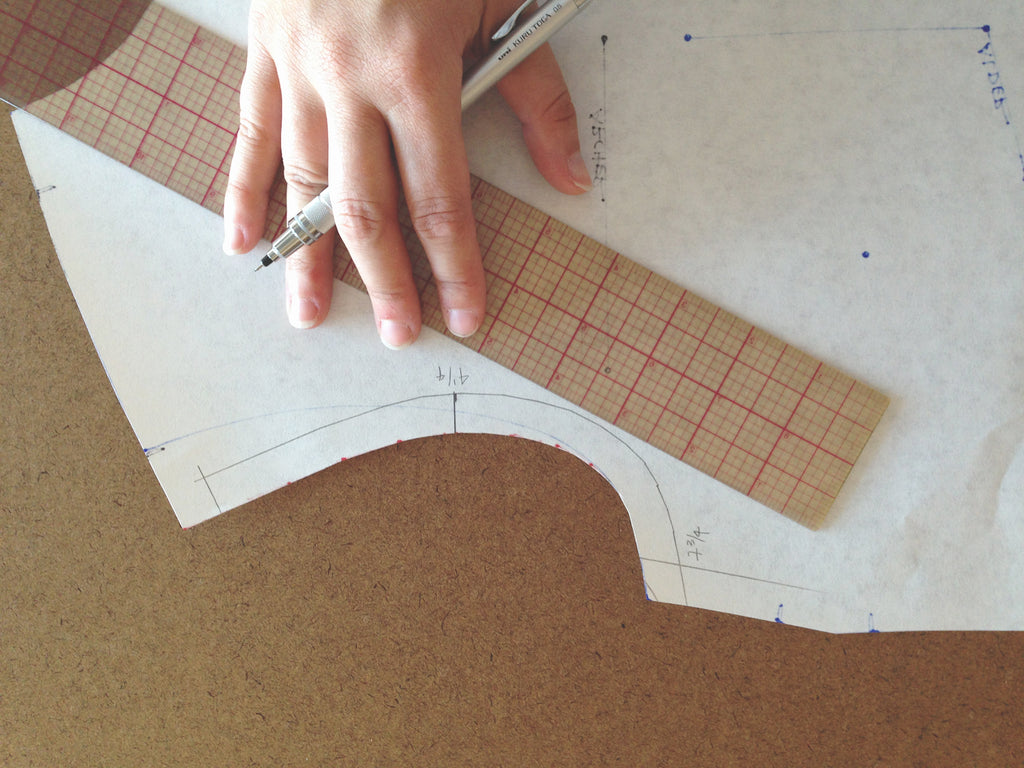
Now you're going to want to check the lengths of the armhole and the sleeve cap to make sure you can properly sew these two together. Begin by measuring the entire length of the sleeve cap seam line.
Next measure the length of the armhole seam line. You want the measurement of the sleeve cap to be slightly larger than the measurement of the armhole, somewhere between 1/2" and 1" is pretty good.
Now you're going to need to transfer the notches from the sleeve cap to the armhole. Begin by measuring the front of the armhole from the under arm seam to the notch, then transfer that measurement over to the front armhole and mark your notch. Repeat this for the back double notches.
Next you're going to need to find where the center notch should go on the yoke pattern. Measure from the front and back armhole seams to the notch on the sleeve pattern and make note of your measurements.
Align the front and yoke seam lines and apply the front sleeve cap measurement to this seam line. Mark where it falls on the yoke.
Next do the same for the back measurement. Your two notches will likely cross each other since you have a small amount of ease in the sleeve cap pattern.
Mark the center point between the two points you measured in the previous steps. This is your new shoulder notch.
All that's left now is to cut your pattern and sew. You're going to follow the Alder pattern instructions to the point where you would typically attach the armhole binding. At that point, you will switch over to the Archer pattern for the sleeve instructions, the only difference being that you'll need to sew the underarm seam of the sleeve before you set it into the dress.
Please note that these patterns are not related and you may need to do a fair amount of tweaking to get them to fit together properly, as you would when fitting together any two patterns that were not intended to be sewn together. I definitely recommend making a muslin when attempting this variation.
That's that! I should hopefully have some more photos of this variation soon if the weather decides to cooperate (fingers crossed)!