
The darts and the pockets on the Alder go hand in hand, since the pocket is placed directly on top of the dart, so today we'll be covering both. Starting with the dart, fold the fabric over with right sides facing so that both dart leg notches match and the apex of the dart is on the fold of the fabric.
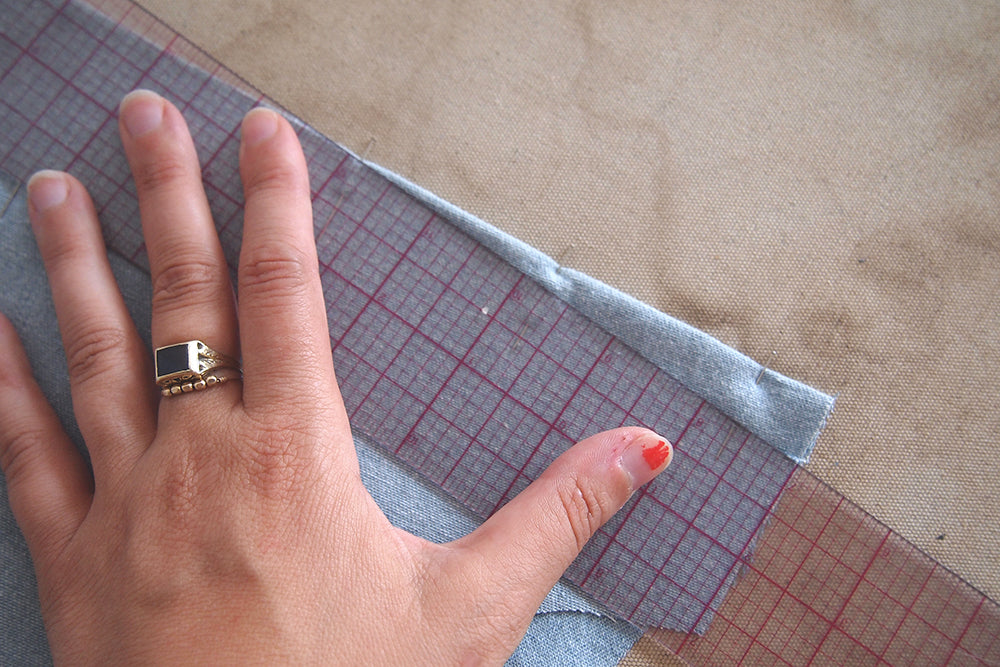
Pin the dart in place. You can draw a line with a marking tool from the apex to the legs so that you have a line to stitch on if you like.
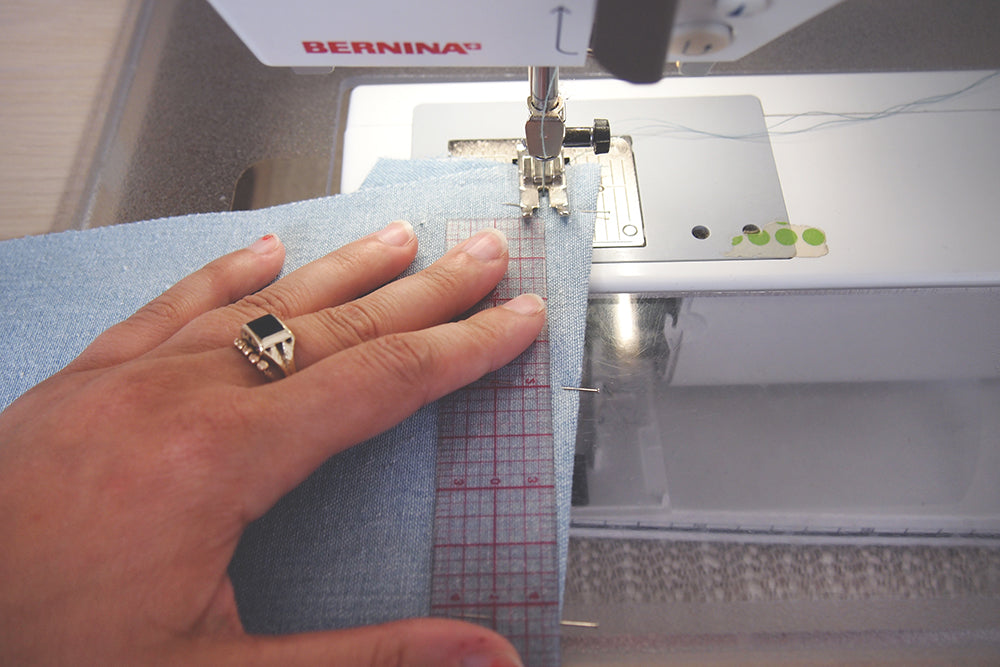
One trick to sew darts without marking a line to follow is to make sure the dart legs and the apex are in a straight line with your needle, then stitch from one point to the other which essentially what I do only without the ruler.
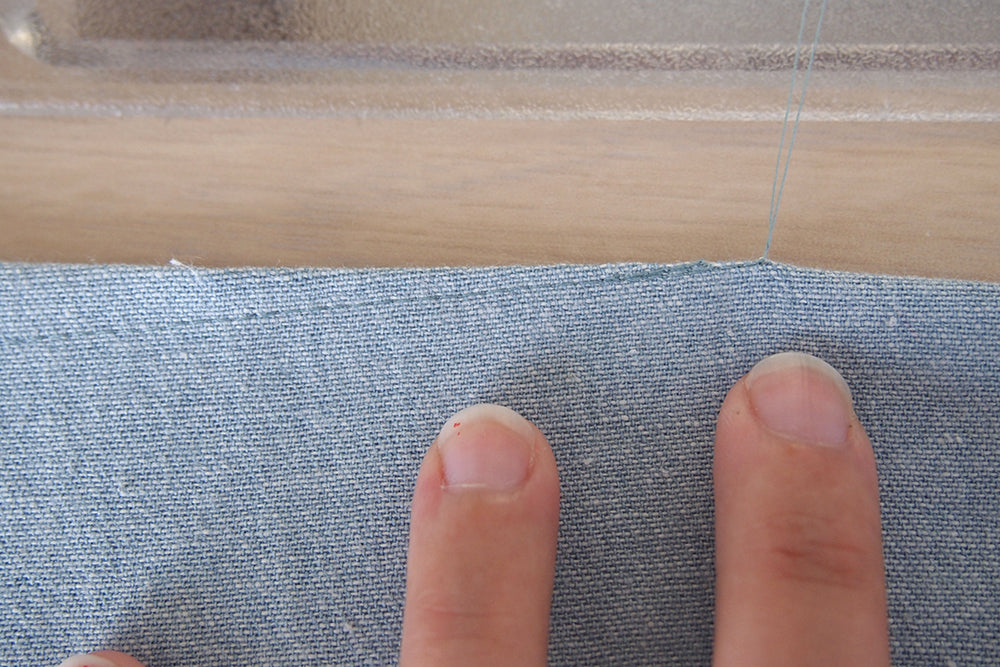
I like to back tack at both ends of my dart, I know a lot of people tie a knot at the apex, it's mostly what you prefer. I don't like fiddling around with a knot so I like to do it this way, less hand work for achey hands. No matter which way you like to treat the ends of your darts you're going to want to make sure that your dart stitching goes off the end of the fabric. If you stop before you're likely to get that dart dimple and while it's not such a big deal because we'll be placing a pocket on top of the apex, it's still good practice to avoid this.

It was pretty hard to show because of extreme thread matching so I traced over the stitching with this dotted line, but I like to sew a small curve into my dart to echo the curve of the bust. This just shapes the dart around the bust ever so slightly better than a straight line.

Once you've sewn the dart you're going to want to place it on a tailor's ham and press the dart excess towards the bottom of the garment. Make sure to handle the apex gently, pressing flat and just going at it willy nilly are two additional ways to get that dimple in your fabric. You know what I'm talking about.

This is what your pressed dart should look like from the right side of the garment. No dimple!

Now we'll assemble the pockets. Start by pressing down the 1/4" seam allowances at the top of the pocket. This is the end that is notched.
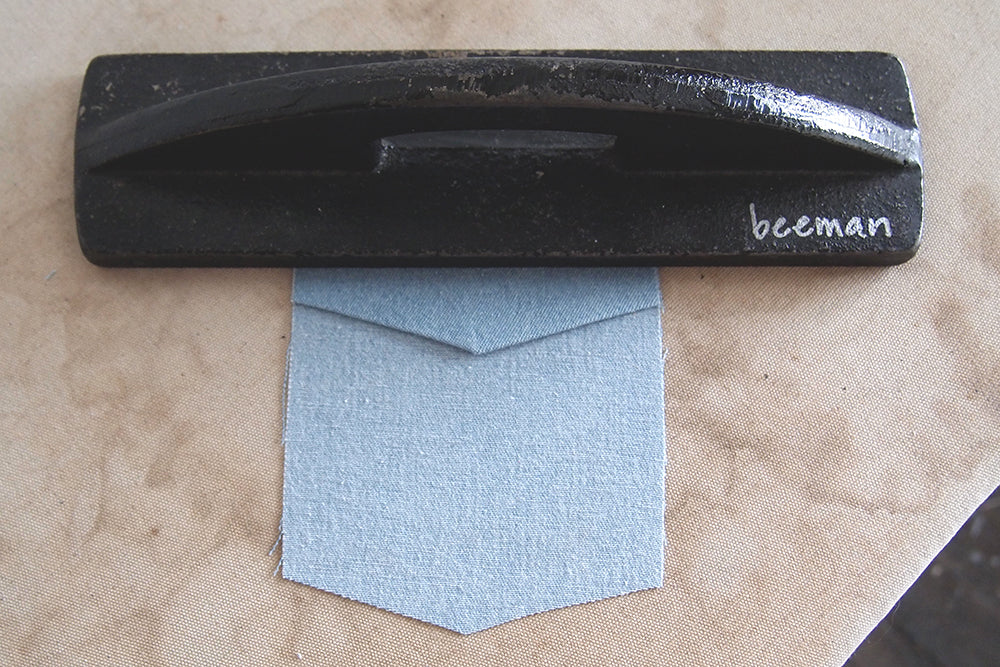
Then fold the top of the pocket to the underside along the notches. If you happen to be working with a fabric that doesn't want to press, you can use a weight (or clapper if you have one) to give the fabric a nice quick press while it's still hot.

Stitch the flap down as close to the edge of the fold as you can. this is the back side of the pocket.

Fold the remaining seam allowances to the underside of the pocket.

First lay the front so that the button band is straight. Measure over from the seam line to the pocket marking and pin the pocket in place making sure that the top of the pocket and the bottom are both the same distance away from the front.

Now because we're attaching the pocket over a dart it isn't going to want to lay properly if you just plop it down and pin the rest. You can see the dart situation going on in the photo above. You can maneuver the pocket down properly but there's an easier way to make sure the pocket goes on smoothly.


Place your tailors ham under the dart and pocket, you'll find that the dart and pocket lay smoothly and pinning it is very easy.

This is how it looks all pinned and ready to sew. So smooth!

Sew along the outer edge of the pocket as close to the edge of the pocket as you feel comfortable. I did my standard 1/16" but this part is totally up to you as far as how comfortable you feel and what style you're going for.
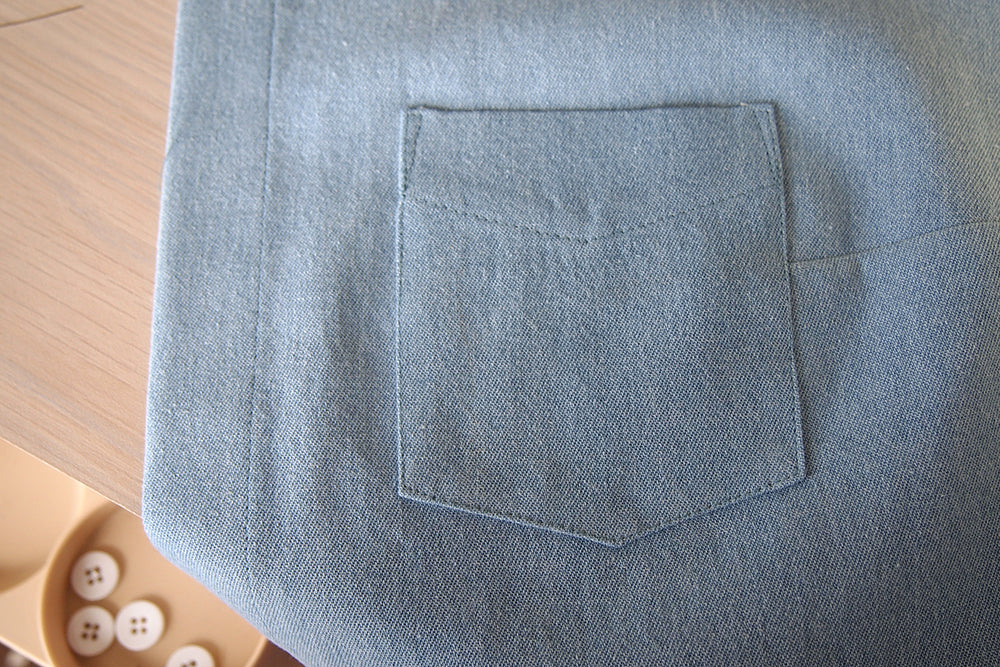
Here she is all stitched on! One last step...


On the inside of the pocket there's a bit of overhang depending on how close you stitched to the edge of the pocket. I like to snip this off to reduce bulk as well as eliminate any stray threads that want to poke above the pocket line. That's that! Next up is the yoke, I've got two methods for you up next so stay tuned...


