Poppy Dress Printed Patterns are Now Available!

Alder Sew Along: Yoke Method 1

Alder Sew Along Day 7: Yoke Method 1

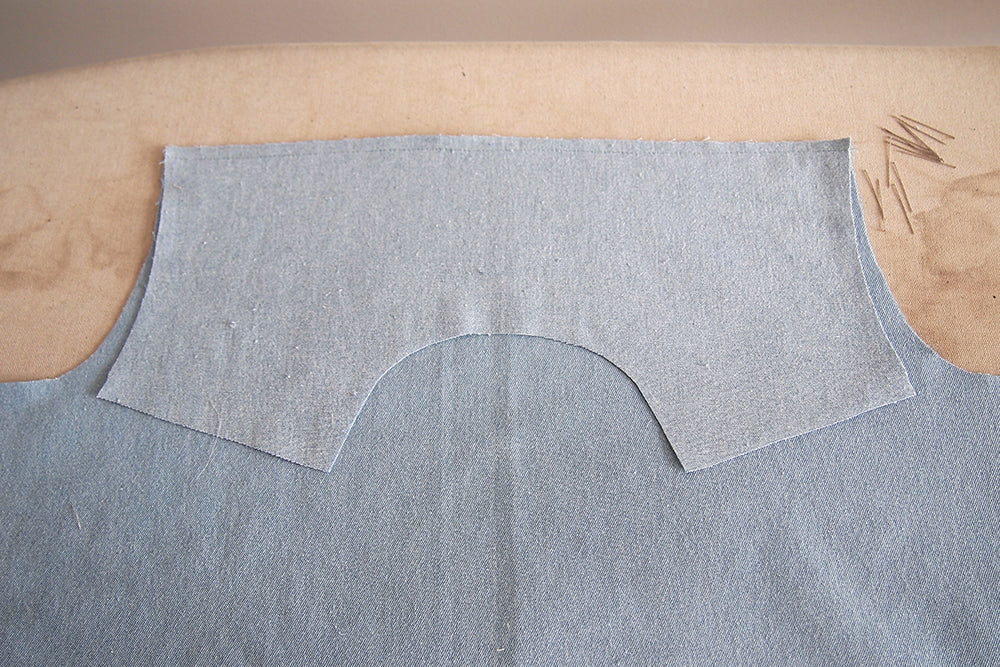
This is the first method you can use to attach your yoke, and the method described in your pattern instructions. To start, select one yoke piece to be the outer yoke, and another to be the inner. It doesn't matter which you choose for which so if you're using a print, I'd suggest picking the one you like best for the outside. Pin this outer yoke to the dress back with right sides facing.

Alder Sew Along Day 7: Yoke Method 1

Stitch the two together at a 1/4" seam allowance.

Alder Sew Along Day 7: Yoke Method 1

Flip the dress over and with the inside yoke right side facing down stitch through all three layers along the 1/2" seam allowance.

Alder Sew Along Day 7: Yoke Method 1

Grade your seam so that the yoke lays flatter. I like to grade all three layers to different lengths as you see above.

Alder Sew Along Day 7: Yoke Method 1

Press both yokes up and topstitch along the seam line. I stitched at 1/4" for the back of the yokes because I like how it looks on denim but if you're doing a silk Alder you may want to consider stitching more closely to the seam line. It all depends on the look you're going for and what you like.

Alder Sew Along Day 7: Yoke Method 1

From there, flip the inside yoke down so that you're just working with the outer yoke for this next step.

Alder Sew Along Day 7: Yoke Method 1

Lay the front pieces of the dress with right sides facing the right side of the back/yoke and pin the shoulder seams.

Alder Sew Along Day 7: Yoke Method 1

Stitch across at the 1/2" seam allowance.

Alder Sew Along Day 7: Yoke Method 1

Grade your seam allowances. For this step I like to grade the seam allowance of the front pieces to 1/4" and the yoke to 1/8". You want to make sure you don't grade the front as the shortest seam allowance because you run the risk of having the seam allowance not want to stay tucked under in the next step.

Alder Sew Along Day 7: Yoke Method 1

Lay the dress out flat with the inside yoke facing up. Align the shoulders and press the 1/2" seam allowance under. As for the right front button band you'll want to make sure that the folded edge touches or just overlaps the seam line.

Alder Sew Along Day 7: Yoke Method 1

Stitch through the yokes joining them at the shoulder seam. Again I like to stitch with the right side facing up at the machine, this way you get a nice straight line on the front of the dress and since you pressed the seam allowance to the stitching line in the above step, you catch that on the back.

Alder Sew Along Day 7: Yoke Method 1

Stitch the two yokes together within the seam allowance at the neck edge and shoulder edge so that they act as one piece during further steps. That's it. Tomorrow I'll show you the second method for attaching a yoke...burrito style. Yum!

Alder Sew–Along Yoke Method One | Grainline Studio

Mentioned Products

  • Alder Shirtdress 0 – 18
    Alder Shirtdress | Grainline Studio