A Guide To Seam Finishes for Woven Fabrics

We've slowly been combing through our post archives in order to update older posts, and simultaneously identify gaps in the resources we provide. Outside of two French seam posts - one that covers a how to for straight and curved seams and another for right angles - we've never provided a comprehensive guide for common seam finishes. Seam finishes are an essential part of garment and accessory construction when working with woven fabrics.
In addition to providing neat and tidy insides, the finishing stitch is what keeps your fabric from fraying or unraveling and ultimately weakening your construction stitch. Different seam finishes can also provide additional reinforcement that will make your garment or accessory durable and able to withstand the stress of everyday wear or use. Being aware of different seam finishes also empowers with the knowledge to choose a finish that's best for the fabric or project you're working on. This comes in handy if you use a different fabric than suggested by a pattern and you need to reduce seam bulk or otherwise conceal raw edges.
We're discussing 8 common seam finishes below and have included step-by-step instructions for a few of them. Scroll down to read and learn about them all!
Pinked


A pinked seam finish is created by using pinking shears. Simply snip close to the edge of your seam allowance using your shears, and the zig-zag edge will help to prevent fraying. You can also sew a straight line of stitching close to the pinked edge in order to prevent fraying. This option is useful for fabrics that will become bulky when turned under and stitched. This finish is best for tightly woven stable fabrics and curved edges.
Turn and Stitch


This is a quick finish that will keep your raw edge tucked under and out of sight. Fold the edge of your seam allowance under 1/8 inch (0.32 cm), press, and and stitch close to the folded edge. This finish is best for light to medium weight wovens, course weaves, and tweeds.
Zig-Zag


In addition to being a quick seam finish, the zig-zag stitch is an available stitch option the majority of sewing machines. One option is to stitch both pieces of the seam allowance together and press to one side. Or you can separately finish each edge of fabric with the zig-zag stitch prior to sewing the seam with a straight stitch. This option is useful to reduce bulk when working with heavier fabrics. This finish will work on most fabrics to prevent fraying, but delicate fabrics may get eaten by your sewing machine. We recommend testing the stitch on a scrap piece of fabric and adjusting the stitch width and length to suit your fabric. Heavier fabrics require larger settings and lighter fabrics will require smaller settings.
Serged


Serged seams provide the construction and finishing stitches in one pass, but require the use of a serger. Similar to the zig-zag stitch shown above you can serge the edges of your fabric piece separately before stitching them together which allows you to press the seam open. Or, you can serge your fabric pieces together and press to one side. You can use a three or four thread seam finish - we've shown a four thread finish above. We serge nearly everything in the studio from wovens to knits; however, we recommend a different finish for sheer garments, unlined jackets, or items that need to withstand a lot of stress.
French Seam


A French seam is best for sheer, lightweight, or delicate fabrics that are prone to fraying and unraveling as the finish fully encapsulates the raw edge.


The seam finish is sewn in two parts so you'll need to divide your seam allowance in half. In this example our the total seam allowance was 1/2 inch (1.27 cm) so we will be sewing 1/4 inch (0.635 cm) at each step. Begin by placing your fabric together with wrong sides matching. Sew at 1/4 inch (0.635 cm).


Trim excess fabric or seam allowance to 1/8 inch (0.32 cm) and then fold the right sides of your fabric together so that the raw seam is now sandwiched between both pieces of fabric. Press, and then sew 1/4 inch (0.635 cm) from the folded edge. Press again and you're French seam is complete.
Bias-Bound


Bias bound seams take a little more time, but they stand-out visually and are recommended for fabrics that fray, unlined jackets, and formal garments.


You'll need store bought or self-made bias tape that is 1.5 inches (3.81 cm) wide. Cut a piece of bias tape that is slightly longer the seam you're finishing and pin to seam allowance edge with right sides facing.


Turn over and check that you've only caught one side of your seam allowance. Ensure the rest of your fabric is out of the way. Turn right side up and sew the bias tape to the seam allowance 1/4 inch (0.635 cm) from the edge.


Press the bias tape away from the garment.


Fold the free edge of the bias tape over the edge of the seam allowance around to the back. There's no need to fold the edge of the bias tape under. From the right side, stitch near the edge of the the bias tape in order to anchor the binding in place.

Trim any excess bias tape that hangs over the edge of the seam. Repeat on the other side.
Mock Flat Fell


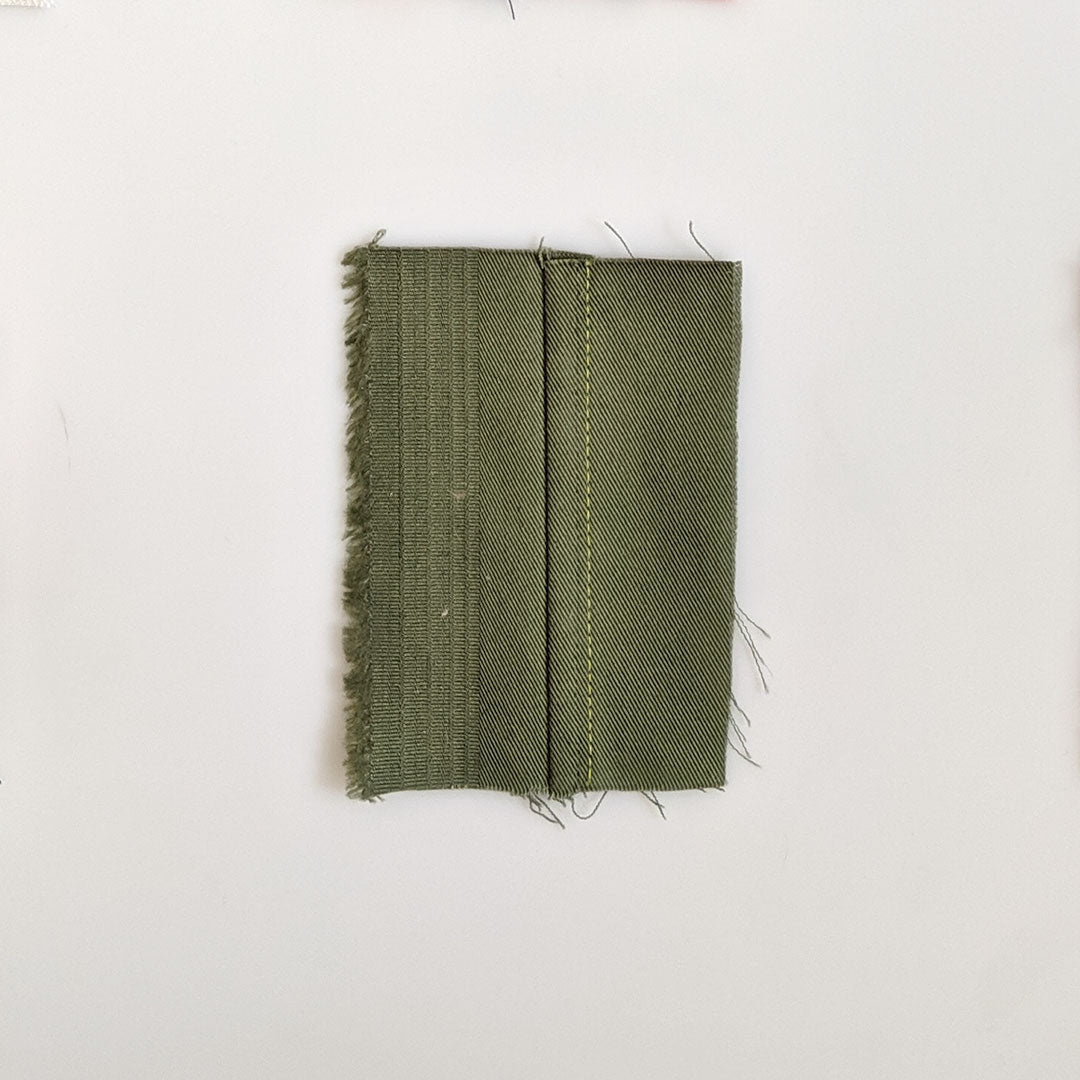
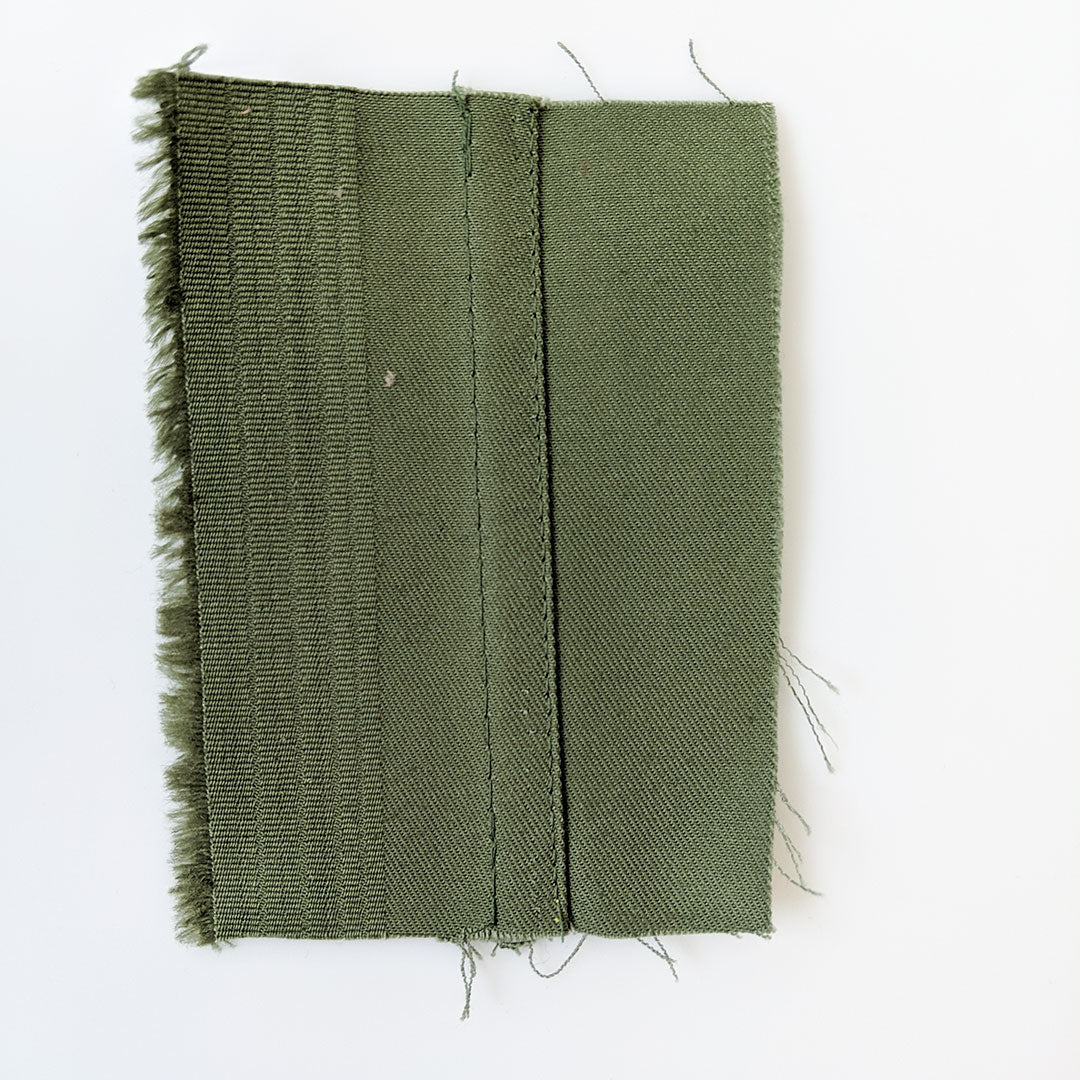
A mock flat-fell seam finish provides the visual appearance of a flat-felled seam without the bulk. The drawback is that it doesn't provide the strength a true flat-felled seam provides. Before sewing your seam finish one edge of your fabric with a zig-zag stitch or by serging. Leave the other edge unfinished and proceed to sew your seam. Trim the unfinished edge to a 1/4 inch (0.635 cm). Press both seam allowances to one side so that the finished seam allowance edge covers the unfinished trimmed edge. Using a straight stitch, sew a line of stitching 1/4 inch (0.635 cm) away from the original seam. You'll catch the finished seam allowance edge and encase the trimmed unfinished edge. We also sewed a line of stitching 1/8 inch (0.32 cm) away from the original line of stitching to provide additional visual detail This finish can be used on denim jeans, shorts, jackets, canvas accessories, duckcloth, and sportswear.
Flat Fell


A true flat-felled seam provides more than a clean finish. The overlapping seam makes this an incredibly durable and sturdy finishing stitch. We recommend using a flat-felled seam finish for garments that will experience a lot of stress - denim or canvas jeans, jackets, outerwear, and sports related garments.


After sewing your seam, trim down one side of your seam allowance to 1/4 inch (0.32 cm).


Fold the untrimmed seam allowance in half, press, and then fold over the previously trimmed seam allowance. Pin in place and edgestitch along the folded edge.
Do you have a favorite finish stitch? Let us know below!
