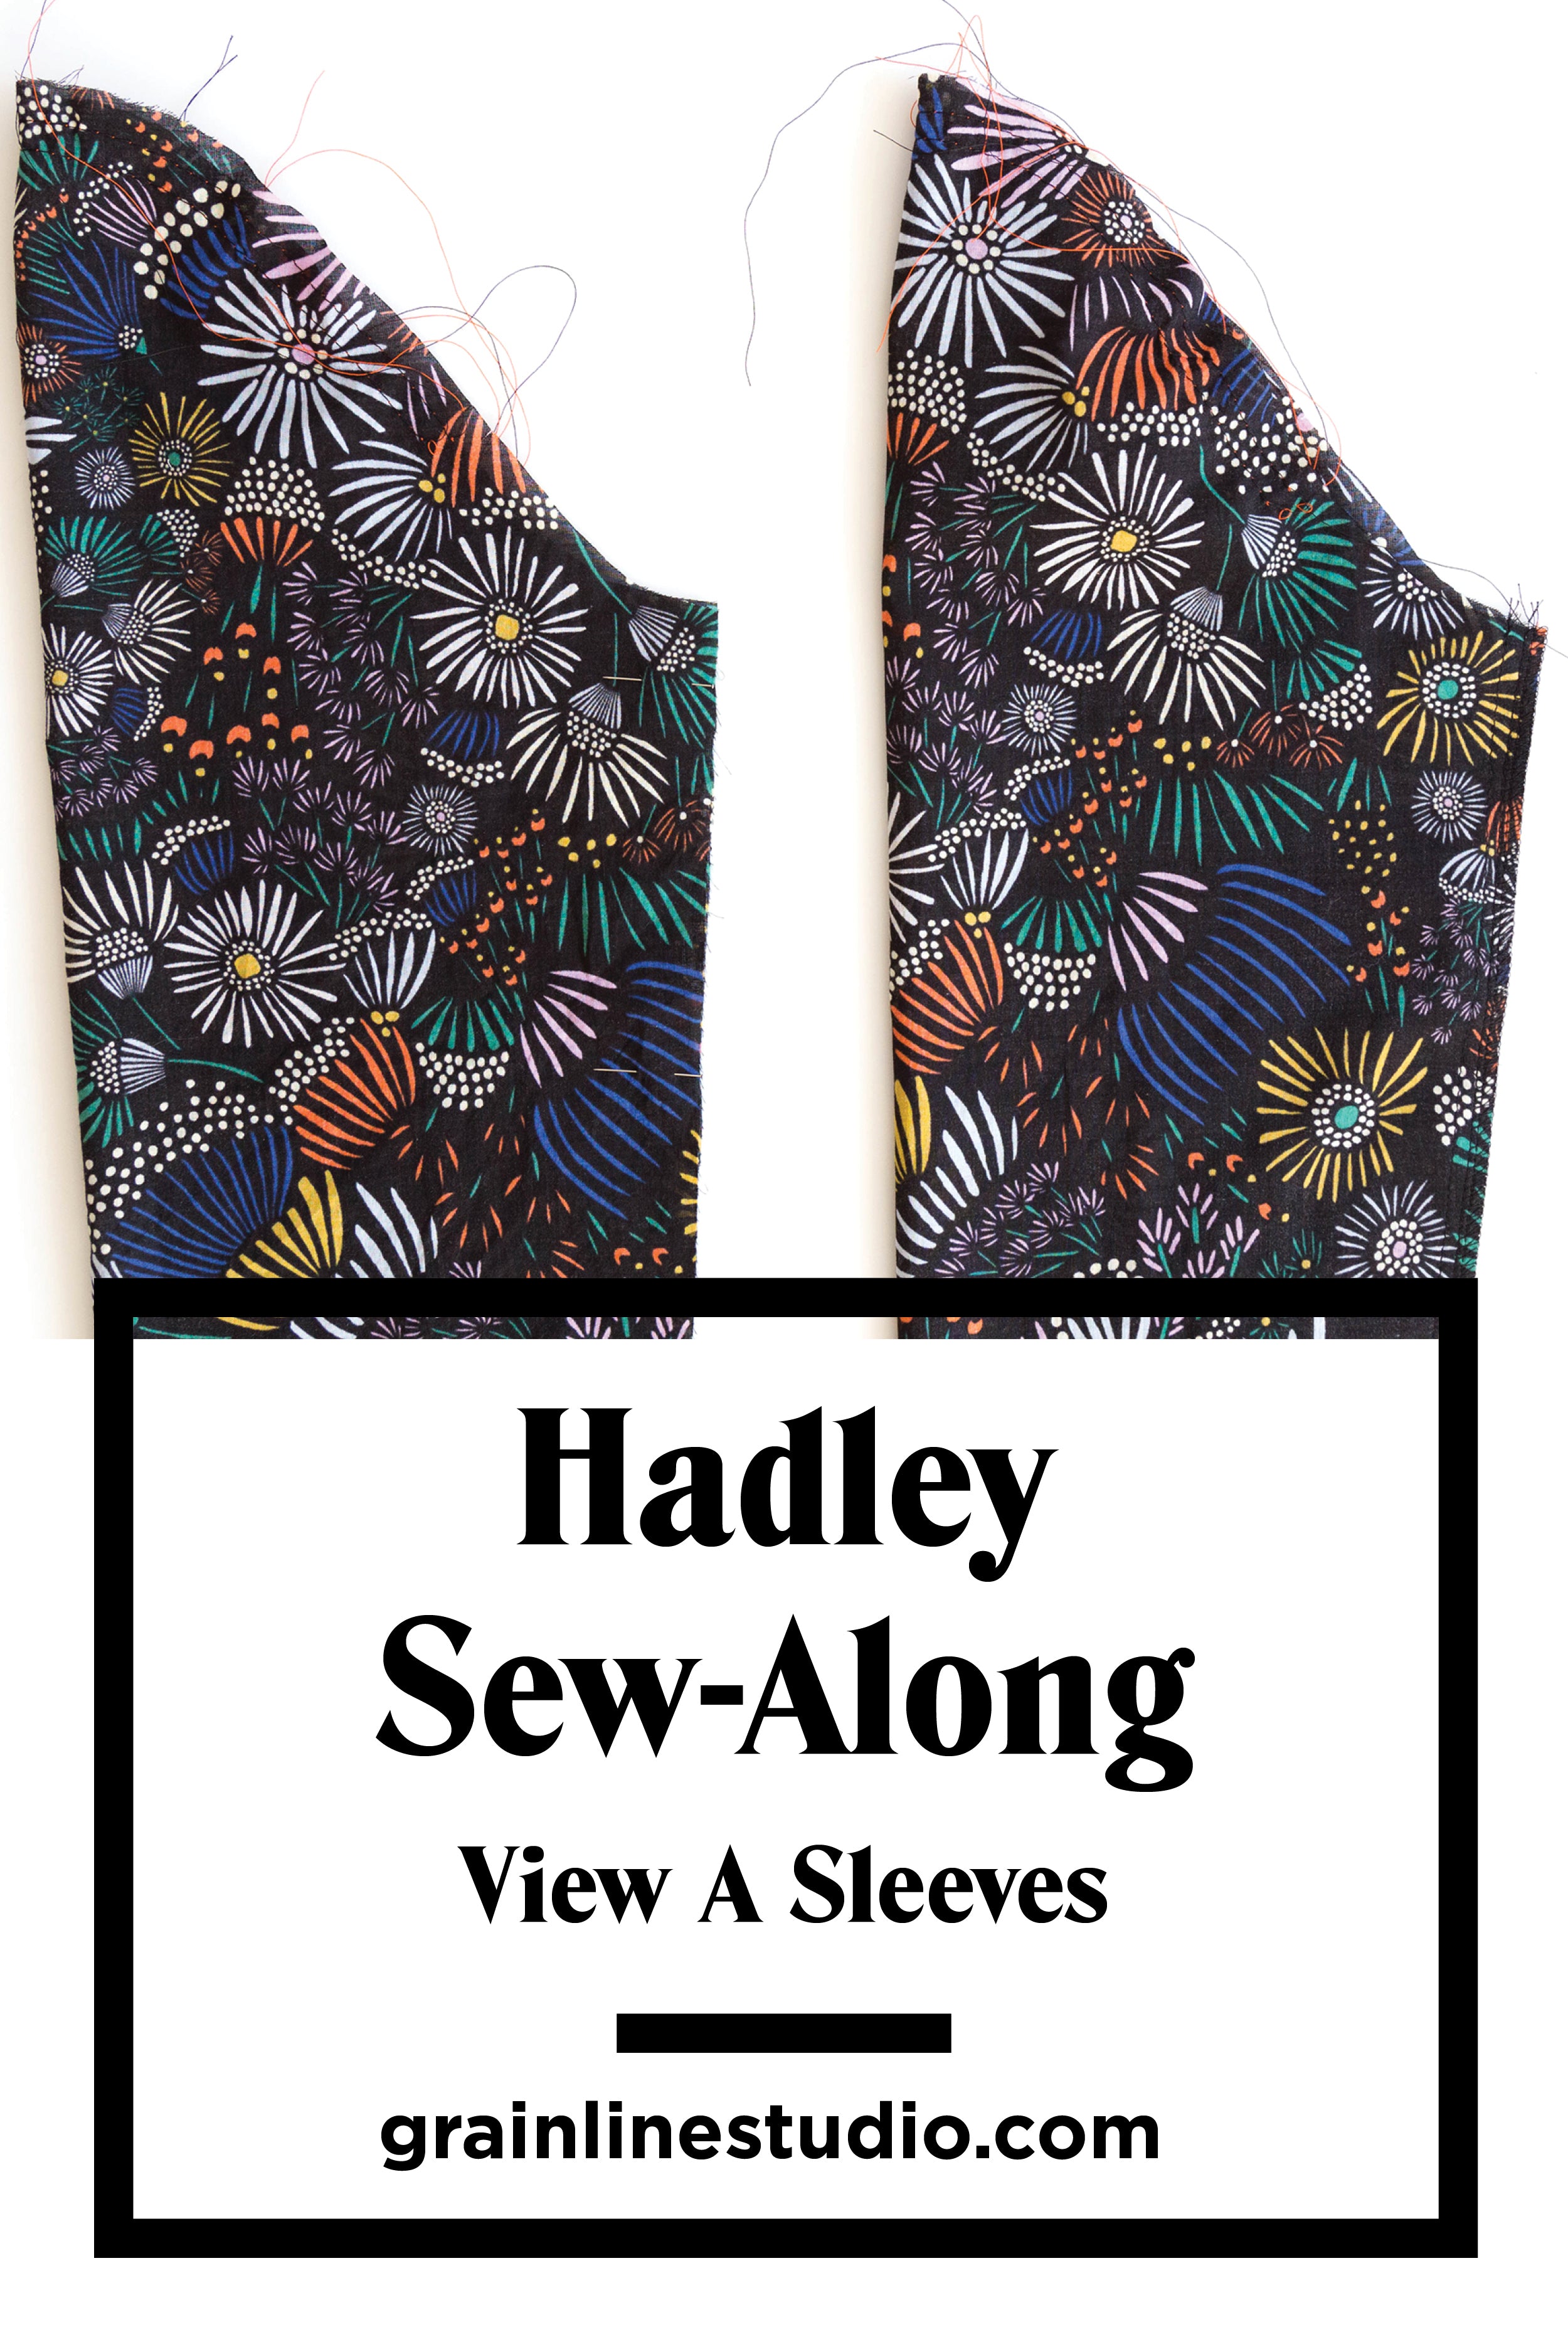
Hadley Sew-Along: View A Sleeves
Shop this post

Hadley Top

Hadley Top
Now that the bodies of our Hadley tops are sewn together it's time to get to the more involved steps. Don't worry though, even though they're more involved that doesn't mean they're hard! We'll take everything step by step...so lets dive in and set some sleeves!

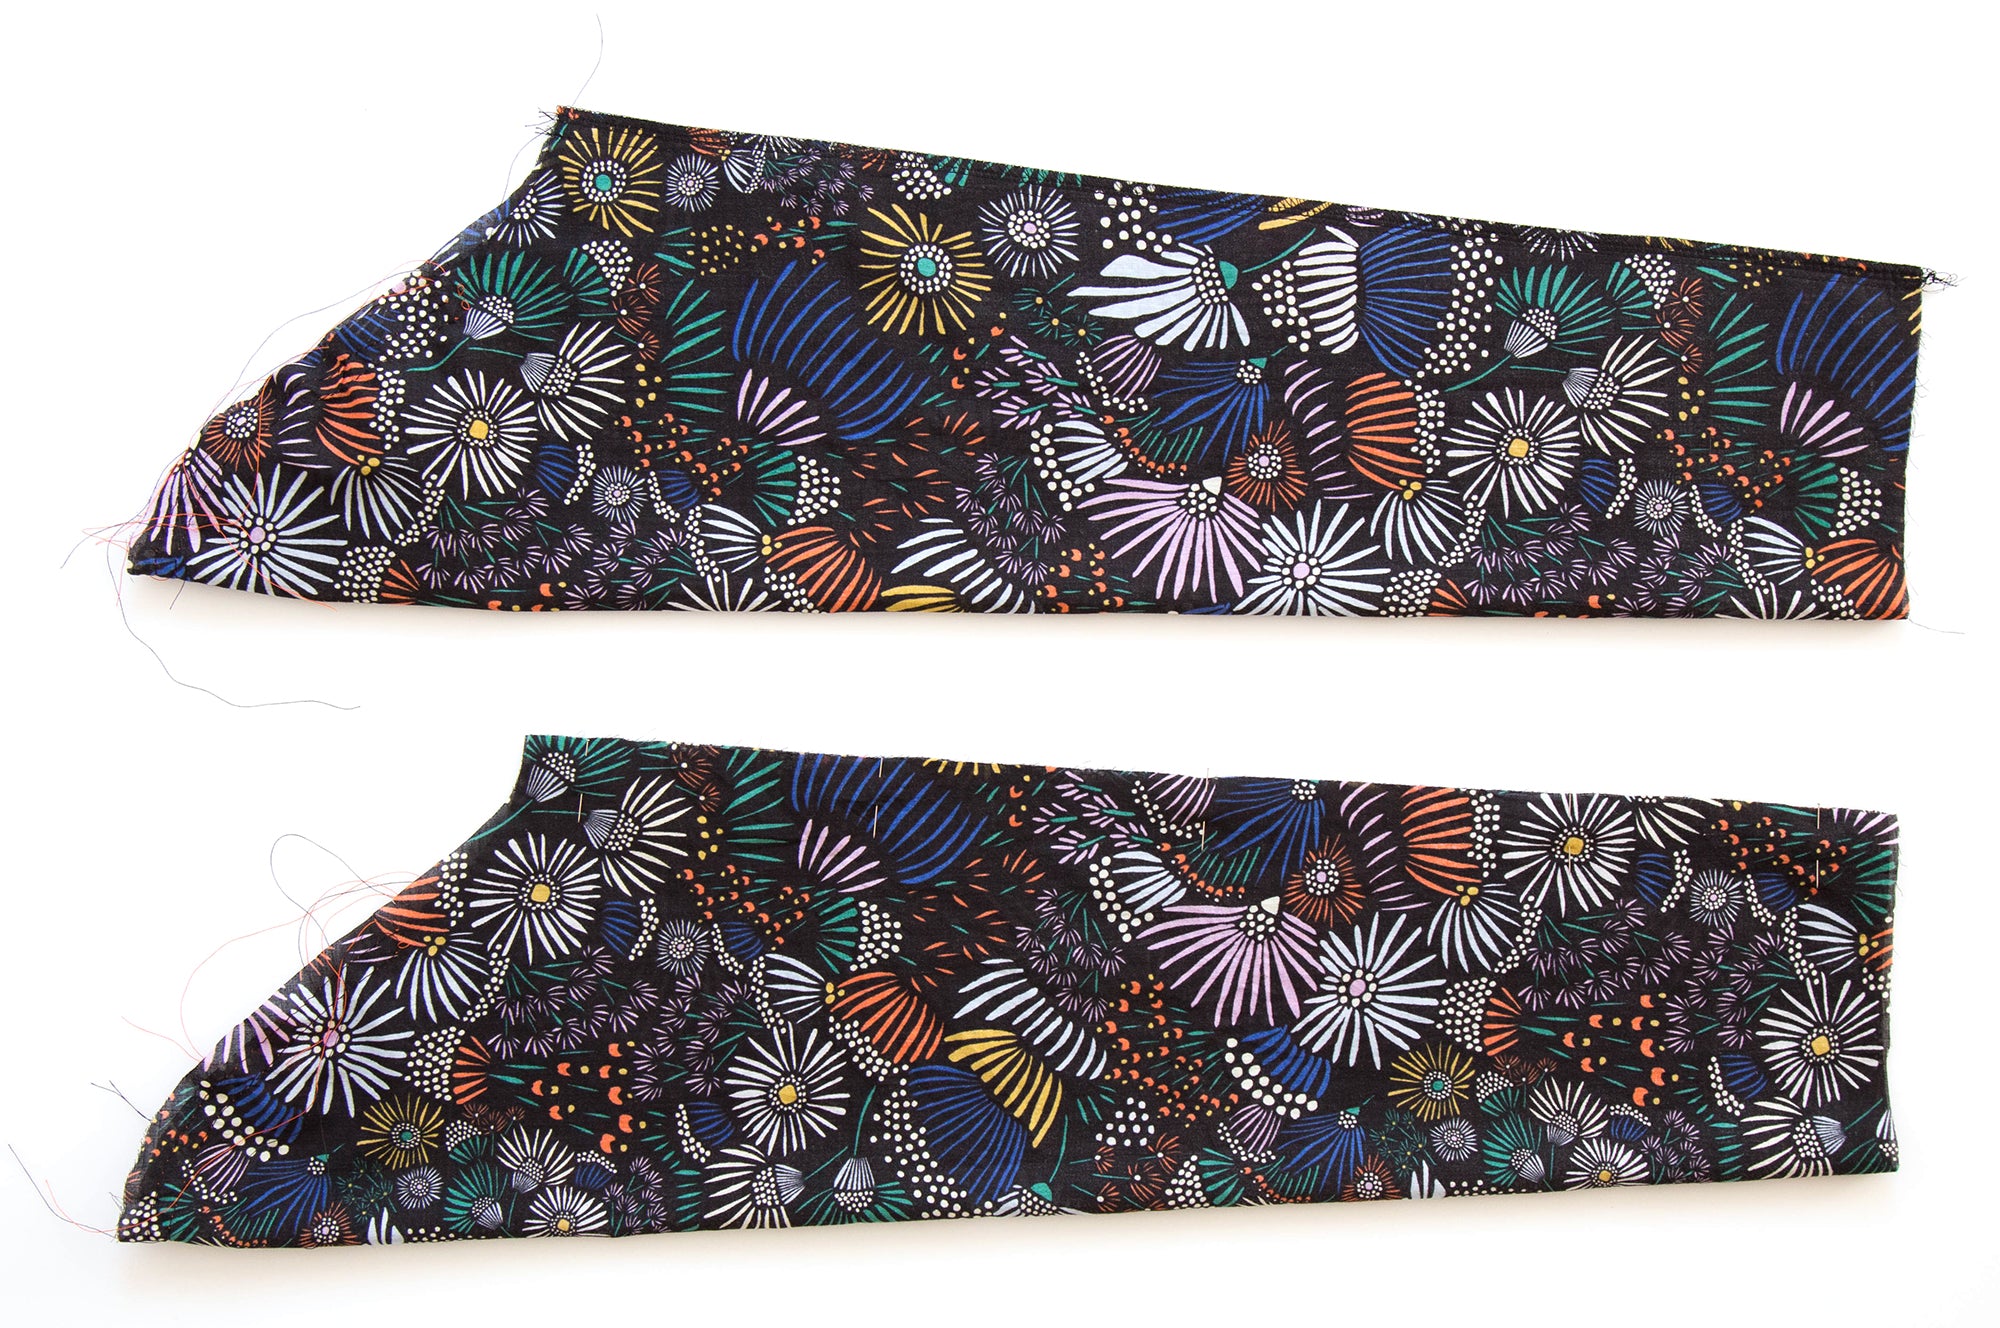
To begin take both of your sleeve pieces and set them right side up. You're going to stitch along the sleeve caps with a basting stitch to help gather the sleeve slightly into the armscye. You only need to baste between the front and back armhole notches. The first stitching line will be 3/8" away from the raw edge of the sleeve cap, while the second will be 5/8" away from the raw edges. I like this configuration because the 1/2" seam allowance will fall between the two stitching lines, meaning your gathers are held securely in place and have less chance of shifting around while you sew.

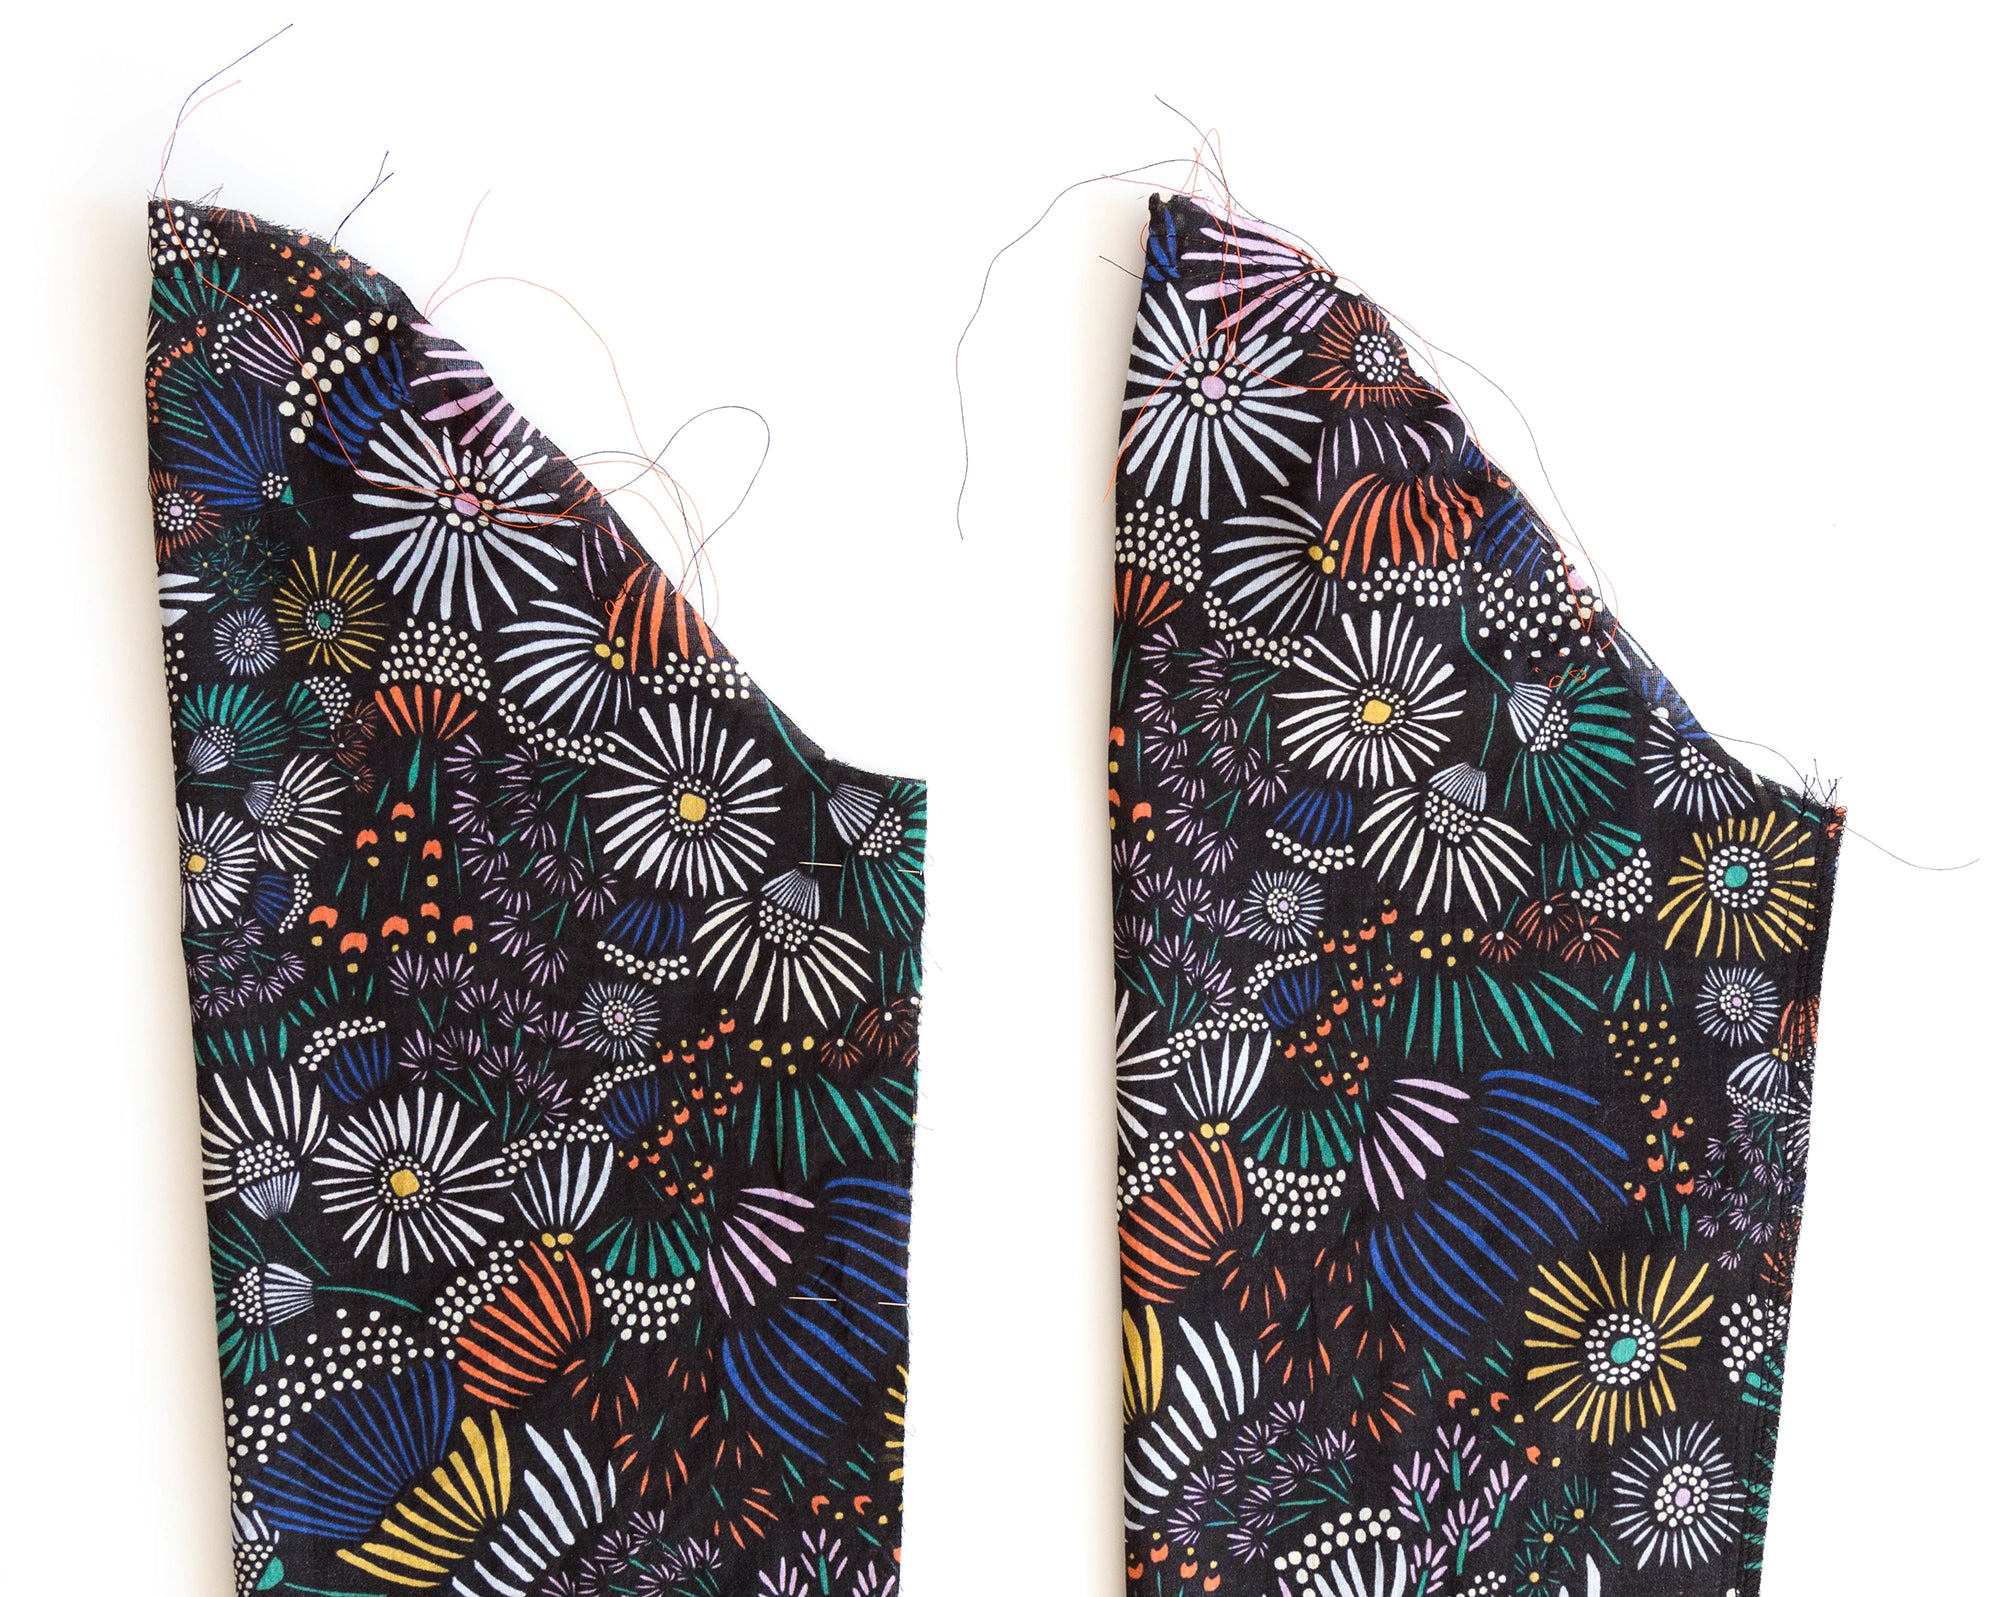
Here's a closeup of the basting, don't forget to leave thread tails so that you have something to grab while you gather!
Next fold the sleeves and align the underarm seam line with the right sides of the fabric facing each other. Stitch along the seam line and then finish the seam as you've been doing throughout this sew-along. For us that means we serged our seam allowance.

Press your seam allowance towards the back of the garment (towards the double notch side of the sleeve cap).

Now to set the sleeve lets start with a bit of setup. Turn your bodice inside out and your sleeve right side out, this will ensure that you aren't sewing the sleeve in only to discover later that it's inside out. Place the sleeve inside the bodice and pin in place matching notches and gathering where needed.

Sew around the armscye, then finish the seam as desired. Pull your sleeve out to make sure you've got everything in place properly! Typically we don't really press our sleeve seams in a lightweight airy fabric like this as it can make them lay oddly flat at the cap. Instead we give a light finger press of the seam allowance towards the sleeve. Repeat these steps to set the other sleeve.

Now that our sleeves are in it's time to finish them up. Take your sleeve facings and fold the two short ends together with right sides facing and stitch along the seam line as shown above.

Press the seam allowances open.

Align the facing and the sleeve with right sides facing and the seams aligned. Stitch around the cuff edge and grade the seam allowance of the facing.

Press the facing down, away from the sleeve. Understitch along the seamline on the facing through the facing and both seam allowances. This will help the facing turn and stay to the inside of the sleeve.

Turn your sleeve inside out and press up the seam allowance along the raw edge of the facing.

Fold and press the facing up to the inside of the sleeve. Stitch along the loose edge to secure the facing in place.

Repeat for the other sleeve and you're all set! Super easy. If you have questions, as always, let us know below. Otherwise we'll meet you back here for the armhole facings of view B on Monday, and don't forget if you need to catch up you can see the entire Hadley Sew-Along here. Have a great weekend!

Featured Products: