Yates Sew-Along: Assembling the Body
Shop this post

Yates Coat
Today in the Yates Sew-Along we're going to assemble the body of the coat. Before you begin, make sure all of your pieces are fused according to the instructions in our last post . Let's dive in! 
Take your upper and lower back pieces and align them along the waistline seam with right sides facing. Stitch across this seam.

Grade your seam by cutting the seam allowance of the lower front in half.

Press your seam allowances towards the hem of the coat. Set the back aside.

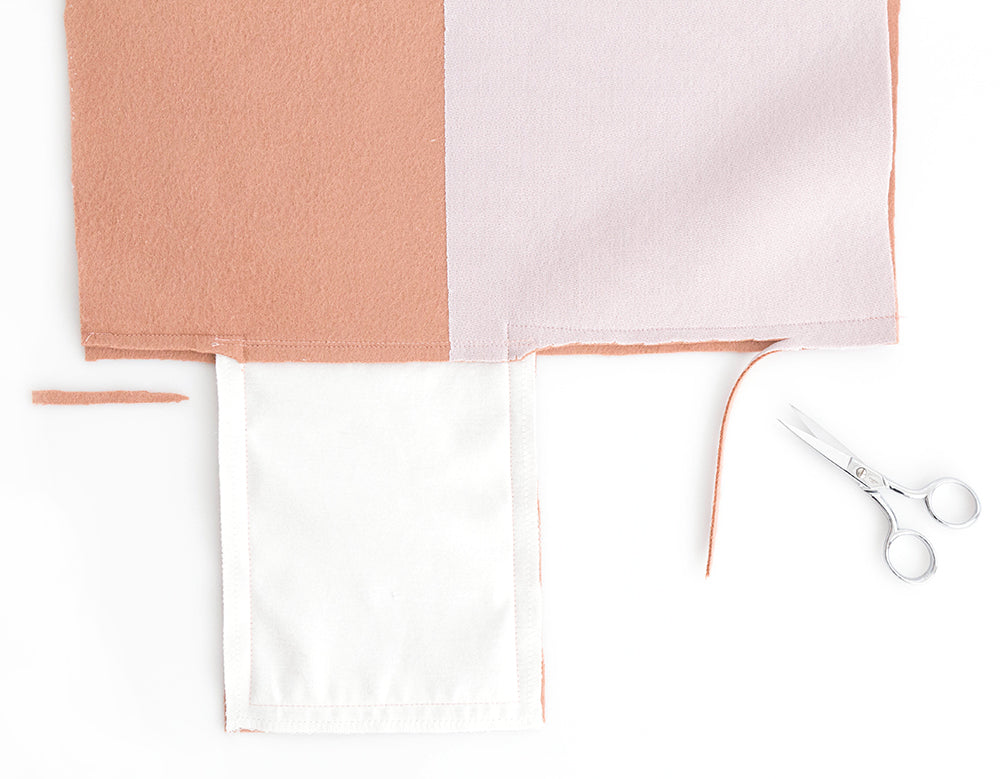
Now we need to prep the lower fronts to create the pockets. Start by aligning one of the pockets to one of the lower fronts. Right sides will be facing each other and the notches of the pocket will match the notches along the waistline seam of the lower front. Stitch the pocket to the lower front using a 3/8″ seam allowance.

Grade the seam allowance by trimming the pocket seam allowance in half.

Press the pocket up, away from the lower front and edgestitch along the pocket piece through all layers.

Now align the upper front and lower front along the waistline seam and pockets. The right sides of the fabric will be facing each other. You can see above that I’ve marked the pivot points in yellow chalk, this is a great way to make sure you pivot at the right place for a sharp, crisp corner.

Stitch along the waistline seam, pivoting down around the pocket, and back up and over to complete the waistline seam. This seam is the standard 1/2″ seam allowance.
Grade the waistline seam allowances only on the lower front of the coat. You can see above that I tapered off towards the pocket, you want to leave the pocket seam allowances in tact.

Press the lower front and pocket down to create the front. Repeat these steps for the other side.

Next align one front with the back along the shoulder and side seam. The right sides of the coat will be facing each other and edges and notches should match. You’ll want to take extra care at this point to align the waistline seams.

Stitch along the shoulder and side seams.
Before you press this seam allowance, open your coat and make sure that your waistline seams are aligned as shown above. If you need to adjust the seam do it now before you press.

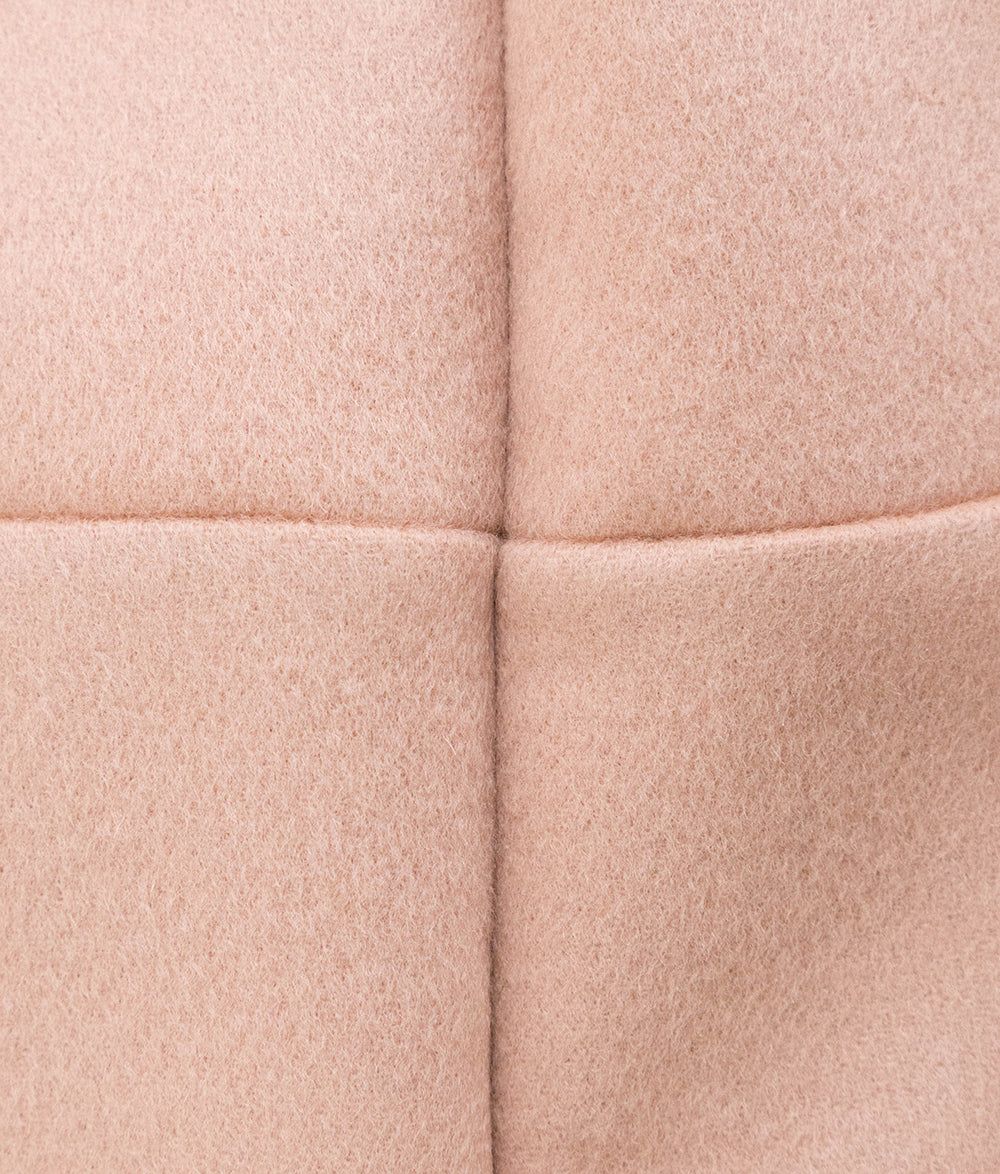
Press the side and shoulder seams open. You can see in the image above my technique for getting a crisp press. I press on top of my sleeve roll with the wool side up and use my clapper to hold the steam and heat in the fabric until it cools.

At this point your coat will look like this from the right side…

And like this from the wrong side. Repeat these steps to attach the other front to the coat.

You’ve now assembled the body of your Yates! Next up we’ll be working on the sleeves. If you have any questions let me know in the comments below!
Featured Products: