Willow Sew-Along: Day 05 Hemming
Shop this post

Willow Tank & Dress

Willow Tank & Dress
Today we’ll be hemming up our Willows…just in time for the hot weather approaching! I’ll be going through hemming the tank version first, then the dress.

Begin by folding up and pressing the 1/2″ seam allowance around the bottom hem edge of the tank.
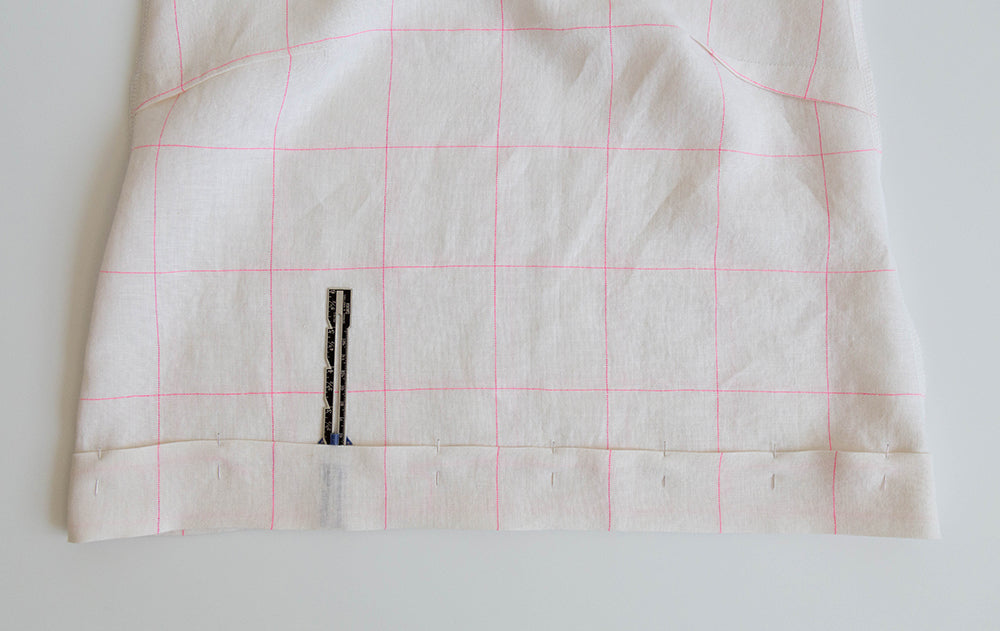
Following the fold line marked on the pattern, fold the hem up and press it into place, pinning as you go. The hem edge is 2″ in case your markings have worn off by this point.
Stitch around the loose edge to secure the hem in place and give it a press. Your tank is done!

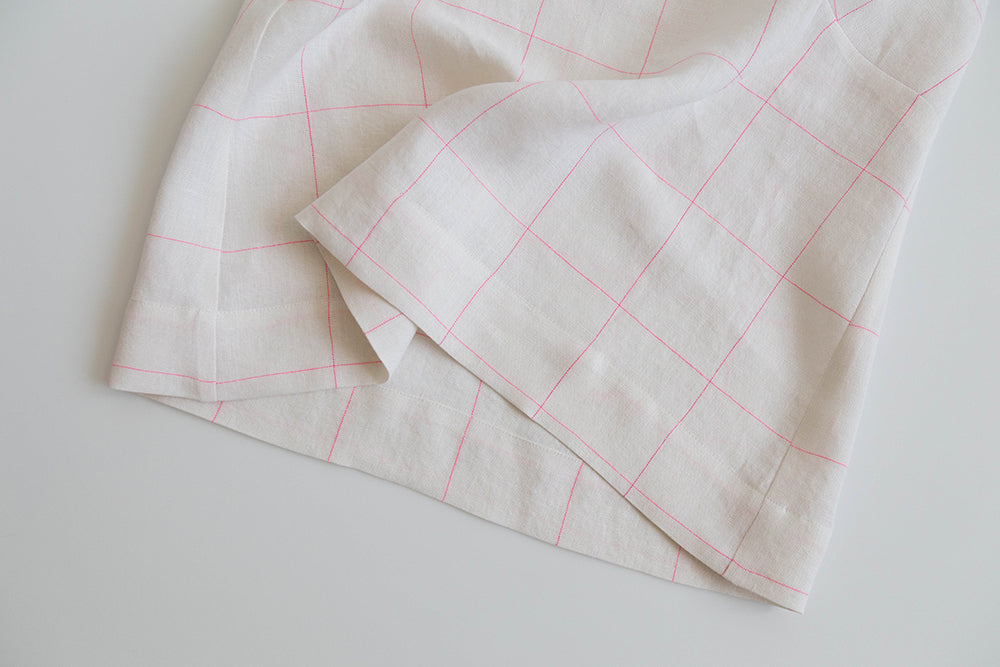
If you’re making the dress version hemming is even easier. Fold up and press 1/4″ around the hem edge. You can see here that I have a line of stitching around the hem at 1/4″ that I’m folding up along. That’s a little trick that can make it easier to turn fabric. This is a cotton/linen blend and it wants badly to fold along the grain. Since the hem is slightly curved, I placed a line of stitching along the fold line to force the fabric to do what I wanted.

Fold the edge up 1/4″ once more and press.

Stitch along the loose edge as close to the edge as you feel comfortable. Give it a press and your dress is completed!
Thanks for following along on this Willow journey…we’ll have a few more Willow related posts in the coming weeks, including a cropped tank I’m really excited to sew up!
Featured Products: