Willow Sew-Along: Day 03

Today we’ll be attaching the skirt to the bodice for the dress version of the Willow. If you’re making the tank, you can skip today!
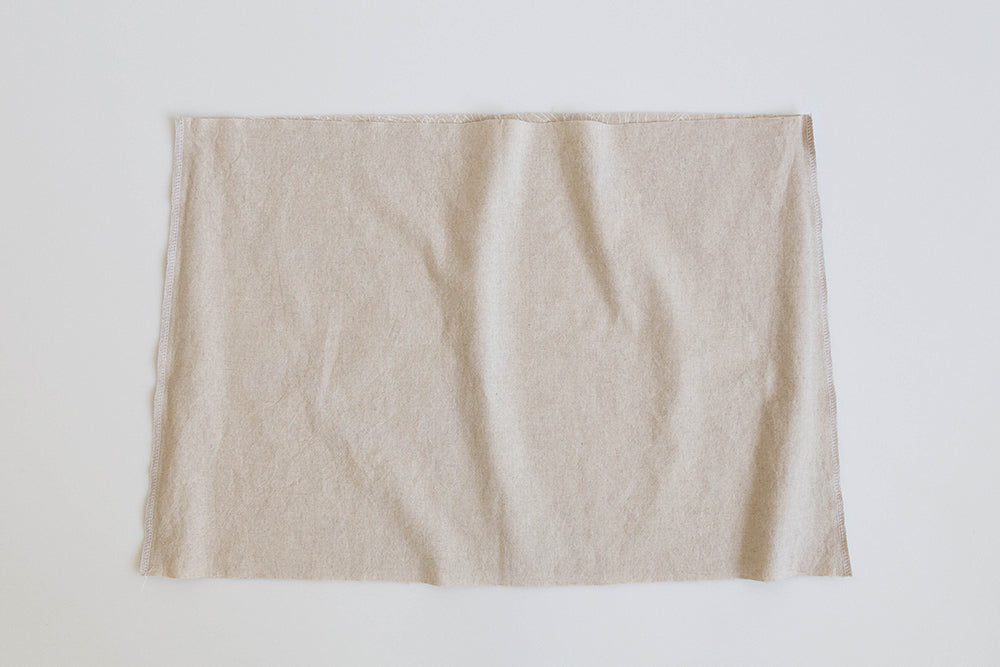

Begin by sewing the side seams of your skirt pieces. Finish the seam allowances as desired and press them to the back of the garment.
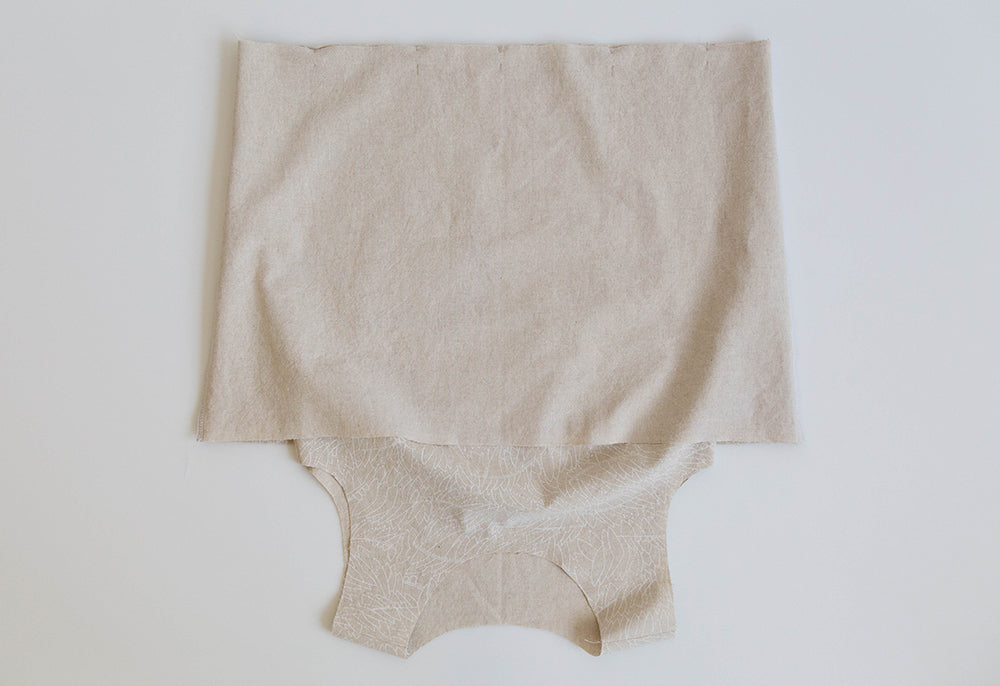
Now we’ll sew the first waistline seam, the one that attaches the bodice to the skirt. Place the bodice right side out inside of the skirt with the right side facing in. Pin the two pieces together.

Stitch around the seam line and finish the seam allowance as desired but DO NOT press the seam one way or the other!

Now we’re going to create the waistline pleat. To start turn your dress inside out and place it around your ironing board.

Fold the seam line up over the bodice of the skirt. If you’ve marked your fold and stitching line you can match those and pin in place. If you haven’t you’ll need to make sure that the depth from the fold to the seam line of the waist seam is 2″.

Pin the seam in place and press, working around the circumference of the dress.

Move over to your sewing machine and begin stitching, following the stitching line marked on your pattern. This line is the same as the stitching line for the waistline seam, so I usually just follow that. We’ve found that stitching with the dress inside out is the easiest.


Give your pleat another press and you’re done with this step!
Up next, binding the neckline and armholes!