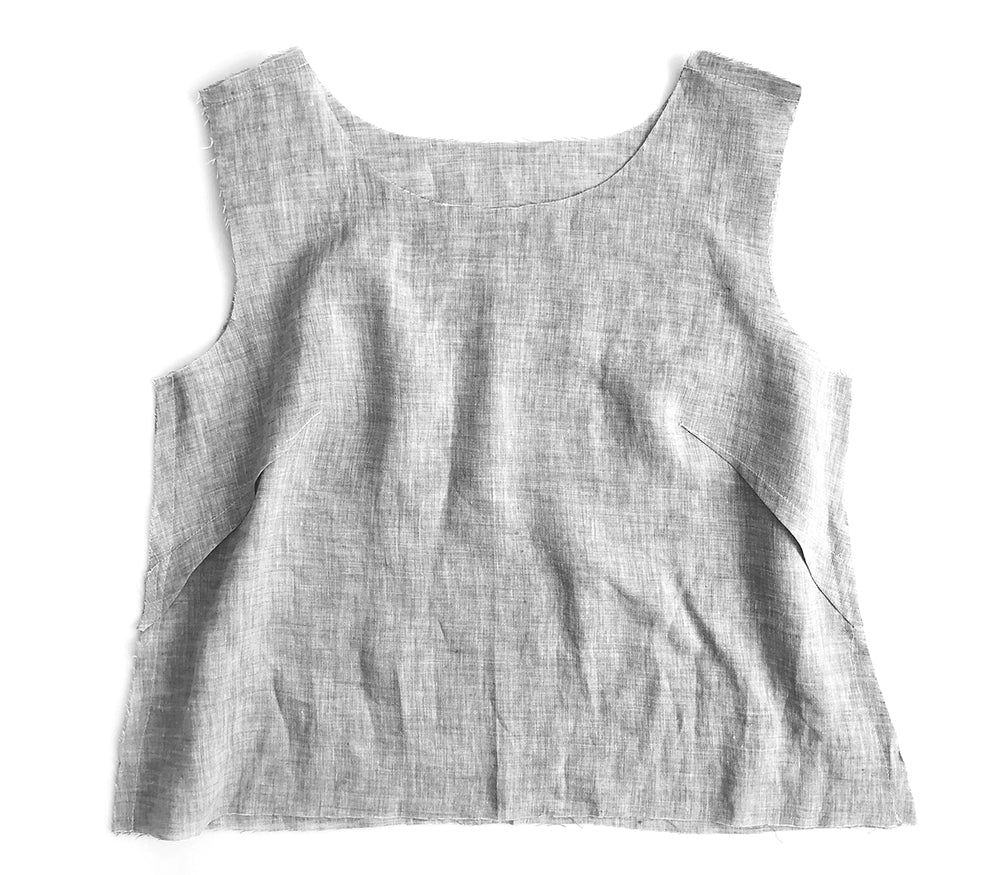
Uniform Sew-Along: Bodice Views A & B

Today it’s time to start assembling our Uniform Tunics! I’ll be showing the construction on View A but both views follow the same set of steps regardless of the neckline you choose. So let’s dive in!

To begin, take your bodice front and fold the two dart legs together with the right sides of the fabric facing each other. Press a fold from the dart leg notches to the dart point you marked on your pattern while cutting.

Stitch a straight line from the dart leg notch to the dart point. You can end your stitching at the dart point a few ways. I usually just backtack a few stitches but you can also leave thread tails and tie a knot. Whatever method you choose is just fine.

Fold the dart take-up (this is the excess material you folded and stitched to make your dart) towards the hem. Since this is a French dart there is more fabric folded down so I like to stitch it in place within the seam allowance to keep it from shifting when you sew your side seams.

Repeat these steps for the other dart. You should now have both darts sewn, pressed towards the waist, and anchored to the side seams.

With the right sides of the front and back bodice facing each other (wrong sides out!) align the side and shoulder seams.

Finish your side seams as desired treating the two seam allowance layers as one. You can try pinking shears, a zig zag stitch on your sewing machine, or a serger if you have one.

You can see here that I serged my edges using a 3-thread serger stitch.

Press all the seam allowances towards the back of the bodice.

That’s it for your bodices! Next up we’ll be assembling the View A pockets & skirt. If you’re on Instagram don’t forget to share your progress with us using the hashtags #uniformtunic and #uniformmakealong and if you have questions just let me know in the comments below!

Uniform Sew-Along: Bodice Views A & B | Grainline Studio

Mentioned Products

  • Uniform Tunic 0 – 18
    Uniform Tunic 0 – 18
  • Uniform Tunic 14 – 30/32
    Uniform Tunic 14 – 30/32