Uniform Sew-Along: Armhole Binding
Shop this post

Uniform Tunic

Uniform Tunic
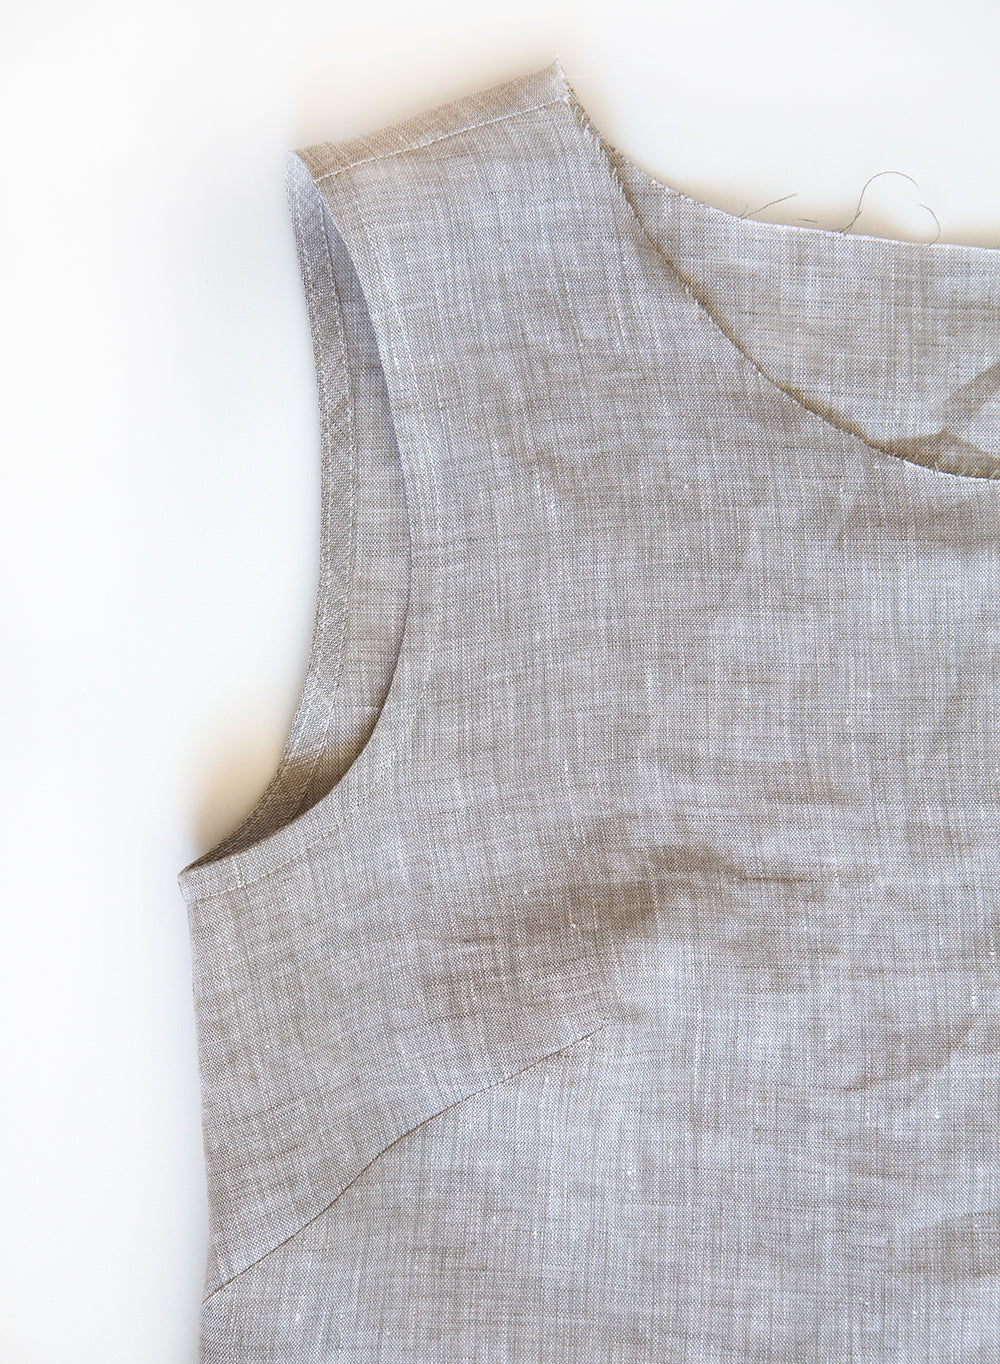
Today we’ll be discussing how to apply bias facings to the armholes of your Uniform Tunic. I’ll be showing this technique on view A since that’s what we’ve illustrated in the book, but the bias facing pattern pieces can be applied to either view without trouble.

To begin, sew each armhole strip into a circle by matching the short edges with right sides facing and stitching along the seam line using a ¼" seam allowance. Press the seam allowances open.

Pin the bias facing to the armhole with the right sides facing.

Stitch around the armhole using a ¼" seam allowance.

Grade the seam allowance by cutting the allowance of the bias facing in half. Then clip around the armhole to, but not through, the stitching line every ½ - ¾".


Press both the seam allowance and bias facing away from the bodice. Understitch by stitching a line approximately 1/8" from the seam line through both the bias facing and seam allowances.

Press both the seam allowance and bias facing away from the bodice. Understitch by stitching a line approximately 1/8" from the seam line through both the bias facing and seam allowances.

Fold the raw edge under around the entire armhole to create the finished edge of the bias facing.
Stitch along the edge you just folded under at approxmiately 1/8″ to finish the bias facing and anchor it in place. Give your armhole a press and repeat for the other side.
If you need further assistance with your bias facing, check out our super in-depth tutorial here on getting flat bias facings. The tutorial shows a neckline but they’re done in the same manner as a facing.
Next up sleeves, we’re almost finished!
Featured Products: