Today in the Stowe Sew-Along Series we're going to take you through steps 1-5 in your instruction booklet. We'll be making the pockets, attaching them, and sewing up the sides of the bag. Believe me when I say this post is the bulk of the project! This is a bit of a long post so I've divided it up into three sections in case you've nailed part of it on your own and just need help with a specific part. With that, let's dive in!
Prepping the Pockets

The first step in making your pockets is to finish the top edge of the pocket. Start by folding down 3/8″ above the notches at the top of the pocket piece and press. Then fold that edge down 3/8″ more and press, this fold line will be even with the notches.

Stitch across the lower edge of the fold to anchor it in place and finish the top edge of the pocket.

Repeat these steps for the other pocket piece.


Now align one pocket with each of the two body pieces, the right sides of both pieces should be facing out and the finished edge of the pocket will align with the notches at the sides of the body pieces. Stitch the pocket to the body to anchor it in place, but stitch within the seam allowance (approximately ¼″) so that the stitching doesn't show on your finished bag.
Stitching the Pockets


Now we need to mark our pocket lines to prepare for stitching them into the bag. To do this I used my favorite fine marking pen the Bohin Extra-Fine Chalk Pencil. To draw in my stitching lines I connected the points marked by my pins, then removed the pins. I've included the illustration above to show you clearly the pocket line placement you should be marking in.

After marking my pockets I like to stick a few pins into my piece as shown above to keep the layers from sliding around as I work since there's a bit of shifting and pivoting while sewing.

The easiest way to sew the pockets is shown above. You're going to start at once side of the bag (where it says Start in the illustration) and sew over to your first marked line. Pivot down and stitch to the end of the marked line. Pivot again and stitch over to the point marking the end of the pocket, then pivot up to the top of the pocket. Pivot once more and stitch to the other side of the bag (marked End in the illustration above). You'll then go back in and stitch in the pocket dividing lines.

Here you can see the first stitching line of the pocket more clearly.

And because I know people are going to ask, I do backtack at both sides of the second pocket stitching lines. I give my bags a good bit of wear and tear and a neat backtack doesn't bother me at all. If it does bother you, you can definitely tie off your threads.


You now have sides that look like this with their pockets stitched in and we're ready for the third part of this post — sewing the sides of the bag together.
Attaching the Sides

The first step in sewing the sides of the bag is to align the two sides with the right sides facing each other. Pin around the three straight sides of the bag.

Now sew around those three sides using a ½″ seam allowance. 
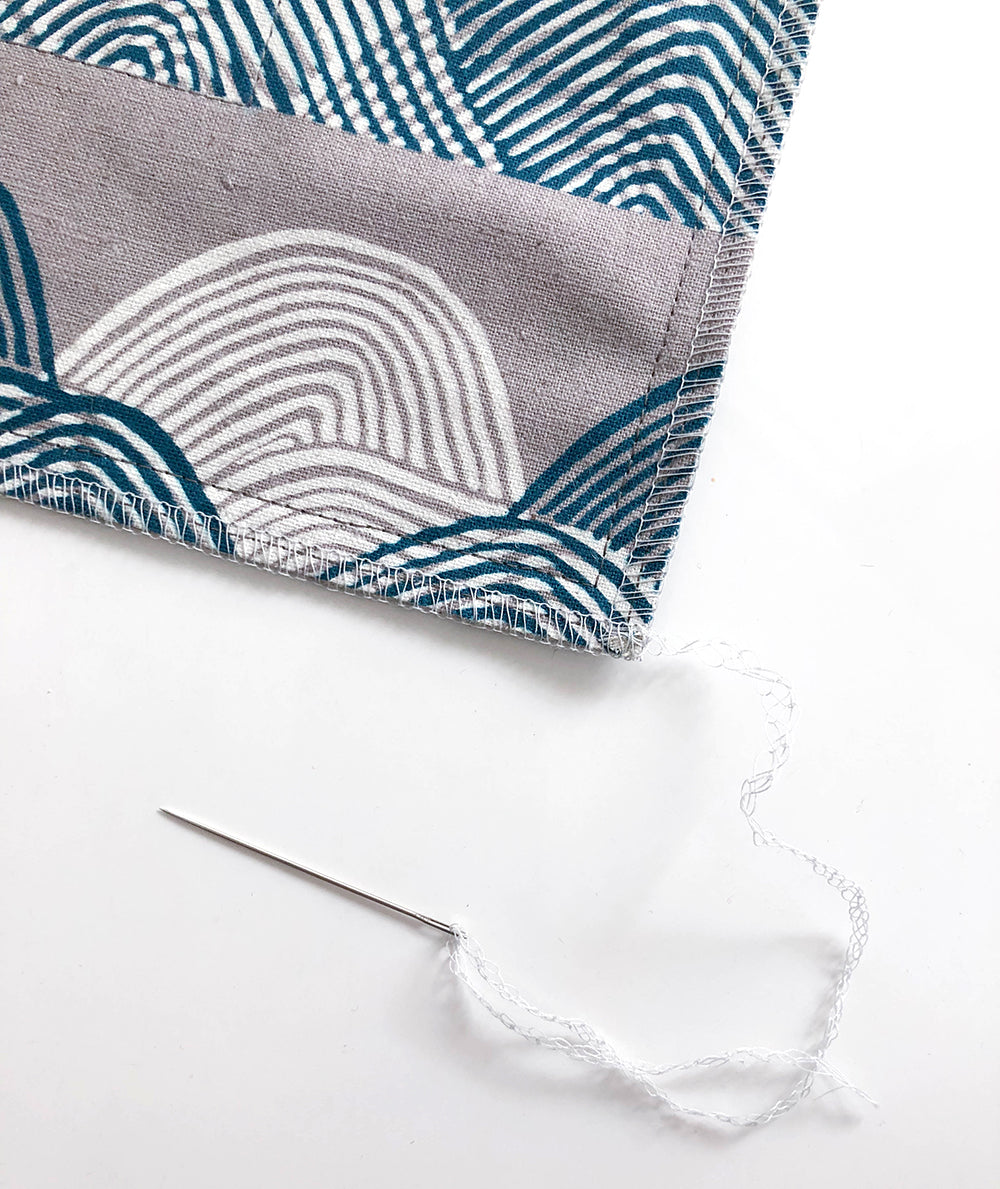
You can leave your seam allowances unfinished but I recommend either going around them with a serger or zig zag stitch on your sewing machine. I get asked a lot about binding the edges but I think that just gets too thick later on so personally I would avoid doing that. If you do serge around the edges, here's a quick tip to secure your threads at the corners.

Thread one of the serger tails onto a large eye needle.

Now run the needle into the seam allowance in the opposite direction that your thread tail comes off the pouch and pull it through.

With your needle still threaded, send the thread back in the opposite direction and pull it through so that the tail is anchored.

Snip the excess tail thread. Once the thread tail is anchored in this way its very unlikely it will come undone in the future. That's it for the pockets and sides! Next up we'll be talking all about bias binding in preparation for applying the binding needed in this pattern. See you back here then!