Reed Sew-Along: Hemming and Finishing
Shop this post

Reed Skirt

Reed Skirt
Today's the day, we're finishing up our Reed Skirts and I'm so excited! We'll be putting the buttons and button holes into Views A & B, popping a hook and eye onto Views C & D and hemming all four views. Let's start with the buttons and buttonholes.
Views A & B Buttons & Buttonholes

Begin by grabbing the button and buttonhole template included with your pattern pieces and lay out the right side of the skirt.

Align the top edge with the waistline seam and mark the buttonhole placement. I do this with a pin through a small hole made in my template with an awl, but you can also use a marking pen or pencil. Because of the way my machine does buttonholes I only need to mark the top, but depending on your machine this may vary.

Continue marking the buttonhole placement the rest of the way down the skirt.

You should already have the waistband button and buttonhole placement marked, but if not, you can find the placement on your front waistband piece.

Here you can see the buttonholes inserted into the skirt. The waistband buttonhole will be horizontal and the button band buttonholes vertical.

A closeup of the buttonholes along the band vs the waistband.

Now cut your buttonholes open. We prefer to use a buttonhole chisel here because it eliminates the chance that you'll accidentally slice through the end of your buttonhole into your garment.

Simply press the chisel through the buttonhole using the block of wood that came with it under the buttonhole. It's that easy!

Now to mark the button placement. I prefer to mark the button placement off of the buttonholes, that way if anything is slightly out of place after inserting them, your button bands still lay flat. To do this I align the two button bands on top of each other, then push a pin into the buttonhole where I want the button to sit.

You can see here my marked button placement. At this point you can sew your buttons on by hand or use a button sew-on foot if you have one to do it on your machine.

Look at all those perfectly attached buttons!

Here's a closeup on the buttons. At this point your closures are finished and you're ready to hem!
Views C & D Hook & Eye Closure

For Views C & D you'll need to sew on a hook and eye right above the end of the zipper. You can see above our placement. A few stitches should secure the hook and eye in place.
Hemming Your Skirt
These steps are the same no matter which view you're making.

Fold the raw skirt hem up 1/2" and press. Then press that up 1/2" and press again.
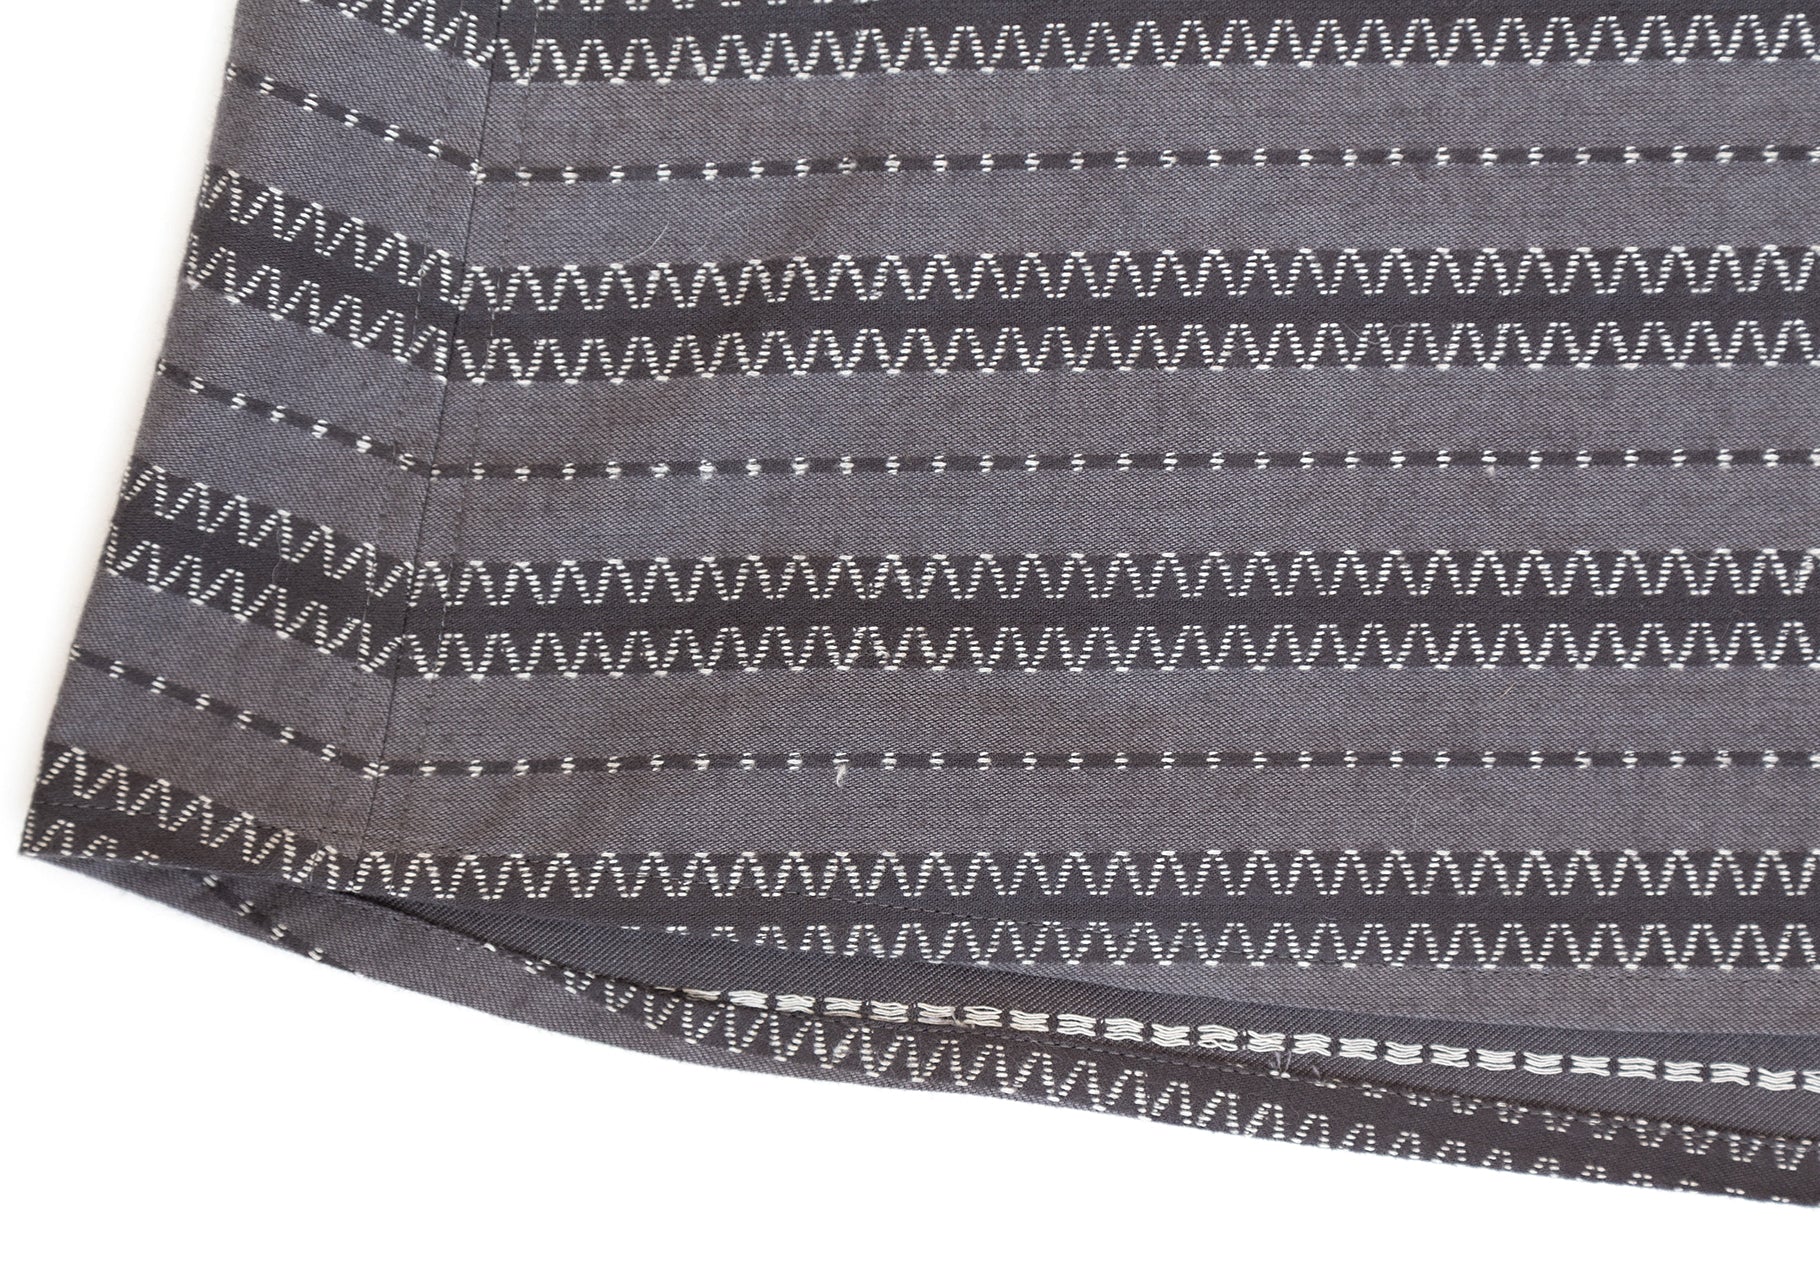
Sew the free folded edge down, about 1/8" from the edge. Your skirt is now hemmed!

So that's it for our Reed Sew-Along! We've got a few pattern variations planned out that we'll post in the next few weeks, so stay tuned for that. We hope you enjoyed following along and if you have any questions let us know in the comments below!
Featured Products: