How To Sew Mitered Corners

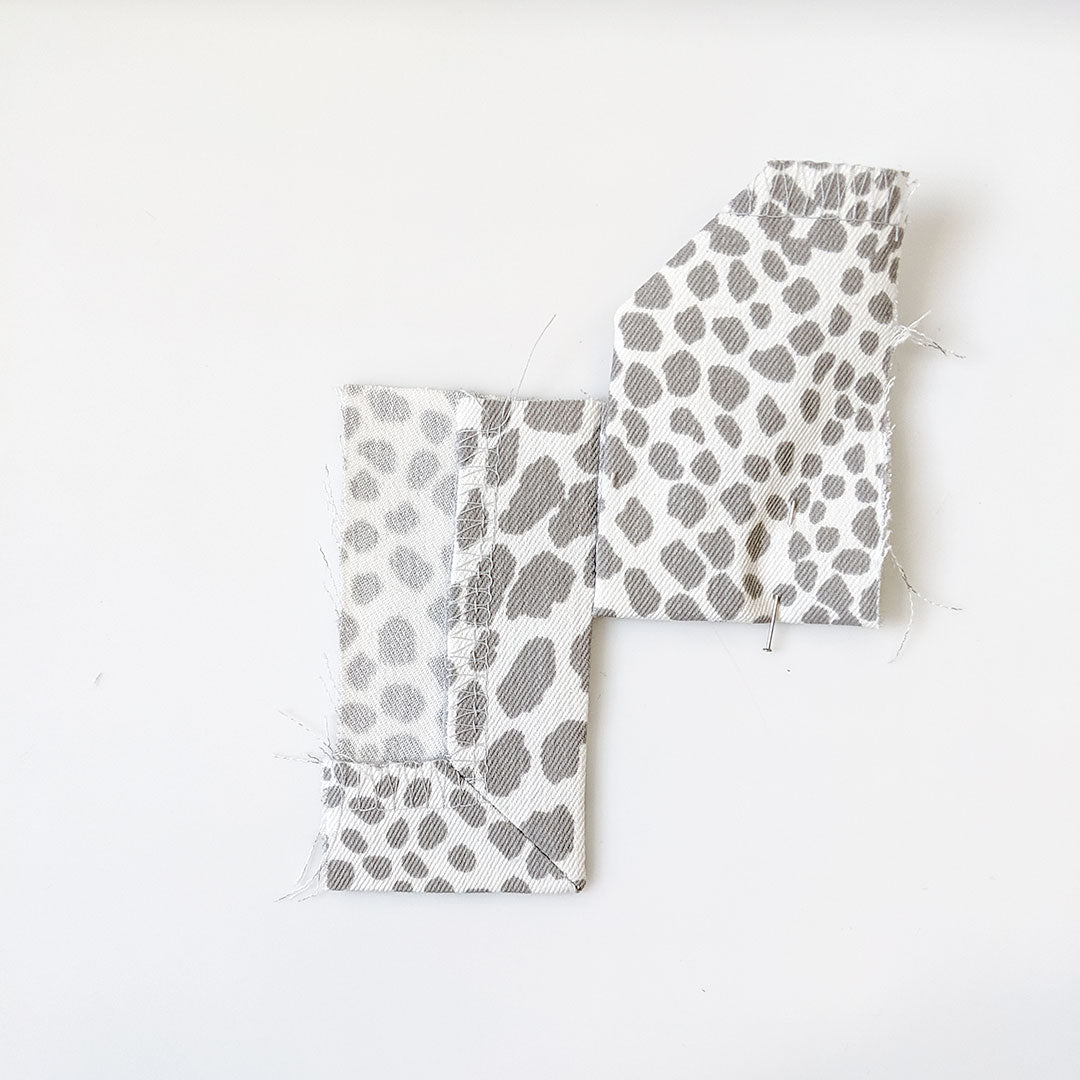
The first time I sewed a mitered corner was in 2016; it was a revelation. Up until that point, I had finished corners by folding the seam allowances of the hem and side seam under one another before stitching them down. It didn't seem to matter how many pins I used to hold everything in place, some tiny bit of seam allowance would escape the fold and stick out unevenly. In addition to that, the corners were usually lumpy and distorted from the bulky folds of fabric. Mitered corners join the seam allowances of the hem and side seam at a 45 degree angle. The resulting corner is crisp, flat, and incredibly professional looking. Today we're showing you the basics of the mitered corner as well as how to apply the technique to a split seam like the one shown above!
Basic data-Mitered data-Corner

Begin by marking your seam allowance on the wrong side of the fabric along the side seam and hem. You can use the indentations and creases from ironing to create your mitered corner, but we prefer to draw the guidelines. You can use chalk or some other marking tool. Here we're using a washable fabric marker. We recommend testing your marking tool on a scrap piece of the fabric you're using to make sure it can be removed without staining.

Fold the seam allowance of the side seam so that wrong sides are facing, and press to create a crisp intersection before unfolding.

Fold the corner of your fabric up so that the wrong sides are together. Align the folds on the right side of the fabric, created from pressing in the previous step, with the guidelines you've previously drawn or the folds that are visible on the wrong side of the fabric.

The fold lines can be hard to see so we've drawn them into place here. Once your folded corner is positioned in the proper place, pin it and press along the corner.

Un-pin, and measure 1/4" (0.635 cm) beneath your pressed diagonal fold. Cut along this line.

Fold along the diagonal line so that the right sides are facing and the edge of the hem is in line with the edge of the side seam. Pin and stitch along the diagonal fold at 1/4" (0.635 cm).

Trim the seam allowance, press the seam allowance open, and then turn your fabric right side out. This will cause the seam allowance of the side seam and hem to fold inwards. Use a point turner or bone folder to ensure your corner is turned all of the way.

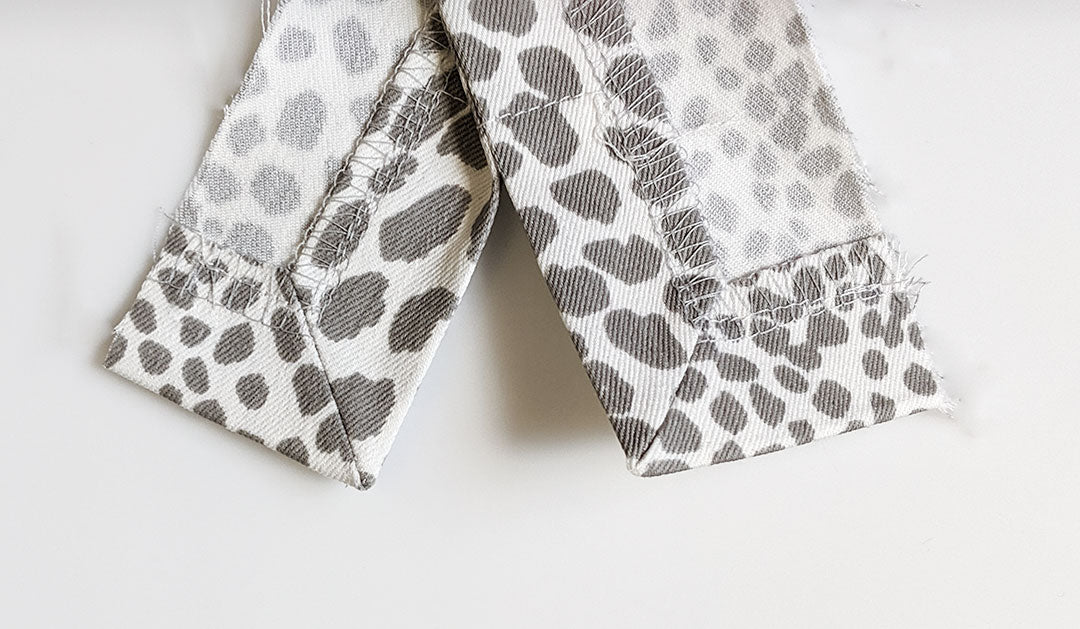
Your mitered corner is complete! Topstitch from the right side to catch the seam allowance in place.
Split Seam Mitered Corners

Mitered corners are a great way to finish the your corners if you've decided to add a split seam to a pattern. This method works as long as the seam allowance and hem allowance measurements are the same. If the measurements are different you have to adjust the pattern, and we're planning on showing you how to do that in an upcoming blog post!
To begin, finish your side and hem edges as desired. We forgot to finish our hem edge before taking this picture, but you'll see the finished hem edge appear in a few steps. With right sides facing pin your front and back pieces together along the side seam. Determine where you want your side seam to end and your seam vent to begin. Our pin indicates where we chose to stop our side seam. Sew your seam until you get to your stopping point, backstitching at the start and finish of the seam. In this example our seam allowance is 1" (2.54 cm).


Turn your pieces so the right sides are facing down. Press the seam allowance open. We'll now press our side and hem seam allowance folds and use them as a guide to create our diagonal stitching line.


Fold the fabric from the opposite side of the seam vent out of the way. Fold the corner you're working on up, so that the wrong sides are facing, and position it so that the folds you've previously pressed align with one another. Pin in place and press.


Unfold the pinned corner. Mark 1/4" (0.635 cm) beneath the diagonal fold line pressed in the previous step and then trim along this line. Flip everything over so that the right side of the fabric is facing up.


With right sides facing, fold along the diagonal line so that the hem edge aligns with the seam edge. Pin in place and sew at 1/4" (0.635 cm). Trim the seam allowance and clip the corner as close to, but not through the stitching line.


Use a point turner or bone folder to turn your corner so that the right sides are facing out. Press, and then repeat the previous steps for the other corner.


Once both mitered corners are complete you can anchor the seam allowances in place by topstitching around the hem and side seam vent. Since our seam allowance was 1" (2.54 cm), we topstitched 5/8" (1.58 cm) away from the edge.

Congratulations! You now know how to miter corners along a side seam vent. Have any projects you're looking forward to trying this on? Let us know in the comments below.
