Poppy Dress Printed Patterns are Now Available!

Hadley Sew-Along: Assembling the Fronts

Today we'll be assembling the front of our Hadley tops. The instructions for both views are the same, so I'll be demo-ing on view B since the neckline there seems more likely to trip people up than the jewel neckline. So without further ado, let's start sewing!

Hadley Sew-Along: Assembling the Fronts | Grainline Studio

Your first step is going to be staystitching around the neckline. You'll want to do this inside the seam allowance so that nothing shows once we've attached our necklines. I've stitched mine at just shy of ¼" since the neckline seam allowance is a quarter of an inch. After you've done that you may want to finish the center front edges of the top. If you're using pinking shears you can do that after the seam is sewn but it's much easier to zig zag or serge the edges at this point.

Hadley Sew-Along: Assembling the Fronts | Grainline Studio

Align the two fronts with right sides facing and stitch along the center front seam line.

Hadley Sew-Along: Assembling the Fronts | Grainline Studio

Hadley Sew-Along: Assembling the Fronts | Grainline Studio

Press the seam allowance open. Hadley Sew-Along: Assembling the Fronts | Grainline Studio

This step is optional but I like to stitch along both sides of the center front seam allowance at 1/4". Not only does this anchor your seam allowances but it emphasizes the slightly geometric lines of the top.

Hadley Sew-Along: Assembling the Fronts | Grainline Studio

Hadley Sew-Along: Assembling the Fronts | Grainline Studio

The above two photos show you a closeup of the stitching along the center front seam line.

Hadley Sew-Along: Assembling the Fronts | Grainline Studio

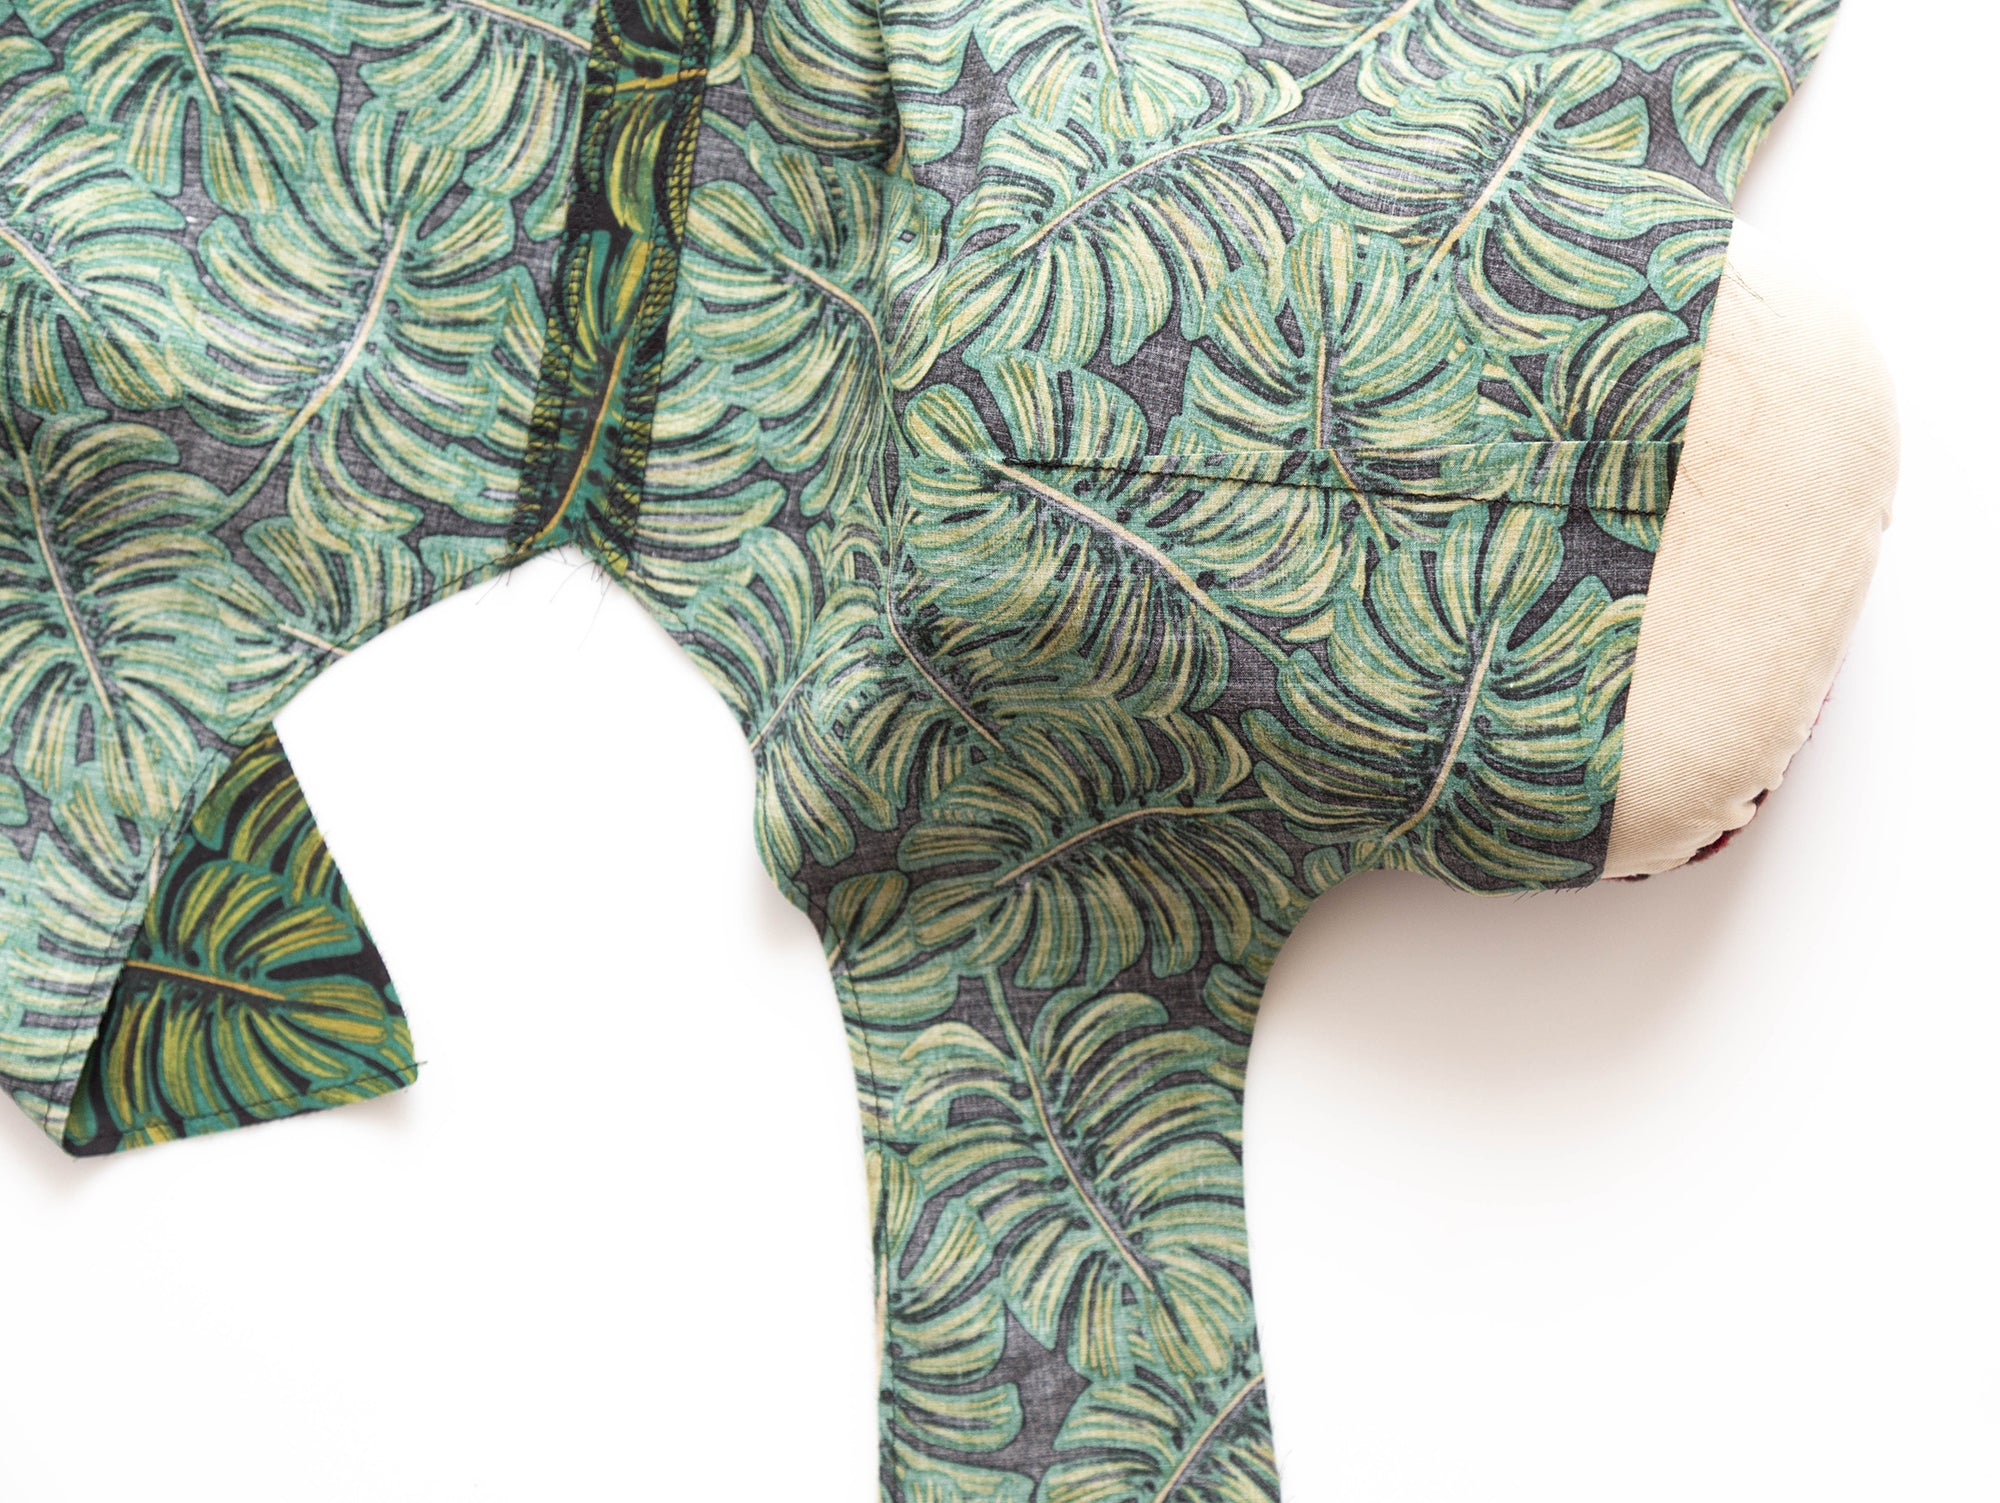
Now that your neckline is stabilized and your fronts are attached we'll sew the darts. To start fold the bodice with the right sides facing each other aligning the dart leg notches. Place a few pins to hold things in place.

Hadley Sew-Along: Assembling the Fronts | Grainline Studio

Stitch from the dart leg notches over to the dart point, the dotted line above illustrates your sewing path.

Hadley Sew-Along: Assembling the Fronts | Grainline Studio

Using a ham, press the dart takeup towards the hem of the garment. The ham will keep the shape of the dart and avoid pressing wrinkles into the dart point. Repeat these steps for the other dart.

Hadley Sew-Along: Assembling the Fronts | Grainline Studio

Hadley Sew-Along: Assembling the Fronts | Grainline Studio

And that's it, your front is assembled! As I mentioned at the beginning of this post, view A is exactly the same except for the different shape of the neckline. If you have any questions just let us know in the comments below, otherwise we'll see you back here Friday to assemble your back!

Hadley Sew-Along: Assembling the Fronts | Grainline StudioHadley Sew-Along: Assembling the Fronts | Grainline Studio

Mentioned Products

  • Hadley Top 0 – 18
    Hadley Top | Grainline Studio