Today we'll be assembling our lining and facings to get ready to bag our coat. To begin, grab the two back lining pieces and pin the center back seam with right sides facing. Stitch along the seam allowance line.

Press the seam allowance open. Since the center back contains a curve for the pleat I like to press it over my ham.


Bring the two center back notches together to form the back pleat. Pin and stitch within the 1/2" seam allowance. I stitched mine at 1/4".


Now we'll be attaching the lining to the center back facing. Match the edges and center back and pin between those points. Above shows you what each side of the lining will look like when pinned.

Stitch along the seam and grade the seam allowance of the lining.


Press the lining away from the facing and run a line of stitching along the lining side of the seam to keep it in place.


Next we'll be attaching our front lining pieces to the front facings. Align the two pieces matching ends and notches. Before you stitch, measure up 2" from the hem and mark that point with a pin. You'll stop sewing here, leaving the bottom 2" of the lining and facing unattached. Grade the seam allowance of the lining along the stitching line, do not grade where you left the lining hanging free.

Press the lining away from the facings and stitch along the lining side of the seam as you did for the center back facing.


Sew the side and shoulders seam together and press seam allowances open. Set the body aside.


Assemble and insert your sleeves. If you need detailed instructions for this step, see the previous post, Cascade Sew-Along: Side Seams and Sleeves. Set the lining aside.


Now we'll be attaching the sleeve and hem facings to the coat. Begin by sewing the front hem facings to the back hem facing matching notches and with right sides towards each other. Trim your seam allowance and press the seams open.


Align the hem facing with the hem of the coat with the right sides facing. Match center back and seam lines and stitch along the hem from one edge of the facing to the other. Grade the seam allowance.

Press the facing down and understitch along the facing side of the seam allowance.


Sew the ends of each sleeve facing together, press the seam allowances open, and trim them down to half.

Align the sleeve and sleeve facing so that right sides are facing and the seam of the facing matches the back seam of the sleeve.

Stitch around the sleeve opening and grade the seam allowance.

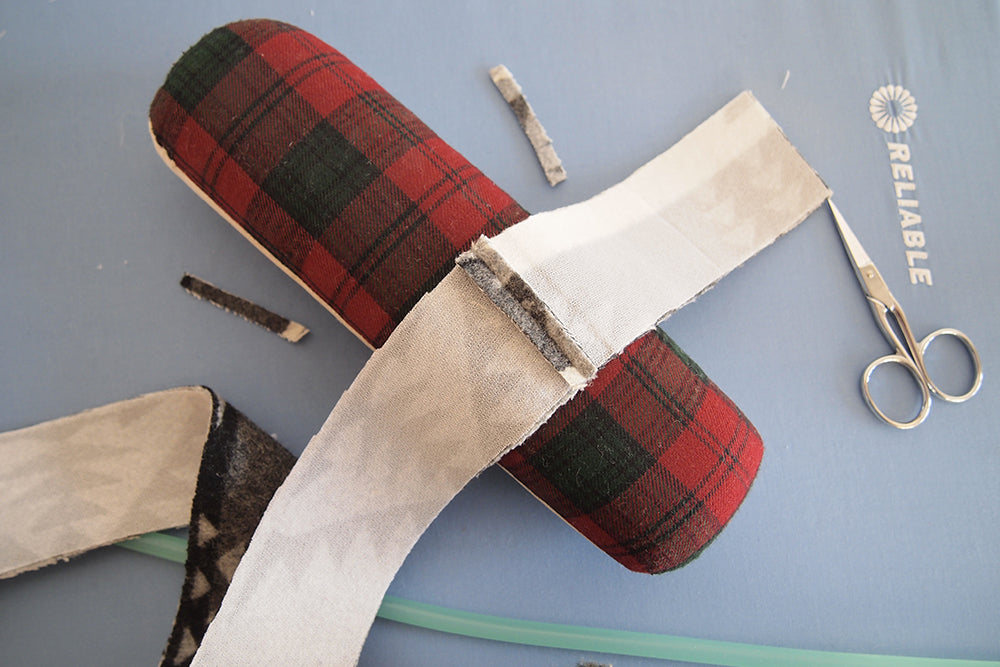
Press the sleeve facing and seam allowance away from the sleeve. I find this is most easily accomplished by using the sleeve roll.

Understitch along the sleeve facing. Repeat these steps for the other sleeve.

You now have your lining assembled and facings attached. Our final Cascade Sew-Along post will show you how to insert the lining using the "bagged" method. Stay tuned!


