Alder V-Neck Variation
Shop this post

Alder Shirtdress

Alder Shirtdress

Today I'll be showing you how to convert the neckline of the Alder Shirtdress from a collared button up in to a collarless v-neck. For this variation you can disregard the pattern pieces for the upper collar, under collar, and collar stand.

This is another image heavy post since I'm doing the pattern alteration and sewing instructions in one post. Click the link below to view the instructions!

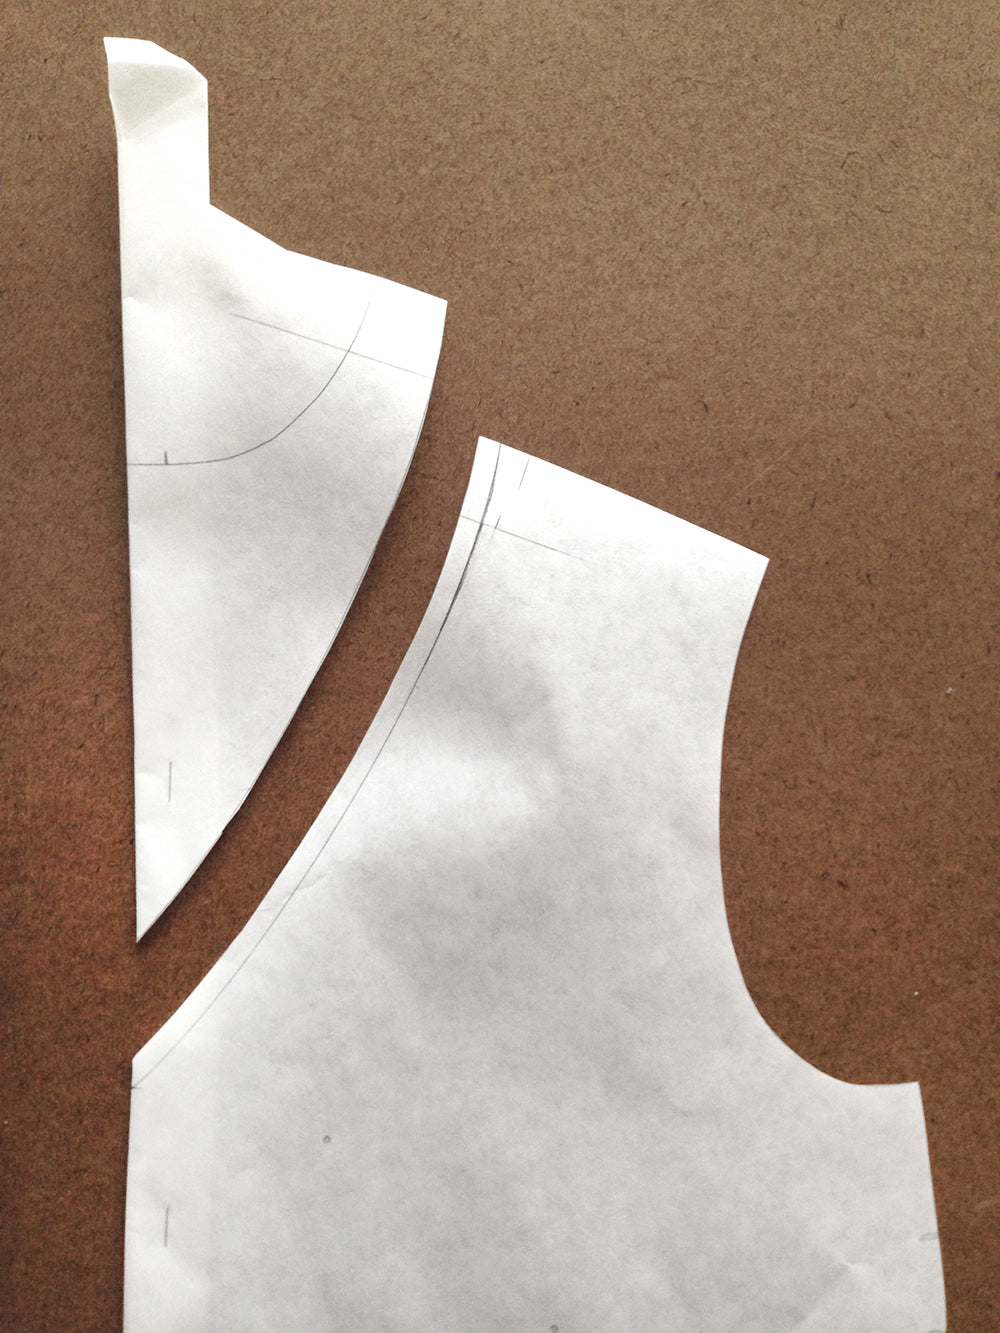
Begin by tracing off the both the front pattern piece and the yoke onto two separate pieces of paper. Mark the seam allowance of the shoulder seam on both pieces, fold the seam allowance of the yoke under, and align the two seam lines as shown above.
Decide where you want your neckline to hit at the center front, shoulder, and center back. Draw a smooth line between these points as shown above. I lowered the back by an inch, moved the shoulder neck edge in about 1 1/2" and lowered the front by approximately 8".
When drawing the front V you're going to want to make a slightly concave line rather than a straight line, the reason for this being that it generally lays better on the chest and is more flattering, but also occasionally when you draw a straight line the shape of the chest gives the illusion that the neckline is actually convex.
Add seam allowances to the new neckline.

Unfold the yoke seam allowance and cut along the new yoke line.

Cut around the outside of the front piece with the exception of the new neckline.

Fold the button band under and either pin or staple the layers together. This makes it easier to cut through the three layers of paper without anything shifting.
Cut along the new neckline.

Unfold the front button band and you have your new piece. Now lets sew the pattern together.
Begin by skipping the first few steps of the pattern pertaining to the button bands, we're going to do those later. Instead start with the darts and move forward from there adding the pockets if you like, assembling the yoke and bodice, and attaching the skirt if you're using View B like I am. Once that is complete you'll be ready to follow the below instructions.

Begin by interfacing the button bands as you would normally but trim the top edge to match the shaped edge of the neckline.

Press the first edge of the button band over.

Then press the button band over again.

Open the band along the last crease you just made.

Fold the button band over so that it aligns with the neckline and is laying on the right side of the dress.

Baste the band in place within the 1/4" seam allowance.

Now take a 1" wide strip of bias binding the length of the new neckline and pin it from one edge of the neckline to the other on the right side of the dress. It will lay on top of the basted button band.

Stitch it to the neckline at 1/4" seam allowance. If the bias strip hangs over the front of the button band, trim that section off.

Clip the neck edge approximately every inch and press the bias binding and seam allowance away from the dress.

Understitch along the length of the bias binding.

Next fold and press the binding to the wrong side of the dress. Make sure that you roll the seam line to the wrong side.

With the button bands still flipped to the other side of the garment fold the raw edge of the binding under and press. Pin in place just up to the edge of the button band.

Fold the button band over to the wrong side of the garment, the band will cover the raw edge of the bias binding.

Give the corner and top seam of the button band a nice press and pin the length of the button band in place.
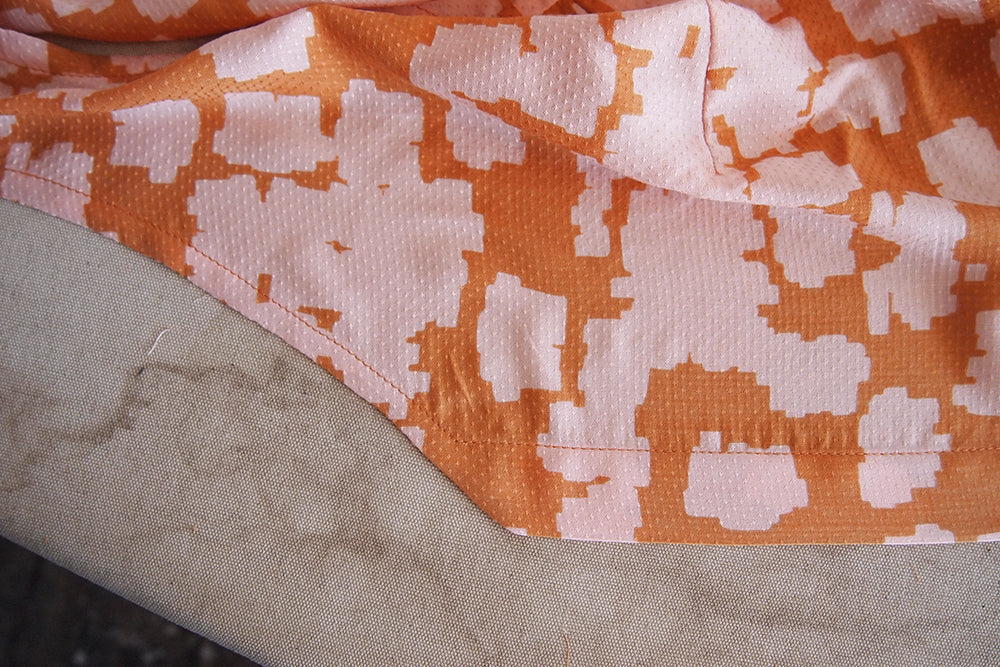
Stitch around the button bands and bias binding as close to the folded edge as possible, approximately 1/16 - 1/8" starting from the hem of one button band, pivoting at the point where the button band and neckline edge meet, around and back down the other side.

When you insert your buttons and buttonholes the marked buttons from the original Alder pattern will no longer apply. Instead mark the first buttonhole to start even with the point of the neckline. From there I placed buttonholes every 3 1/2" but you can use whatever measurement you find works best for you.
Continue finishing the garment according to the instructions that came with the pattern to finish the armholes and hem your dress and that's it!
Featured Products: