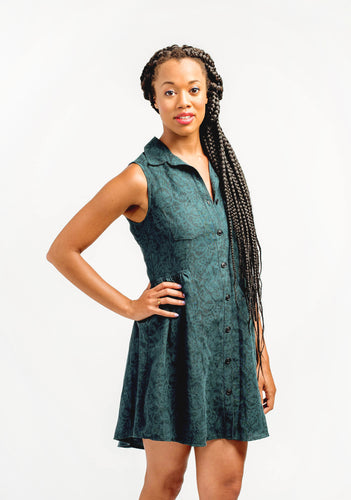
Alder Sew Along Part 2: Selecting Your Size

Today we're going to talk about selecting your size. The first thing you're going to want to do is get some measurements. The three measurements needed to select your size are bust, waist, and hip, and with the Alder, the most important measurement is going to be your bust due to the fact that it's the most fitted section of the garment.
For the bust measurement (1) you're going to measure around the fullest point of your bust, wearing whatever type of bra or undergarment you plan on wearing under your garment. It's a good idea to have someone help you take your measurements, especially the bust, if you can as having your arms up and holding the tape can affect the measurement a bit.
The waist measurement (2) will be at your natural waist. On many people this is the smallest point of your torso, though on me, it's pretty much a straight shot from one measurement to another. If you fall into my category a good rule of thumb is your waist is generally where you hands want to end up when you put them on your waist if that makes any sense. It's also where you bend from.
The hip measurement (3) will be the fullest part of your hips and butt. Typically this is approximately 7" below your natural waist, though on others it can be lower. You want to make sure you get around the full circumference so you don't end up with tight hips!

Once you get your measurements you can select your size on the size chart. You can see that these measurements don't fit into one size which happens all the time and isn't a big deal at all. Here's what I recommend in situations like this.
Say your bust measures 34.5" around, you'll want to move up to the 35" bust size. The bust on the Alder is fitted, unlike the Archer. If you've made the Archer but downsized for a closer fit be warned, this pattern is not the same as the Archer and if you pick the same downsized size you're definitely running the risk of having the bust be much too tight. I've heard of this happening a few times already. Trust the measurements on the chart and believe me when I tell you they are not based off of each other and all will be good in the world of the Alder bust measurement! Also note that the Alder, like all Grainline Studio patterns, is drafted for a B cup.
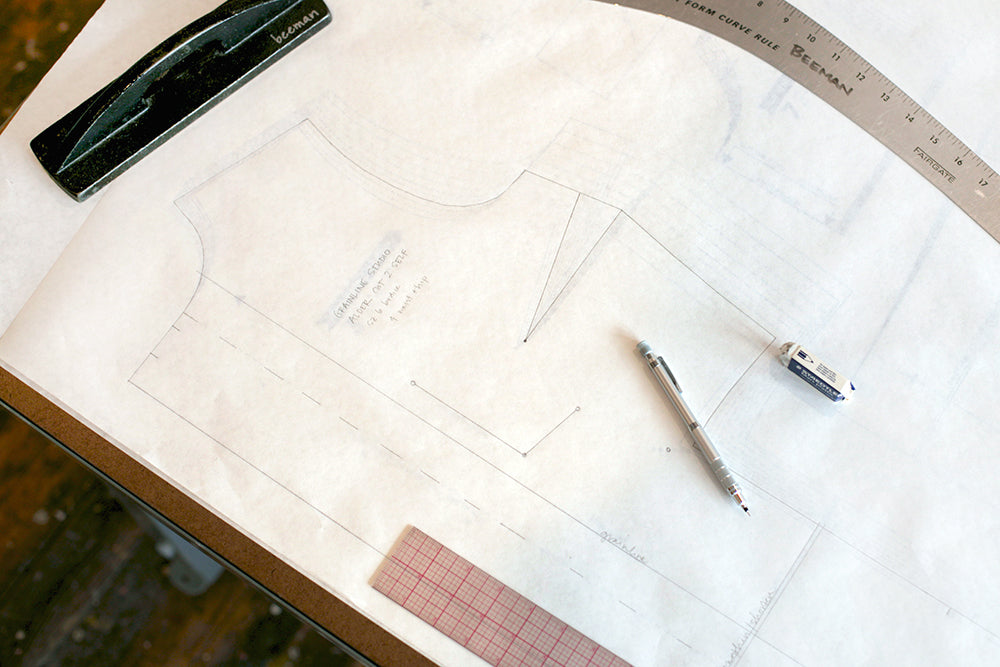
If you fall into different sizes for each measurement as in the illustration above, you can either go with a straight size of the largest measurement (a straight 6 in the photo above) blend between sizes to get a better fit.

To blend between sizes you're going to need a pen/pencil and a ruler. Locate the two sizes you need to blend between and the location you need to blend and draw as natural of a line as you can. I show a curved ruler here but often I find it easier to manipulate a straight ruler or just freehand. You can see how I started blending about an inch below the bust dart and about an inch up from the waist, that maintains those measurements and ensures you're only blending between them.
From there cut or trace your pattern pieces making sure to transfer any blending between sizes to all affected pattern pieces. From here I'd recommend making a muslin to see if you need to make additional fit changes. I'm going to give you guys Wednesday off to sew up your muslin and then I'll be back with potential fitting fixes on Thursday. See you then!