Alder Sew Along: Attaching the Collar
Shop this post

Alder Shirtdress

Alder Shirtdress

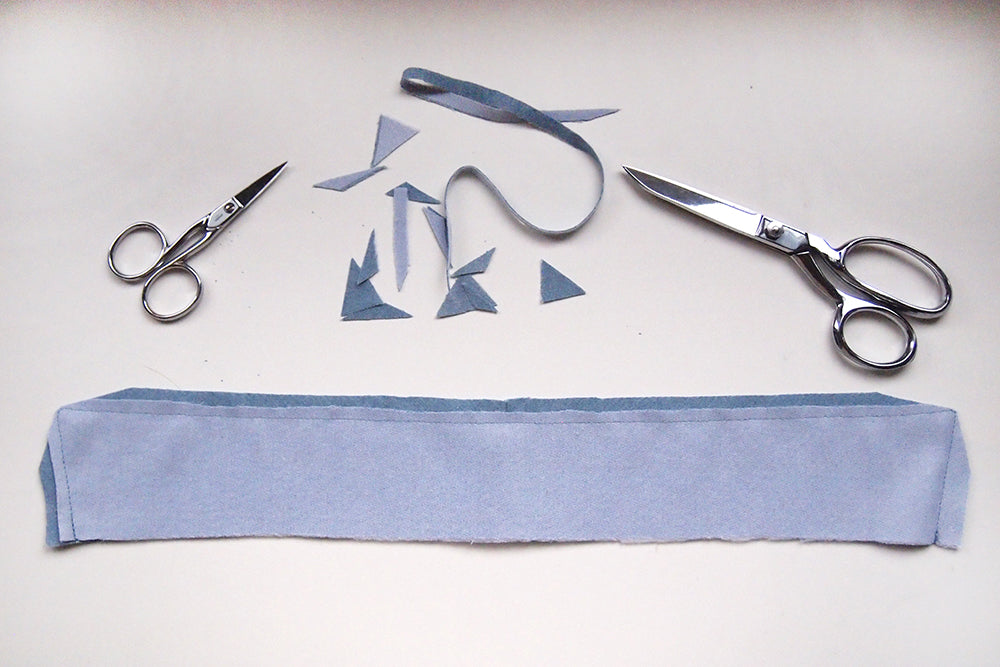
Today we'll be assembling and attaching the collar. This post is extremely photo heavy, about 32 photos, so if you're here for the sew along, click below. If not browse on!

Begin by interfacing the upper collar and one of the collar stand pieces. If you're using fusible interfacing follow the instructions included with your fusible, if you're using sew in interfacing baste it to the pieces with the basting stitches falling within the seam allowance.

Sew the center back seam of the undercollar and press open.


Pin the collar and undercollar together along the three outer edges. Stitch around the collar. At the corners I use this little trick to get sharper points.
Grade around the collar and snip the corners.

Turn the collar right side out. This is where I use the bone folder mentioned in the supplies post, it pushes the corner out sharply but isn't sharp enough to go through the corner like a lot of corner point tools are. Once you break through the corner with one of those it's a real pain to fix.
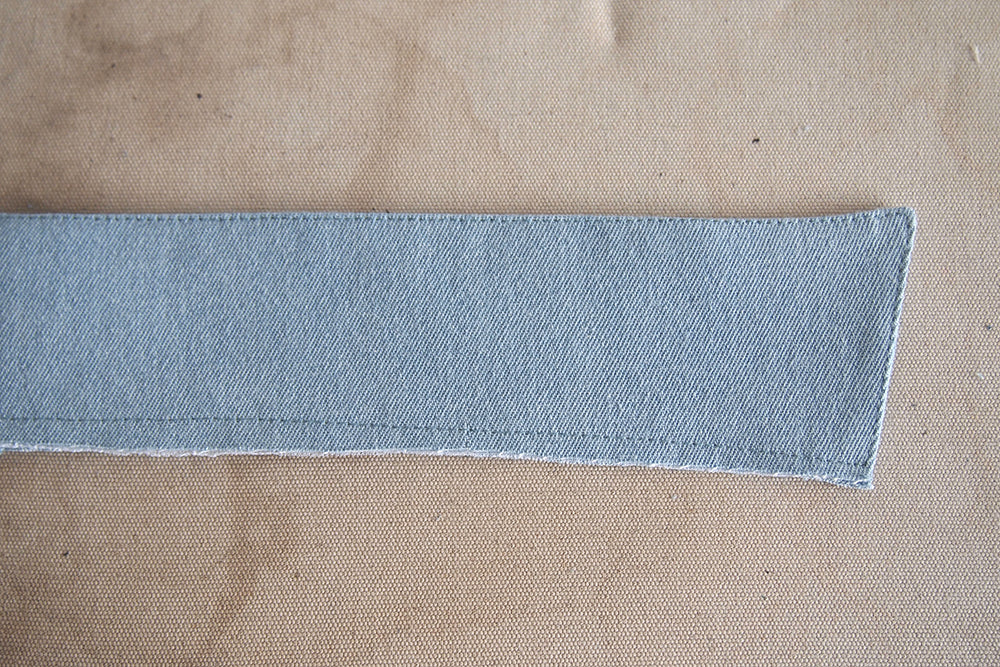
Press the collar and topstitch around the outer edges. Stitch across the bottom at 1/4" (you want this to fall inside the seam allowance) so that the two layers act as one when applying the collar stand.

Stitch the interfaced collar stand piece to the underside of the collar at 1/4" with the right side of the facing towards the right side of the under collar.

Flip the collar over and stitch the non-interfaced collar stand to the collar/collar stand sandwich. The collar should be in the center of the two collar stand pieces and the right sides of both collar stands should be facing each other.

Grade the seams and clip the curves of the collar stand. Rather than notch my collar curves I trim them to a scant 1/8" which I find makes a smoother curve. You can see a post on my reasoning for that here.

Turn the collar stand right side out and press the seams flat. You are now ready to begin attaching the collar/collar stand to the neckline of the dress.

Begin by laying your collar and dress out as above. The dress should be facing right side up and the collar should be laying with the under collar facing up. This is how the collar will eventually sit on the dress so it can be nice to visualize this before we start attaching things left and right.
Flip the collar down so that the underside of the collar stand / under collar is facing the right side of the dress. Match your ends and notches and pin the collar stand in place.

Since we're matching the seam lines and not the edges of the fabric (as you always do on a curve) you'll have an end that looks something like this.

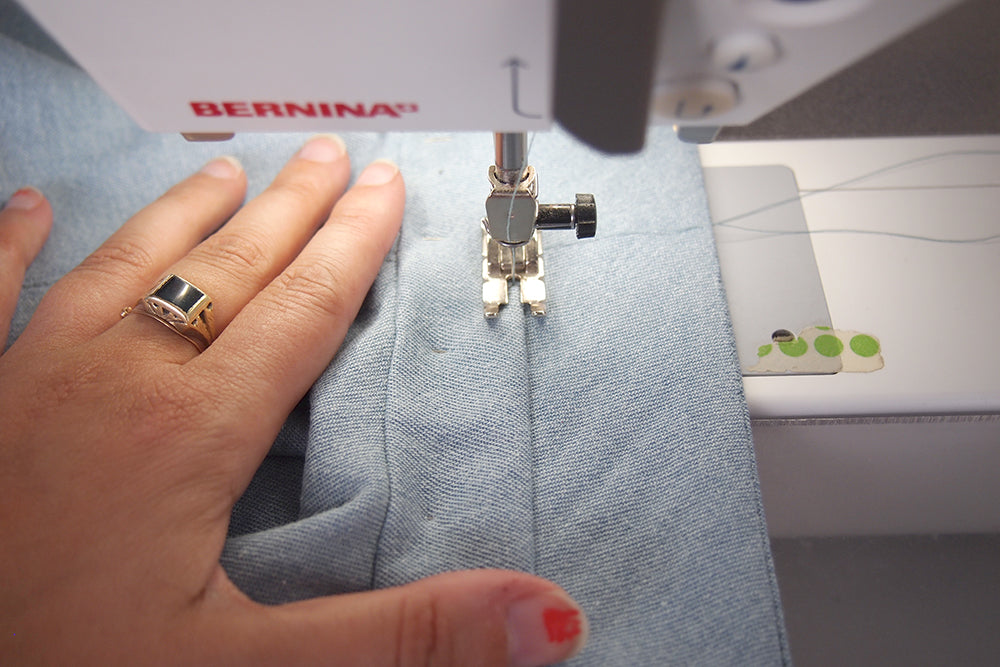
Take your dress over to the machine and stitch the collar stand you just pinned to the dress together. You'll want to start stitching right at the edge of the collar stand and not go over into the other side of the collar stand. To do this I like to place my needle with the presser foot up, then go to town.

Make sure you stop stitching at the same place on the other end as well.

After stitching the last seam you should have a dress / collar that looks like this. We are now going to do some fancy footwork to attach the rest of the collar to the dress.

Tuck the collar point under and inside the collar stand like so. You want to make sure you don't catch this in the seam during the next steps.

With the collar point still tucked turn your dress into the above position.

Flip the unattached collar stand around the front of the button band and line it up with the collar stand attached to the neck edge. Make sure nothing inside is twisted.

Pin the two layers together for about an inch or so.

Stitch through the two layers. Do not trim the corner yet...

Right the corner edge to make sure everything ended up in the right spot and nothing extraneous got sewn into the seam.

When you're sure everything is in its proper place, flip the collar stand back and trim the corner point.

Again, right the collar stand and repeat for the other side.

This is what the underside of the collar stand looks like at this point.

Clip the dress seam allowance about every 1" just to, but not through, the seam line. Press the seam allowances up into the collar. I don't typically grade here because the thicknesses of the collar/collar stand and the neck edge seam allowances are pretty equal so the entire collar stand is approximately the same thickness but if you'd like to grade to to town.

Fold the seam allowance of the collar stand under, press, and pin in place.
Topstitch around the collar stand, this also seals the bottom of the collar stand you just pinned. I like to start in the center top of the collar stand so that my back tack is hidden under the collar. This works unless you're a collar popper, but that's not really my jam.

Here's your finished collar! If you'd like to see a video version of this method, you can check out this post from the Archer sew along. Beware, I sound really awkward but I think it gets the point across. Armholes are next!

Featured Products: