Today we're going to be sewing together the side seams & skirts of both View A & View B. We'll start with view A because that's the easier one. Begin by placing the front and back with right sides together matching up the edges and notch of the side seam. Stitch along this seam.

From there finish your seam as desired and press towards the back of the garment. I serged mine here because it's denim but if you're using a lightweight fabric such as silk you could alternately French seam.

Something I like to do on my denim garments is stitch along the edge of the seam at 1/4" catching the seam allowance underneath. This is a ready to wear faux flat felled seam technique which gives a similar look (and keeps the seam allowance in place) without all the work of a regular flat felled seam. This dress isn't really going to get heavy duty wear so a faux flat felled seam is just fine here. This post is super photo heavy due to the steps of attaching the View B skirt so I'm clipping the post. Click the link below to continue reading the View B instructions.

For View B begin by sewing the bodice side seams together with right sides facing.

Finish seam as desired and press towards the back of the garment. I didn't faux flat fell this seam because I'm going for a dressier look on this Alder.

With right sides together, stitch the side seams of the front skirt and back skirt together.

Again finish seams as desired and press towards the back of the garment.

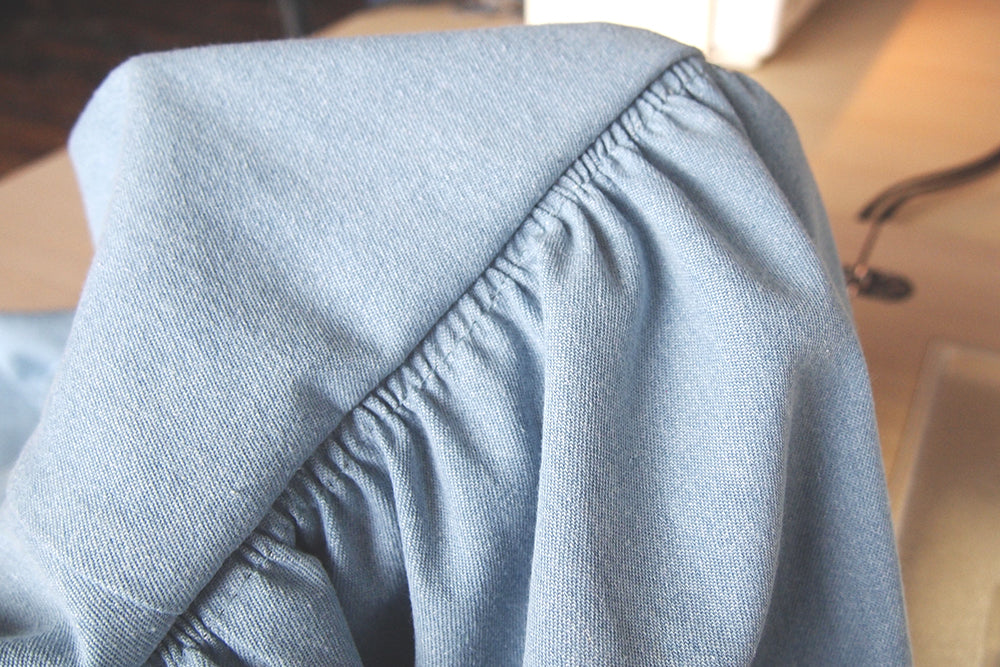
Next place three lines of basting stitches across the top edge of the skirt. I like to place mine at 1/4" 1/2" and 3/4" for the reason that the 1/2" holds the gathers in place at the seam line and the 1/4" and 3/4" hold the fabric on either side preventing any of them from moving around and getting caught up in your seam line. I also find that it helps to keep everything placed exactly where you put them when you pinned.

To gather the skirt, pin the skirt to the bodice with right sides facing at the center back of the garment.

Grab the top layer of threads from your basting lines and pull them to gather the fabric. Do this gently and help the fabric along as you don't want to break these threads.

Gather until the side seam of the skirt matches the side seam of the bodice. Don't worry about making things even until you get both of the layers the same length. Pin the side seams in place and then evenly distribute the gathering across the back. Pin the gathers in place.

Then do the same thing with the front of the dress, gather the skirt until the seam line of the side of the skirt matches the corner dot. You want to leave the seam allowance along the side of the skirt un-gathered as that will keep things smooth at the corner.


Pin through the seam allowance and the corner marking. You will only be stitching to this point when you attach the skirt so having a pin in there is a good idea to remind you in case you can't see your mark while sewing.

Evenly distribute your gathers and pin in place. Repeat these gathering steps for the other half of the skirt.

Stitch along the skirt waistline from one corner mark to the other, making sure to back tack at both ends.

Check to make sure all your gathers ended up as you pinned them, even and in the right place, nothing got caught up in the seam line, etc. Once you've done this remove your basting stitches.

This is what the other side will look like once you've stitched across.

Clip from the corner to, but not through, the pivot point you stitched to when attaching the waist seam. You want to be about 2 threads shy of your stitching.

Now to pin the corner. Pivot the skirt around so that the front seams of the bodice and skirt match up. Smooth the corner flat and pin the fabric together.

Pin the rest of the sides together matching the hems and notches.

Stitch up the seam at the normal 1/2" seam allowance. When you get to the corner slow down and make sure you're only catching the two layers of fabric. Stitch right to the point and then back tack to make sure everything is secure.

This is what your corner will look like from the wrong side of the dress...

...and this is what it will look like from the right side.

Finish your seams, again, I serged, and press the seam allowances of the waistline up (this keeps things smooth and as un-bulky as possible) and the seam allowances of the sides towards the front of the garment.

This next step is completely optional but I like to run a line of topstitching around the waist of the dress to keep the seam allowance flipped up where it's supposed to be. It's an easy little trick and also matches the topstitching of the back yoke. That's that for the skirt. Collars are up next!


