How To: Sew A Catch Stitch
Today's tutorial shows you how to sew a catch stitch. The catch stitch is a hand stitch that is most commonly used on garment hems but can also be used to tack 2 pieces together. Its zig-zagged pattern allows for movement and give, making it an ideal stitch even for thicker fabrics and knits as well.
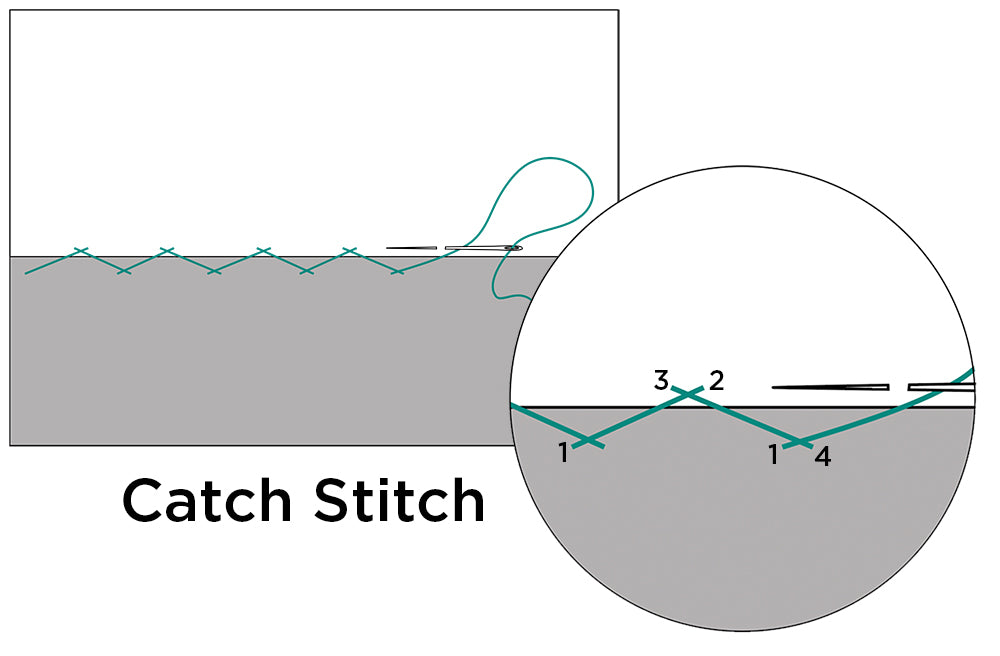
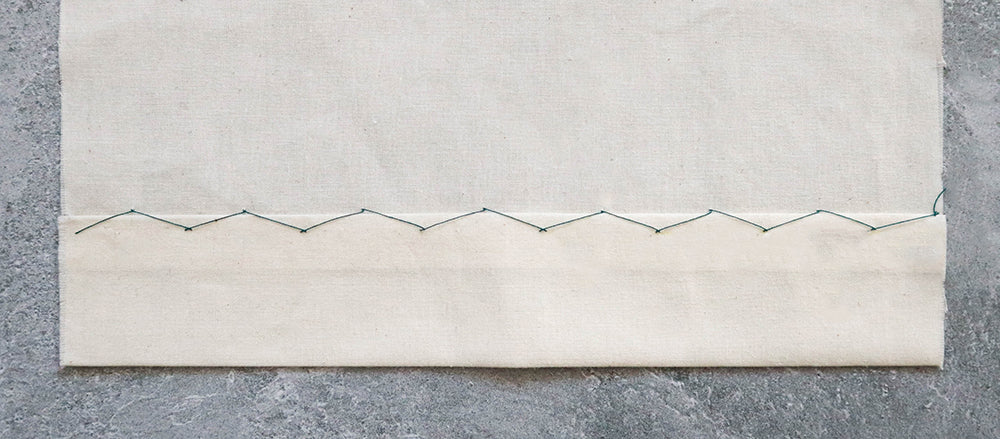
The diagram above shows the numbered steps included in the stitch and following we have step by step photographs to illustrate how to create the catch stitch. In the example photographed below, we are using a double fold hem but you can also use a single fold hem with a serged or otherwise finished edge.
A few notes before we get started:
- Use a needle with a smaller eye. Especially with more delicate fabrics, a larger eye creates bigger holes and we want this stitch to be as invisible as possible when viewed from the right side.
- We recommend using a single working thread, this also helps with invisibility. If your fabric is very thick and needs the extra strength a double working thread is fine.
- For right handed sewers you will be moving across the hem from left to right but working your needle from right to left (this will make more sense later) and left handed sewers may find doing the opposite is more comfortable.
Alright let's get started on the catch stitch!

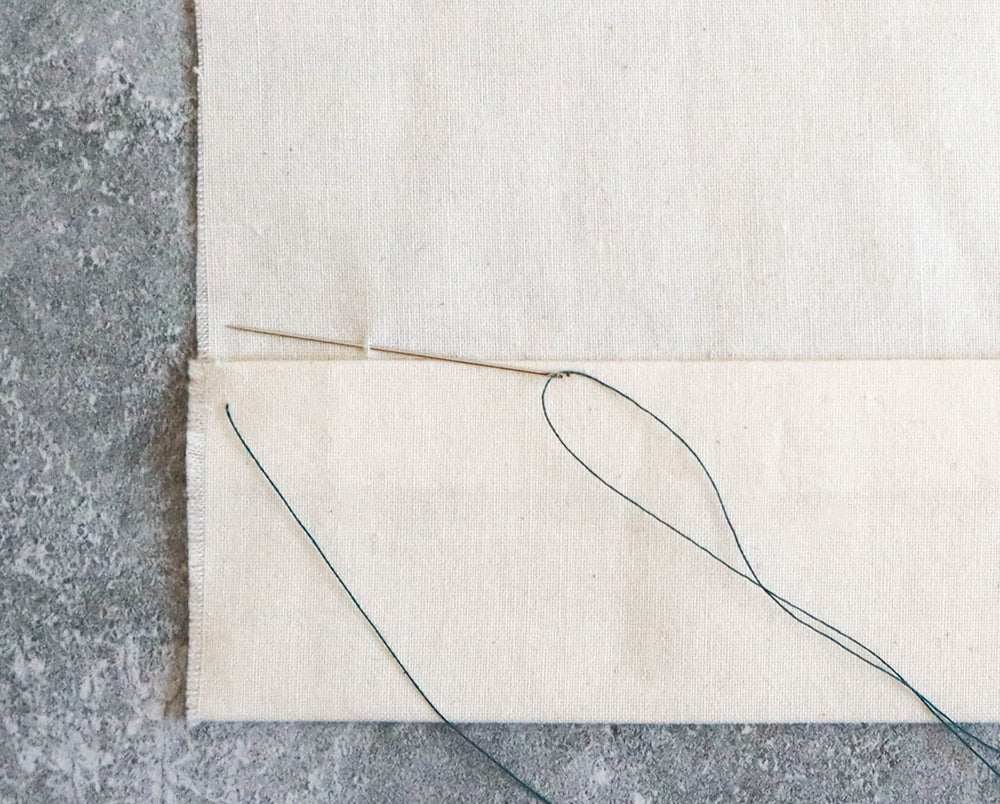
First, lay the garment with the wrong side facing up and the hem pressed and pinned up. Grab your needle and thread and hide the knot behind the folded edge of the hem by bringing the needle through the back of the hem to the front of the hem 1/4"(0.64cm) down from the free folded edge. This is #1 on the diagram above and we are now ready to begin the stitch!
Bring the needle up and over to the right at a diagonal about 1/2"(1.27cm) then, working the needle right to left, stick the needle into the garment just above the folded hem edge (this is #2 on the diagram above) and with the point of your needle, grab 1-3 threads -no more than 3 threads though or it will be too visible on the right side of the garment! Pull the working thread through, this is #3.
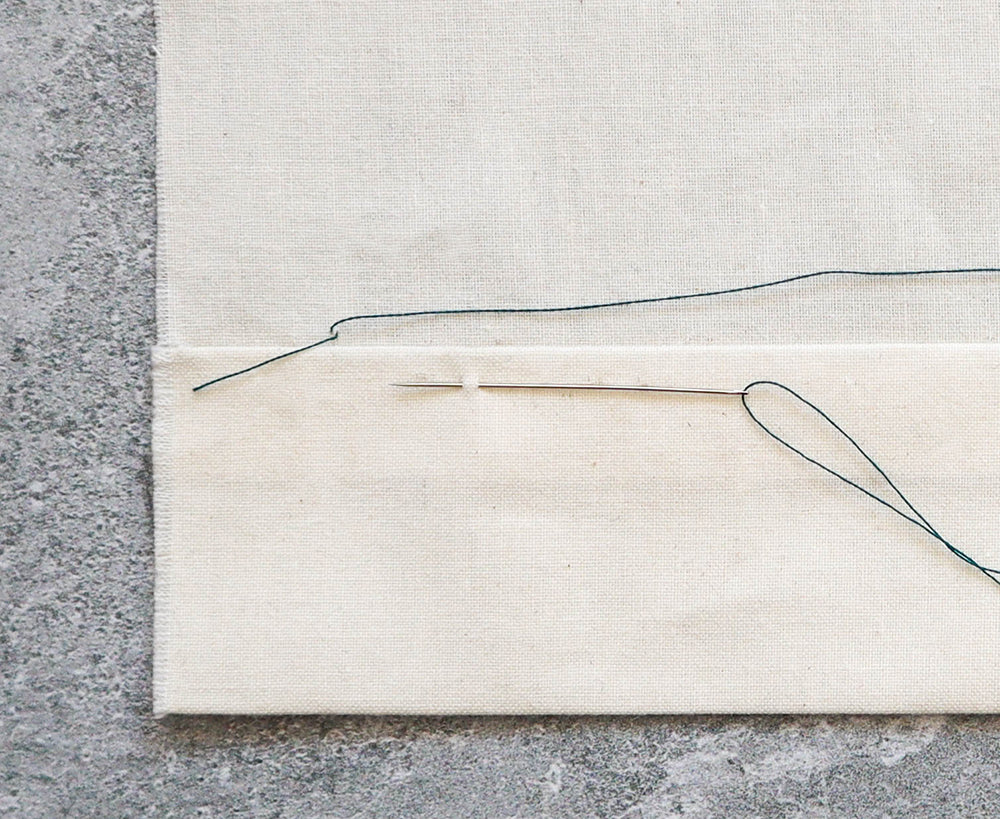
Bring the needle down and to the right about 1/2"(1.27cm) at a diagonal and again with your needle working from right to left- grab a few stitches about 1/4"(0.64cm) down from the free folded edge of the hem. It's ok to grab more stitches on this step because it wont be seen on the front of the garment. This is #4 on the diagram above, then pull the thread through and now you're back at #1 and ready to repeat the process for the next stitch.
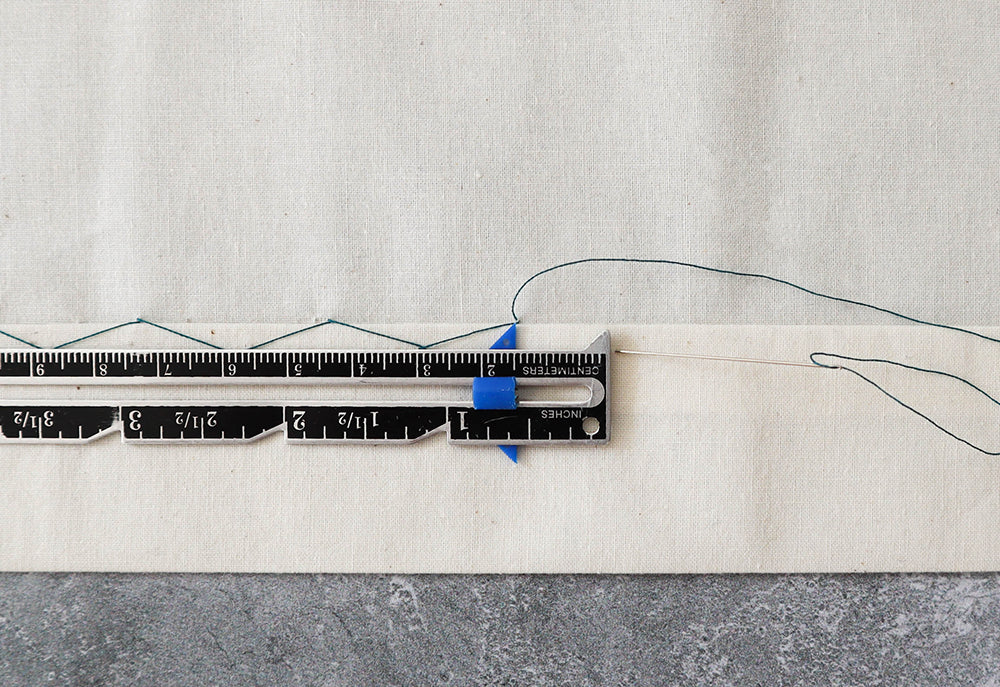
Be sure your stitches are level, it may help to draw a line with chalk or use a seam gauge to measure the distance and depth of your stitches to keep them consistent and looking professional.
Repeat the process across until you reach the end and secure with a knot. That's it you're finished!

On the right side of the garment your stitches should be nearly invisible!
That's all for the catch stitch but you can find our tutorial for slip stitch here, and keep a look out for more hand stitch tutorials coming soon!