Cascade Sew-Along: Side Seams & Sleeves


Today we're turning our coat pieces into something you can actually wear, side seams & sleeves! Begin by sewing the coat fronts and backs together (with right sides facing of course) at the side seams and sleeves.


Press both your shoulder and side seams open. Set the body aside.

To sew the sleeves begin by aligning the outer seam of the upper and lower sleeve pieces. Pin in place making sure you've matched any plaids, stripes, or prints if you have them.>

Stitch along that seam and press the seam allowance open. As usual I'm pressing my wool on the wool side of my ham.

Next align the inner seam, again matching anything that needs to be matched, and stitch along the 1/2" seam allowance.

Press this seam open as well. This step will be accomplished much more easily with the aid of a seam roll.

You will now have this beautiful little sleeve. Our next step is to place two lines of basting stitches around the cap of the sleeve.

The basting lines should run between the front and back notches up around the cap of the sleeve. Since we're working with 1/2" seam allowances I recommend placing the first line at approximately 3/8" and the second at 5/8" this way the sleeve cap gathering is held in place on either side of your stitching line which makes it much harder to get any tucks in your cap.

With the right sides of the sleeve and the coat facing begin pinning the coat and sleeve layers together. Begin with the side seam of the coat which will match to the underarm notch on the sleeve. From there work up matching both the front and back notches of coat and sleeve; the sleeve cap notch will align with the shoulder seam of the coat.
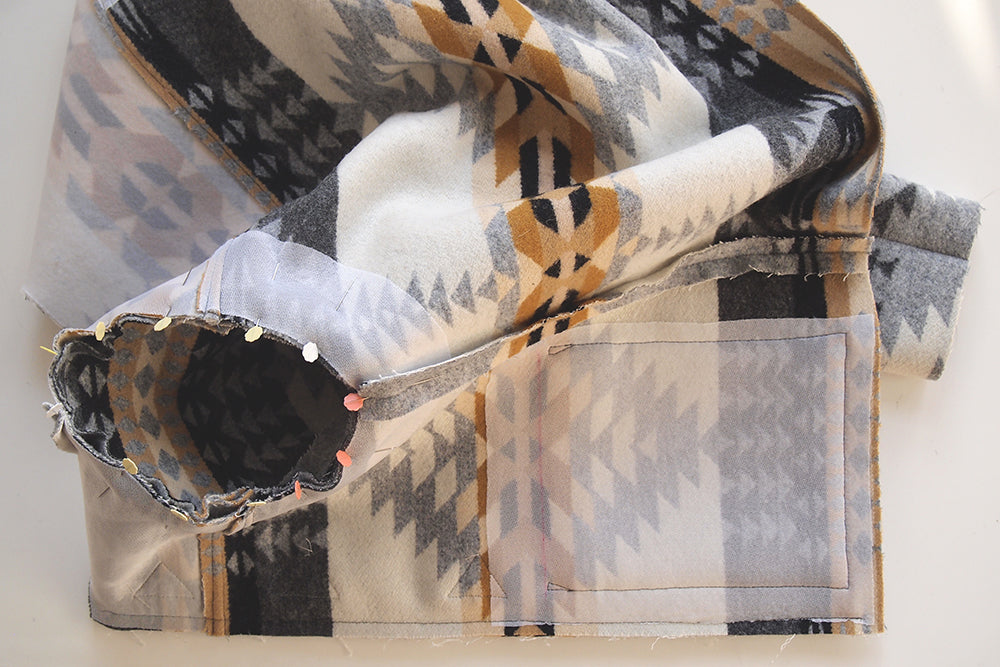
From there place a few pins between the notches as needed using the basting stitches to ease the sleeve cap into the armhole.

Stitch around the armhole and remove your basting stitches. Repeat these steps for the other sleeve.


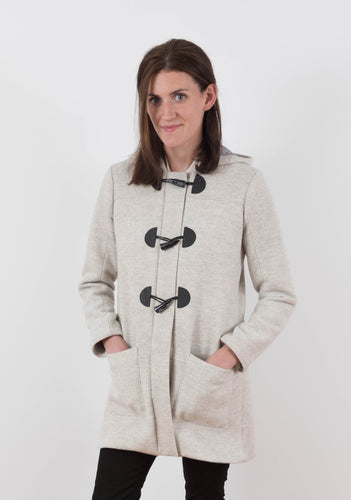
Your coat now has sleeves! It will look a little funny if you try it on since we haven't pressed the bands down the front of the coat yet, we're saving that for after we insert the lining. We've not got something decidedly coat like at this point and I'm sure you are now starting to feel like we're nearing the finish line. Next up are two posts about finishing that neckline. The first will be assembling and attaching the collar, and the second for the hood. See you back here for those next week!