Tips + Tricks | Easy Roll Hem
Next up in the Tips + Tricks series is the easy roll hem. I usually get at least one request for a tutorial every time I post a photo of a rolled hem so I thought I should get on this one. I learned this technique from one of our seamstresses at work, Jurata, when she couldn’t believe that I didn’t learn how to do the regular roll hem technique in school. This is the slightly cheater method that she taught me in order to get me used to making them for the non-cheater technique she later showed me. I’ll do another Tips + Tricks for the regular roll hem later, don’t worry.
STEP 1. Take the fabric you are roll hemming and stitch around the hem 1/8” shy of the seam allowance. If you have a 1/2” seam allowance you are going to stitch at 3/8”, if you have a 5/8” seam allowance you are going to stitch at 1/2”.
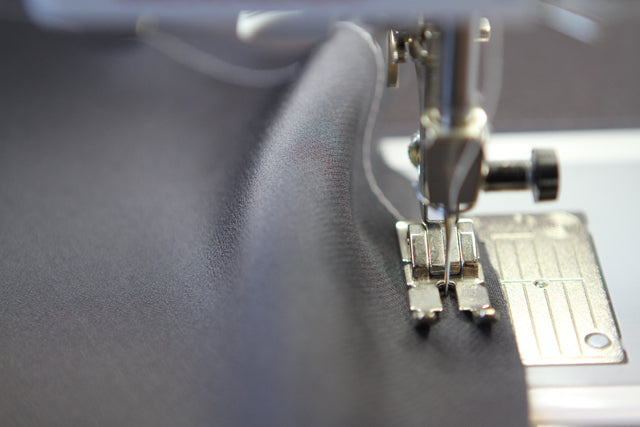

STEP 2. Head over to your iron and press the seam allowance up along the stitching line, making sure that the line of stitching rolls to the top with the seam allowance. This will ensure that the line of stitching won’t show on the underside of your garments. Let me also explain why we have stitched and pressed along that stitching line rather than just measuring up 3/8” and pressing.
Generally speaking you are going to get a much more even seam allowance with this stitched line than pressing the seam allowance up with a ruler and it will also be at least twice as fast. The other advantage is that if you are doing curves, the fabric will naturally want to turn up along the stitching line creating a smooth curve whereas without it you will generally have small points where the fabric wanted to press straight because of the grain and excess fabric. Also after you get the hang of it you can eliminate this step and just roll the fabric over at your machine while you sew.


STEP 3. Stitch the turned edge down getting as close to the edge of the hem as possible. Here I am stitching it at 1/16” which also happens to be right on top of the stitching you turned under.
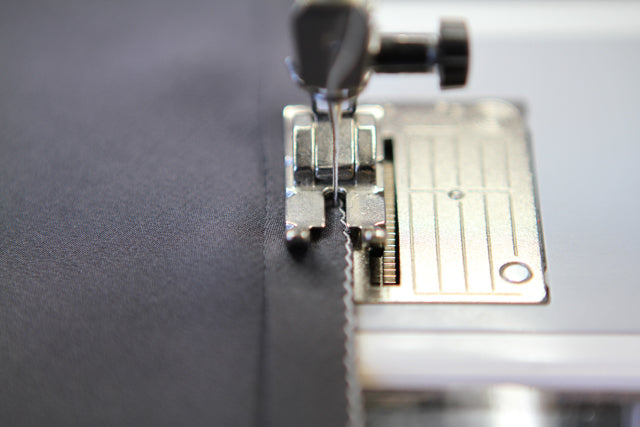

STEP 4. Trim the excess seam allowance off as close to the stitching as you can. I like to cut across the back of my hand while I am holding the piece. Unfortunately I couldn’t do that while taking a photo, not enough arms.

STEP 5. Head back over to the ironing board, fold the seam allowance over and press. Again you can eliminate this step when you are feeling more comfortable and just turn while stitching.

STEP 6. Again stitch the turned edge down stitching along the center of the folded edge. Usually you can just follow along the stitching line that already exists and should be about 1/16” from the edge.

And that’s it, you’re done! Now you’ve got a super awesome roll hem and it’s really very easy despite my over explaining in so many steps. Hope this comes in handy, and once you’re a pro at this you’ll be ready for the next step, regular roll hems. As usual if you have any questions let me know!
