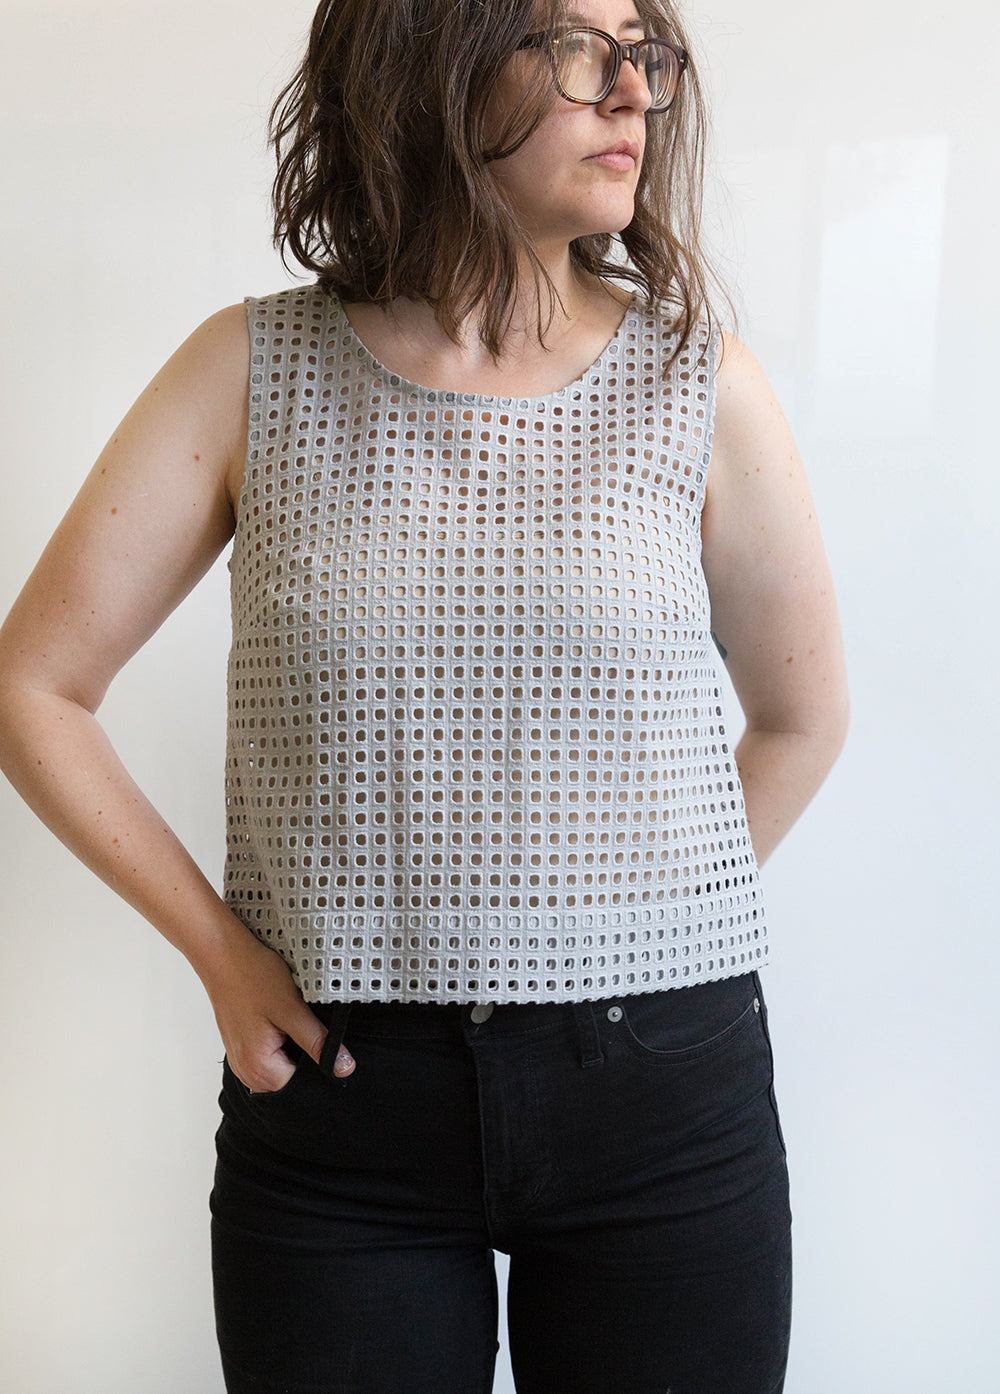
Willow Variation 01: Cropped Tank

Today I’m going to talk about turning the Willow Tank into a cropped top! Typically when lengthening or shortening a pattern piece you’ll want to use the lines marked on the pattern. When shortening the Willow into a crop however, we recommend shortening from the bottom. This keeps the top from becoming too wide at the new hem, keeping the proportions in tact. In the instructions below we’ll be marking and re-shaping a new hem.

To begin grab pattern pieces 1 and 2. Find and cut your size, make note of the original stitching and fold lines.

Measure up from the fold line the amount that you’d like to shorten your top. For the version in this tutorial I started with a size 6 and shortened the top 3″. Draw the new fold line across the front and back of the pattern pieces.

Measure down 2.5″ from the new fold line to create the new cut line, aka the bottom edge of the pattern piece. The 2.5″ includes a 2″ hem and a .5″ seam allowance.

Cut across the new cut line and discard the extra paper.
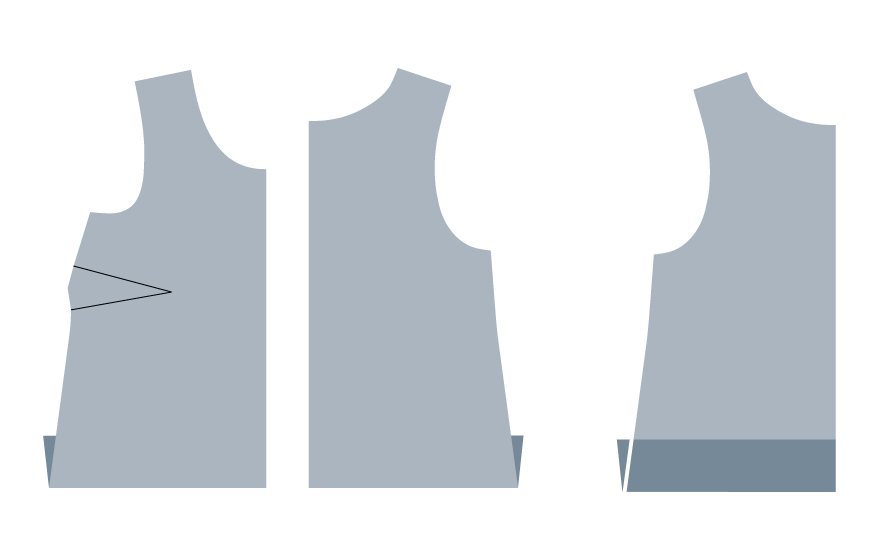
Fold along the new fold line and trim the excess where the folded section overhangs the upper pattern piece. This will ensure your hem will lay flat without buckling.

These are now your new pattern pieces. All of the instructions for the tank are the same after this alteration, so just follow along with your instruction booklet.
Hope you enjoyed this cropped Willow variation! We’ve got a few more variations coming over the rest of the summer so stay tuned!