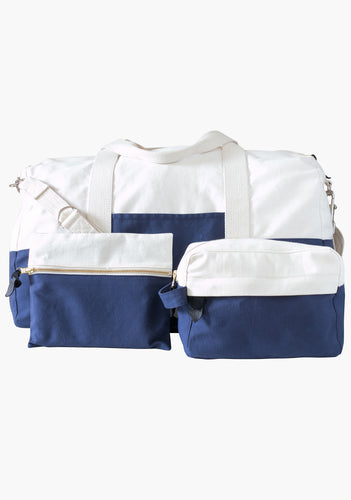
Portside Dopp Kit: Assembling the Body
In today's Portside Dopp Kit sew-along post we'll be assembling the body of the bag using the pieces we made in our previous post.

First we'll need to secure the carrying strap to the front panel of the bag, this is the panel with the zipper pocket. The placement doesn't need to be exact, for this example I placed it half on the green upper fabric and half on the camo lower fabric. Another popular placement, and the one we reference in the instruction booklet is aligning it so the top of the strap hits the seam of the side panel. Anywhere in that general area is fine though.

Align the lower portion of the side panels with the lower portion of the pocket panel with right sides facing. Pin in place.

Now match the notches at the center of each panel and place a pin in that spot.
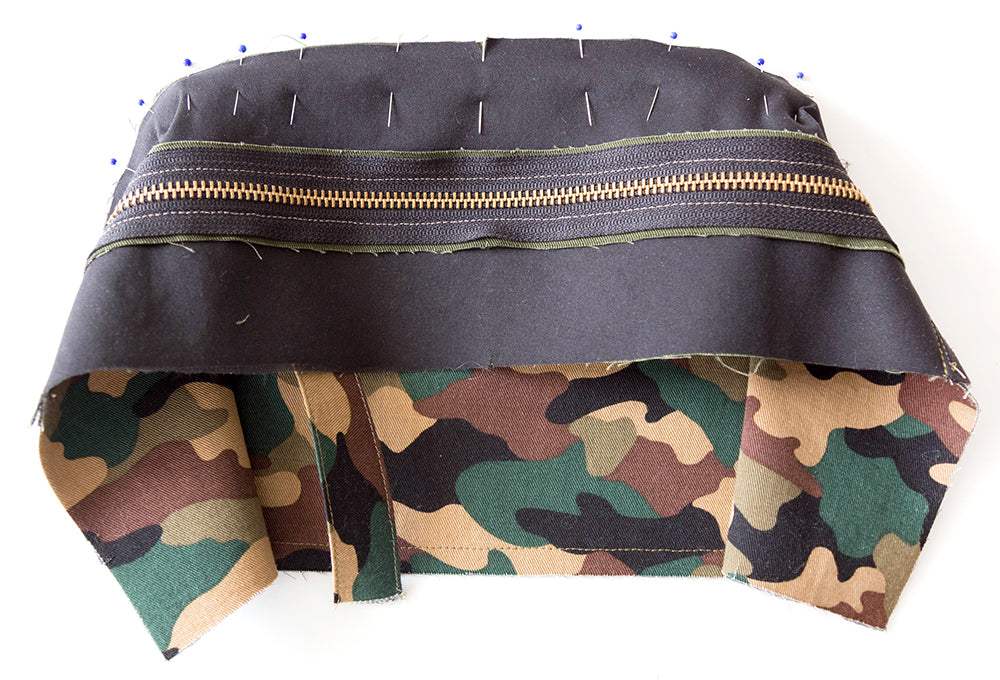
Now it's time to align the rest of the seam line. Keep in mind that we are aligning a straight edge with a convex curve so the edges of both pieces will not be the same length. Rather, you will need to match the seam lines of the two pieces – which you should be doing anyway when you sew, but it's especially important here. If you need help with the theory behind concave & convex curves, check out our post here.

Sew along the seam line of where you just pinned. Check to make sure you don't have any tucks, and if you do, fix them now.

Bring the strap over to the other side of the center panel and baste it in place even with the side that's been attached.

Repeat the previous steps to attach the other side of the bag and grade the seam allowances down as shown above. We cut ours in half, then trimmed the center panel down in half again. Then press the seam allowances towards the center panel.

You can see on my bag since the green wasn't pressing super crisply, I topstitched through the center panel and seam allowance to get a sharp edge. This is completely optional.

Now flip your bag inside out and make sure the top zipper is open. This is important because we're about to attach the bottom of the bag!

Place the bag bottom with the right side facing into the bag. Align and pin the center panel notches.

You can pin the entire bottom in at this point if you'd like, but I'm going to show you the way that I've found works best for me. Start by pinning one long side of the bag from end to end.

Head over to your machine and start at the point where the seam allowances meet at one end and stitch to that point on the other end, marked with a pin in this photo.
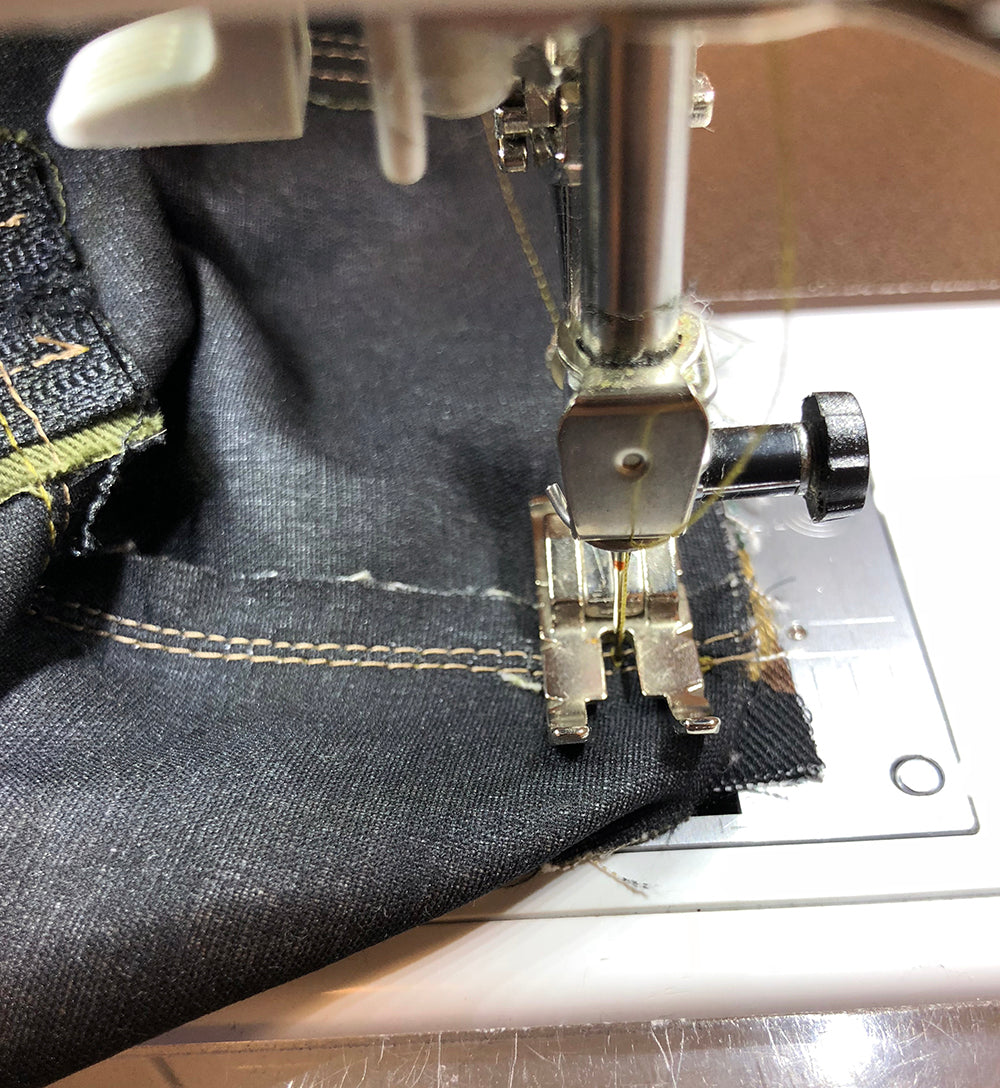
Stop with your needle down at this point.

Lift your foot and pivot the bag so that you're ready to sew along the next edge. Continue on and repeat these steps at each of the 4 corners.

Your bag now looks something like this.

Flip your bag right side out to make sure that you don't have any tucks before we move onto the next steps. Fixing them will be much harder once we've clipped the corners!

When you're free of tucks, clip off the corners of the bag bottom. I do not grade or trim the bottom seam allowances of the bag, since that's the seam that will get the most stress I like to leave it as is. You will, however, need to press the seam allowances towards the bottom of the bag.

Once your seam allowances are pressed, head over to your machine and topstitch through the bottom of the bag and the seam allowance to keep the seam allowances anchored in place and provide extra strength. I like to do one seam about 1/16 - 1/8″ away from the seam line, then another ¼″ in from that stitching line. I find it easier to get into the corners of the bag around my machine's free arm then when it's set into my table.

Here you can better see the two lines of stitching. That's it for the body of the bag, set it aside and next we'll assemble the lining!